
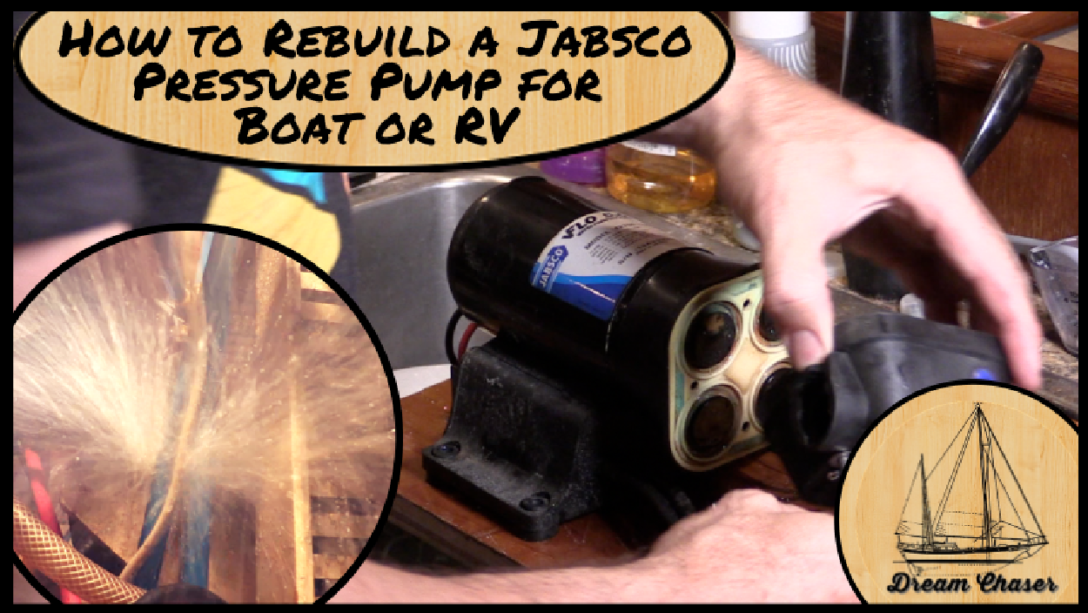
On The Last Affair, our 43′ Gulfstar Sloop, we have a Jabsco VFlo variable speed fresh water pressure pump. We had it on the boat about five years as it was part of the refit we did when we replaced the fresh water plumbing.
 The other day I noticed it was not turning off when the sinks were off, indicating a leak somewhere. I put it off for a few weeks making do with turning off the pump breaker when not using the water. With guests coming later this month, I figured this was a good reason to get the repair done.
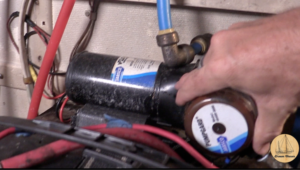
It started with removing the pump from the shelf in the engine room so that I could take it to the counter to complete the work. I started by removing the screws that bolt the pump down to the shelf. This is a lot like what I imagine it would be like as a dentist drilling in a tooth. You can’t quite see what you are doing but are confident that you are on target.
As I removed the quick disconnect inlet line from the tank selector valves to the pump, I was feeling good about the task. 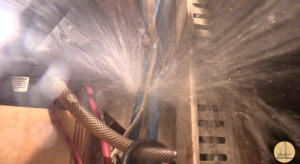 Then I put my camera on a small tripod balanced on top of the engine to get a better angle. It was a good angle, but when I released the output line, it happened. All the pressure that built up in the lines from the pump running needed somewhere to go. The water, air, and pressure took its nearest exit which was at the line I was disconnecting. A full stream of water at the camera. I am shocked the thing still works (Watch the video at the end of this post to see it happening)
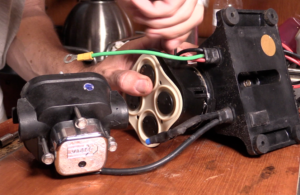
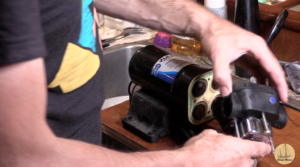 Once the pump was out, it was time to remove the four bolts from the forward (pump side) of the motor. These are what holds the pump assembly to the electrical motor itself. It is easy to use a nut driver to remove these, but the bolt under the water pressure switch is better served with a regular wrench.
Once you remove the bolts, move the pump assembly to the side being cautious not to pull too hard on the pressure switch wires.
 Now comes the tricky part. Remove two small rubber slides that cover access slots in the lower part of the pump housing that bolts to the motor. Push these toward the motor to remove them. Doing so will expose a slot allowing a small alan wrench access to the shaft set screw. Once loosened, remove the pump assembly from the motor shaft. Removal was not easy to do in our case, and I had to use two screwdrivers and gently pry this apart. To avoid breaking the plastic housing, be sure the screwdriver tip is between the metal motor and the metal pump assembly part.
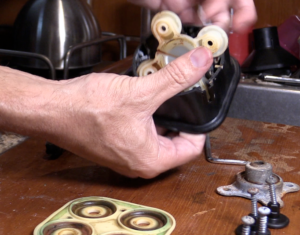
 Once removed you will want to unscrew the four screws from the inside of the pump assembly. Remove the black disks that hold the diaphragm to the plastic spokes. In this view, you can see the plastic spoke section that must be bent along the crease line to remove it from the housing.
After unboxing the new parts with my helper, McKinlee, we validated we had all the parts and inspected the old one to see what was wrong. I believe the issue I had was a small tear in the diaphragm that was allowing water to pass from the pump side of the housing to the motor side. This is what allowed it to drip out the bottom.
If you find this a convenient way to shop for some cool items we use please use the links below. If you use these links, you get the same great Amazon pricing, but we get a small affiliate link credit. Thank you.
 After installing the new parts, it is a matter of reversing all steps. I am a firm believer in stacking the old parts as you remove them in the order they came out. It will simplify the assembly process and reduces the likelihood something will go in upside down or backward. Getting the pump assembly back on the motor lining up the shaft indentation with the locking alan nut was challenging. It is best to put the alan wrench in the nut before attempting to push the parts together. Once installed you can tighten the nut to lock the pump to the shaft.
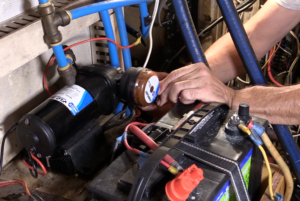 The last step was to install the pump back in the engine room. With this done it was time to test it. Sadly, it is still giving me a bit of trouble, and I am worried that I had many issues. First is that the pump is working as it sucks water from a bucket and pressurized and feeds it to the sinks. The challenge but is that it is not doing that from the tank. I am wondering if I have a hole in one of those lines allowing air in and reducing the vacuum created to lift the water from the tank. I have some more investigating to do.
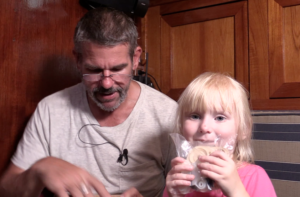
 The videos are always fun to make and at times McKinlee (Swab) loves to be on camera, other times I have to repeat myself many times so that I don’t get her talking or singing in the background more than shows up on the videos. But sometimes she has a gem or two. Today was one of those times. She wanted to do the intro’s and outro’s with me. As we were sitting with each other on the settee, she burped loudly and then covered her mouth because she was embarrassed and told me that she burped. That and a few other gems are on camera so I included them in this week’s video. Enjoy.