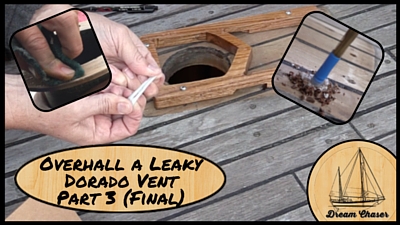
In this final portion of the 3 part series on removing, rebuilding/repairing a dorade box, polishing and prepping the bronze as well as all of the reinstallation, this entry will focus specifically on the deck repairs and preparation as well as the polishing of Bronze and reinstallation (And ultimately testing)
If you haven’t read the first of the blog series, please click on “The Link here” to open up a new page with the blog post in it.
We started by drilling out the holes where the old mounting bracket was screwed down to the teak deck. This was done for two reasons. The first was to see if the core that came out was wet or moist from water intrusion and the second was to fill the openings with epoxy to prepare the surface and substrate to make it last for many many years to come.
Once drilled, it was time to waller out the holes with a bent nail in a drill. Then vacuum out any of the wood shavings from the holes to get them ready for the ultimate repair.
I used some tape wrapped around the shaft of the drill bit to mark the depth of the hole that I wanted to drill. It was important that the hole went through the teak deck, the top layer of fiberglass and deep into the core without going through the inner layer of fiberglass. This allowed me to mix up some epoxy then and fill each drilled hole with it. I would normally have used a small epoxy syringe. However I didn’t have any, so I used a ziplock bag like a baking piping bag to put the epoxy down into each hole. It worked well; I would say it was not quite as neat as using the syringe but worked very well in a pinch.
I was ok with the epoxy filling the holes all the way tot he surface of the teak since this is an area that will ultimately be covered up by the dorade box. If it were not a spot to be covered, I would have only filled the holes up with the top layer of fiberglass and then used a teak plug or bung to fill in the hole.
After this step, I prepared the mounting bracket with butyl tape and bedded it to the deck surface. I was careful not to drill holes that would have aligned with the repaired holes on the deck that we filled in with epoxy. From there it was time to mount the dorade box over the bracket and install the bronze cowl vent into the hole for mounting.
The last step was to polish the bronze that extends down into the bunk below to give it a nice bright finish where it is visible from inside the cabin but leaving it to patina on the deck.
The polishing was done with a 600 grit sandpaper very lightly sanded and then using a polish for metals called Bartenders Friend. It is a great product that allows a light buffing with a 3m pad and the product to polish up bronze in a nice way. Watch the video below for a lot more details and views of the before and after photos.
Below is a youtube video showing and outlining the steps in a bit more detail if you are interested in viewing it.
If you are receiving this blog via email or on a device that won’t play the embedded video, click this link for the video directly on Youtube. The link is https://youtu.be/sz7YTBvYizk
[embedyt] https://www.youtube.com/watch?v=sz7YTBvYizk[/embedyt]


