You may recall from last weeks post, we started to remove the teak decks from our boat. (See that post here)
After pulling the teak off a portion of the deck last week, we are now taking the next steps to inspect the core, remove the screws and fill the holes to prevent any more leaking. This has been quite the effort as you can likely imagine and this blog post will explain the steps we took after removing the teak and hauling it off the boat. Most of it was thrown away, but the boards that were in decent shape and longer than about 3 feet in length were saved so that we can use them later if we want to make teak accents (we are considering doing this on new fiberglass deck boxes we are going to make) and maybe even new hatch covers or something like that.

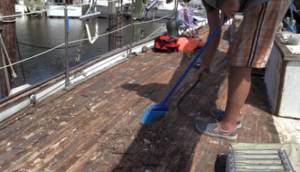
We swept off the deck and removed the small pieces of teak that was stuck between the many screws that still remained sticking out of the deck. I did a little calculation of the number of screws but counting the # of them on a single board run of 10 feet and then determined that there were over 900 screws to be removed just in this section of the deck that we pulled the teak off of. It represents about 1/3 of the surface I am guessing.
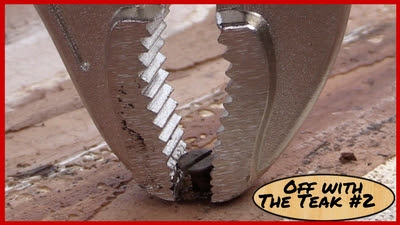
Once we did that we started to remove the screws. You can see the way we ended up doing it with most of them coming out with a vice grip because the screw slots were either too full of epoxy, glue and crud or the slotted bronze screws would just break.

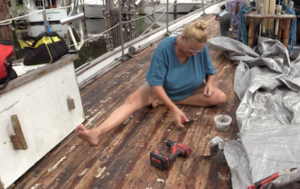
We used an electric screw driver for the 5% of them that would allow us to get the bit down into the grooves.
This took a while but it wasn’t that hard of work to be done. The bigger challenge was in the ones that broke off right at the deck or screws that snapped so there is still some screw shank left in the core. Others have suggested just grinding these off flush or recessed with a grinder and filling with epoxy and while that will work, it didn’t feel like the right way to do it, so I end up removing them instead.

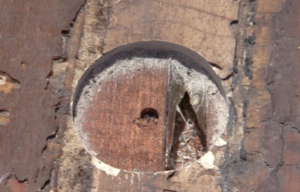
From there it was time to drill some inspection holes through the top layer of fiberglass to inspect the core. I was shocked at what I found. It was a bit wet in the spots that sounded hollow when doing a tap test, BUT the core seems like it is solid hard wood. I am still so shocked at this a few days after drilling the holes that I think I am going to cut a larger 1 foot by 1 foot section out and see if this is really the case or my eyes are deceiving me. I did end up drilling 4 holes each about 1-2″ in diameter so I felt like I had a good sampling of what was in there.
The next stop was to keep the ‘swiss cheese’ deck without the screws in it from soaking in a lot of water so I mixed up a bit of epoxy in a syringe and injected it into all of the screw holes. The ones that had the epoxy soaking in, I went back and put a thickened epoxy into the holes to ensure it was sealed up for now. At a point in the future, I will be sanding the deck smooth and putting a whole layer of fiberglass and epoxy resin over the whole deck, but for now I want to just seal it back up to prevent any more moisture from getting anywhere that it shouldn’t.
I will say just doing this on 1/3 of the boat, I am already seeing less water drips below during a rain. Yeah !!! We are making progress.

