If you have been reading our blog for a while you know, we have done some major work on the coach house roof. That work included replacing large sections of the roof. Since we didn’t replace the entire roof, the repair left places where the old and new wood butted against each other.
The exterior of the boat was fiberglassed over the exterior surface. As that completed, it did still leave more work and clean up down below.
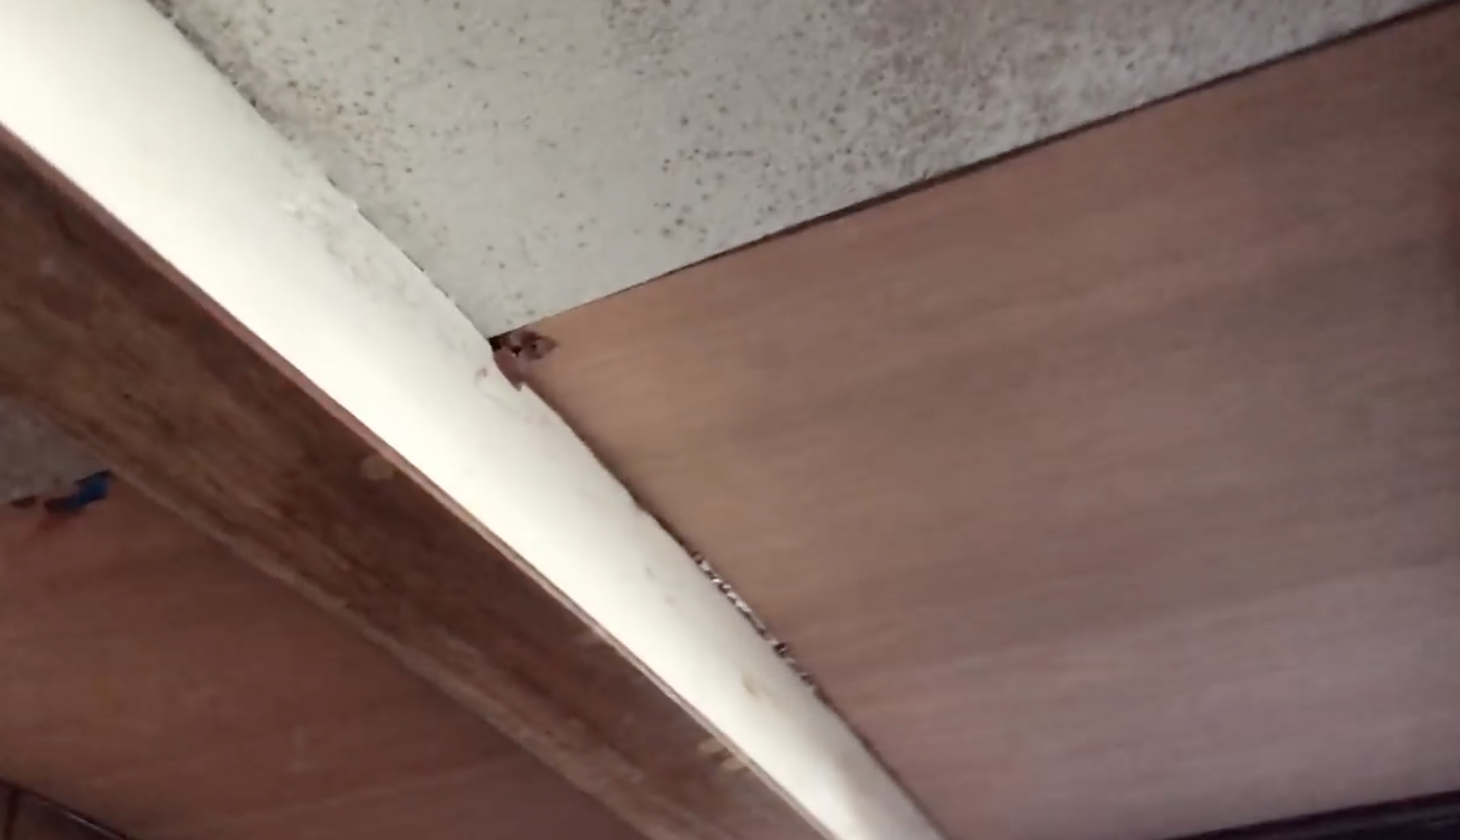
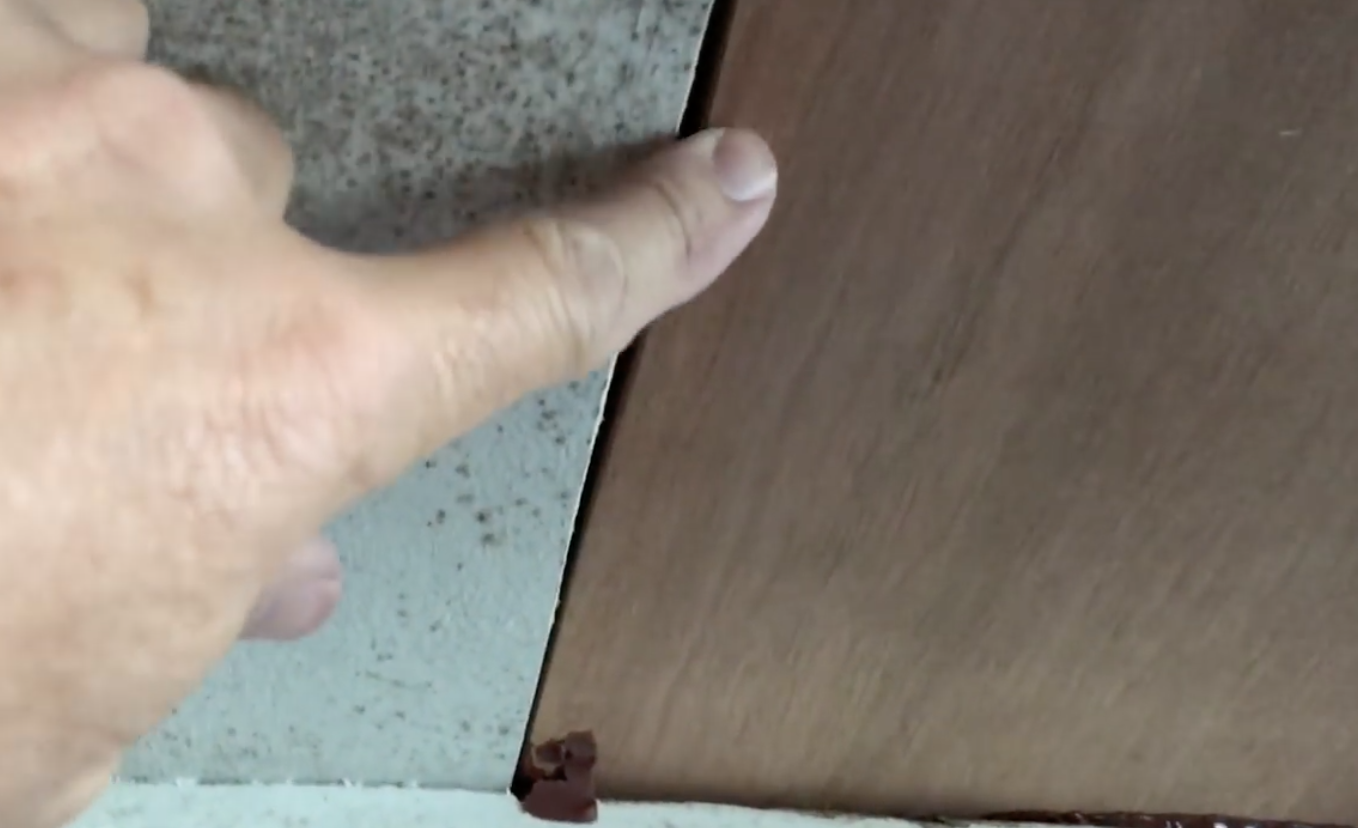
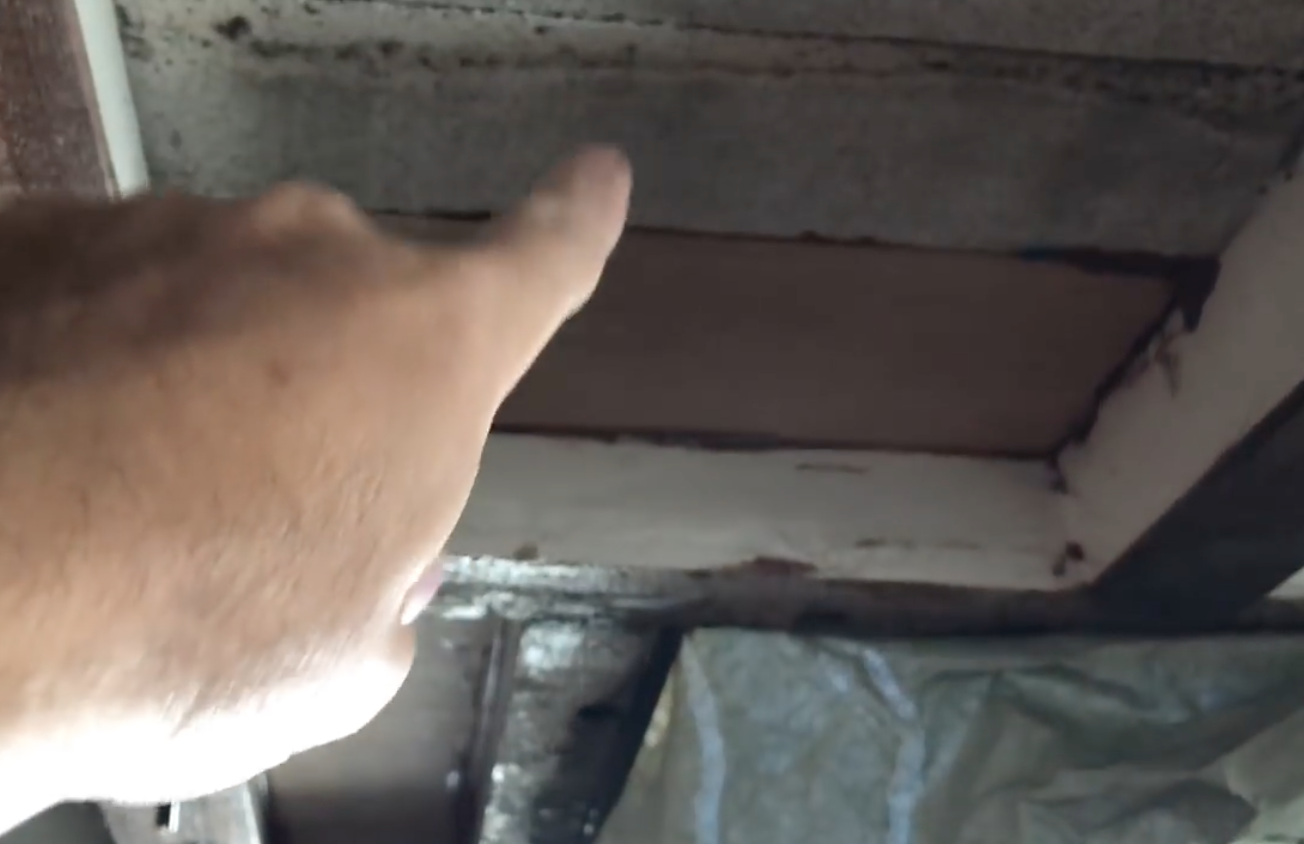
 In this photo, you can see where the two pieces of the roof have come together. In most places, where possible, the joints between old and new core were over a beam/structure. Some places ran fore and aft that were spanning the beams. There was no way to avoid this given that we didn’t replace the entire width in each area where it was required. This would have been the only way to prevent any joint overlap that was visible from down below.
 It is good to point out that the coach house roof is not “cored” meaning that there is fiberglass on the bottom and top. That cored construction is the way the deck is. On our boat, any of the hull below the hull to deck joint is solid and also not cored.
To strengthen the joints we created rabbet joints were possible. This provides more strength at the joint location. The results, when viewed up close are that there needs to be a filling added. We want the underside of the roof to be smooth and ready for painting in the future.
 The way we filled these joints was to use West Systems Epoxy with a fairing compound additive. We used 105 Resin, 205 Hardener as well as 407 fairing additive.
This was mixed to peanut butter or thicker consistency with a small spatula to fill the gaps. It was vital for me to fill the gaps entirely leaving a small amount overfilled. The entire job required multiple efforts to fill the openings. As this hardened, it was then time to sand it all smooth.
 Being completely honest with myself (and thus you), I suck at fairing. I did so on my attempt at a deck box, and that was bad too. It is not that I don’t know how to do it, I am flat not good at it. What that meant for me was that I had had to sand and fill this many times to fill all the gaps. When it was complete, it was smooth and looked great. You will see more of the photos as we prepare to paint the galley ceiling.

