If you recall from an earlier blog post, we found rot in one of the bulkheads below the roof repair. Read about finding the problem here – http://svdreamchaser.com/2018/05/shoulditstayorgo.html.
In that blog post, you will read how we decided to scarf in a new piece of wood in the bulkhead so that we won’t go into that decision here. I will point out that someone shared with me that is not a scarf joint I did. Oh well, it was a repair. 🙂
 So I had made templates while the ceiling was out so I would be able to cut the new pieces when ready. It was time to see how well they fit. Due to the shape of the repair, I had to do it with two pieces of marine grade plywood rather than one. My original plan was to insert the replacement through the open roof and but joint it all the way down into the stringer. The challenges are that there was not a way to put it in from above given the shape of the replacement piece. In the end, this worked out better as it allowed me more time to work on this, so I was not holding up the yard’s fiberglass work.
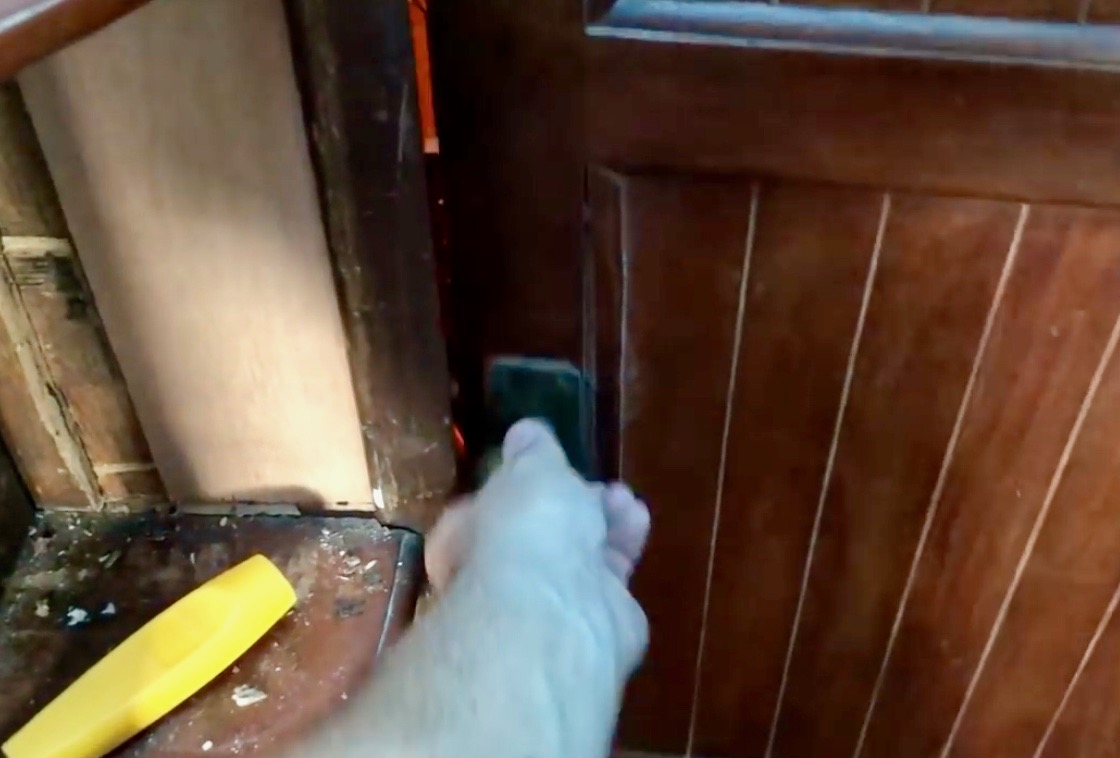
The area of repair forms the latching side of the owner’s stateroom door. Incidentally, the door never latched, and I suspect now that was due to the rot and movement of that part of the receiving latch frame. I placed the piece in place and tapped it with a rubber mallet.
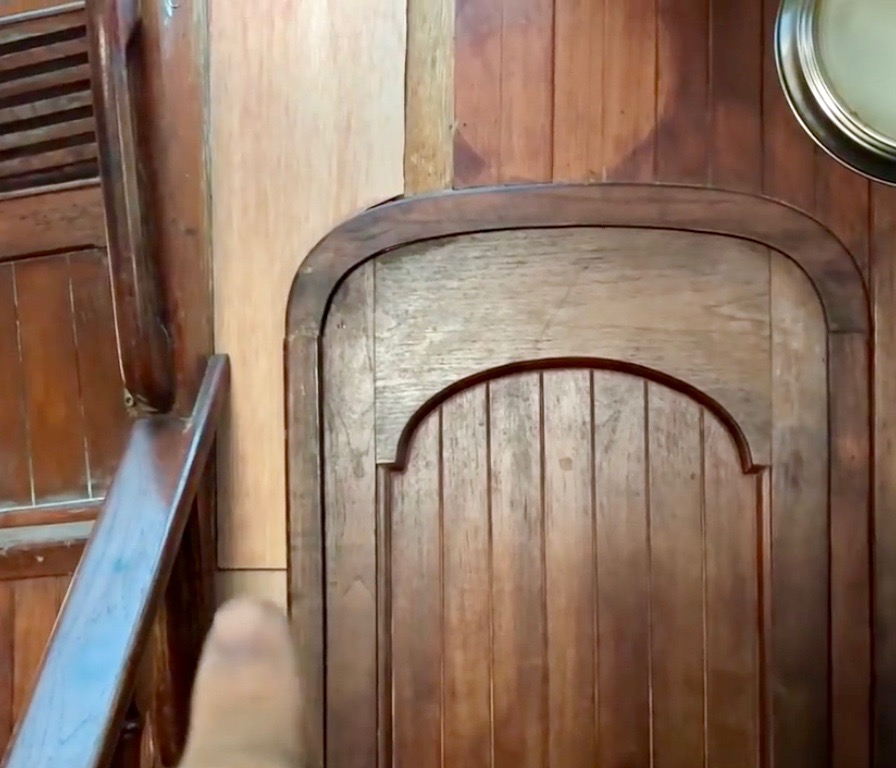 I followed up fitting the top section of the new bulkhead as well. This section has a curve that fits down into the door frame. Once epoxied in place, these joints will be stronger than the originals. The old bulkhead, new bulkhead, and door frame will work in conjunction to form one strong repair.
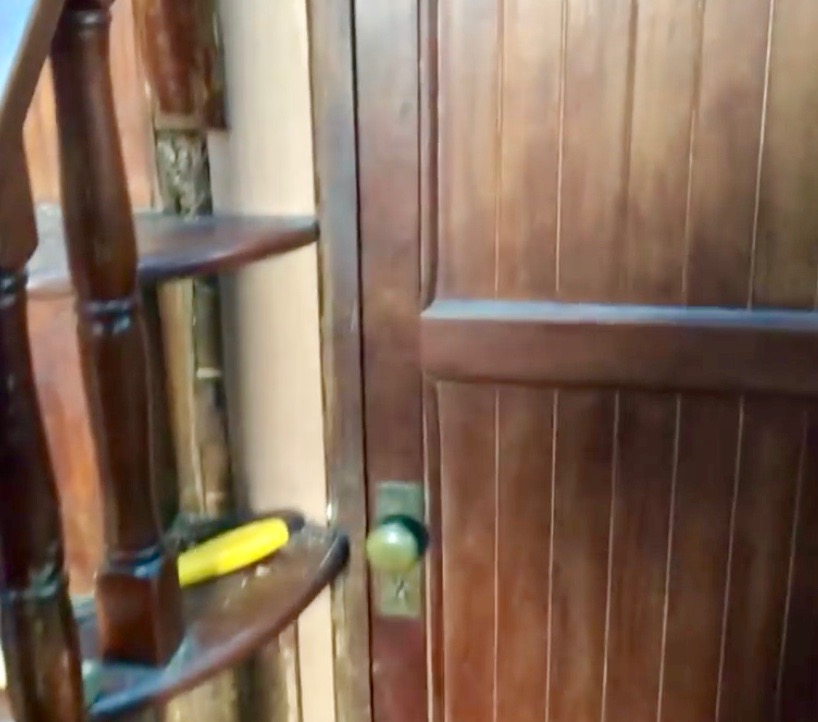
The big test was upon us, I dry-fit the door frame over the raw marine grade plywood and closed the door. It latched easily as soon as it made contact. This is the way the door should work. It is the way all the others on the boat work. If you have ever lived in an old house, you know sometimes you have to lift up on a doorknob to get it to latch. We didn’t want any of that nonsense.
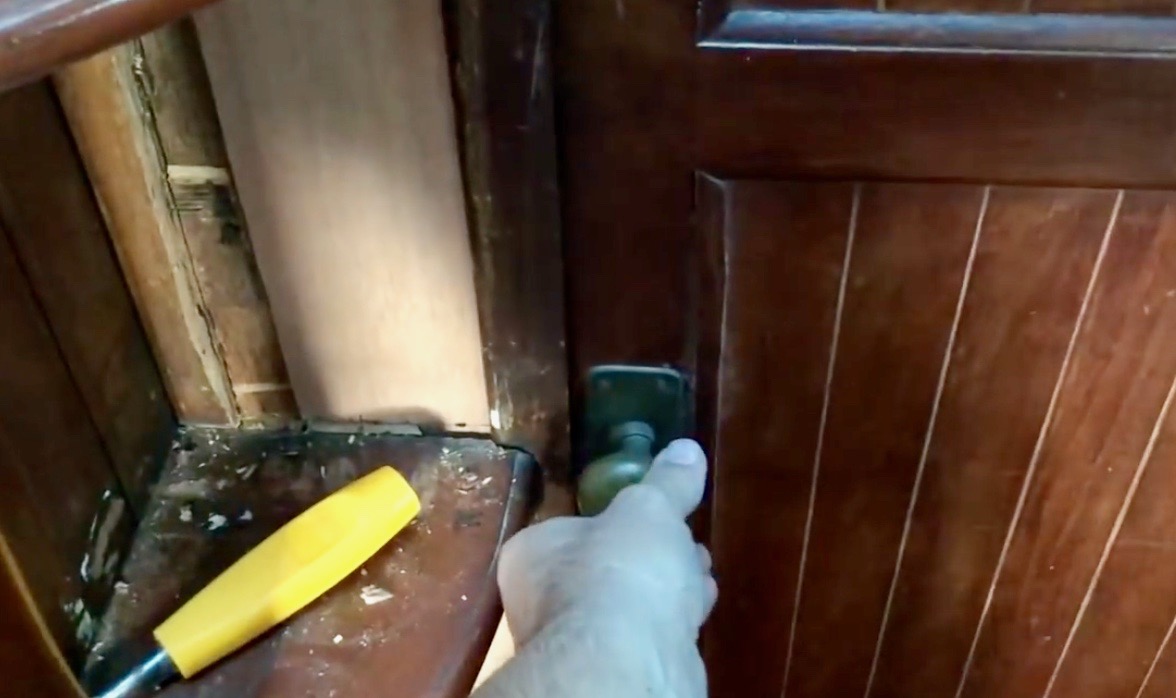 I noticed that there were a few spots where the gap between the door and the frame were a tad different. The door still functioned great, but I didn’t want to give it any room for error. When I looked inside the door frame, I could see some old glue or adhesive material in a few spots.
This led me to believe that the old bulkhead cut was not straight and the adhesive in the door frame was used to fill the gap. Now that filler was keeping the door frame from seating all the way over the bulkhead.
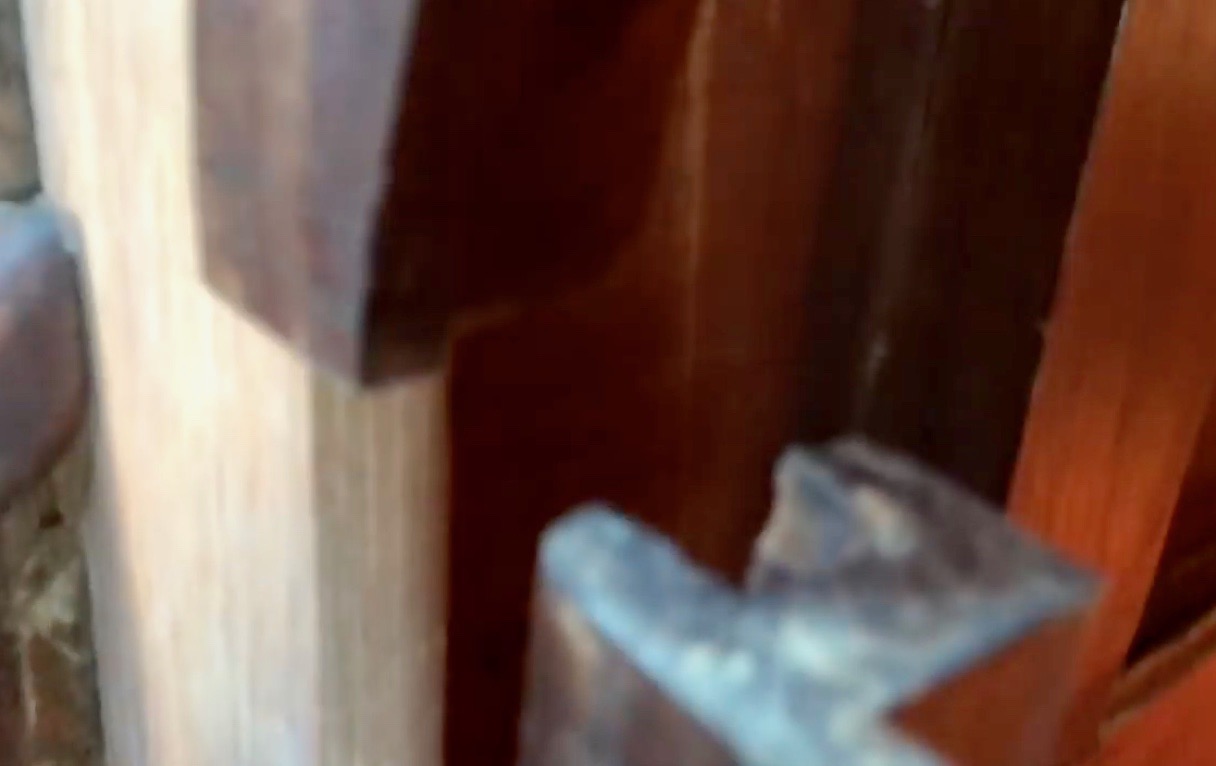 I used my trusty router table and a straight cutting bit to go back and forth in the groove slowly. I did this until the entire surface inside was flat and even. You can see in this picture how the frame accepts the bulkhead.
Another test shows that we are still good and all is functioning well. I should have just epoxied everything in place right at this time. The problem is there was so much to work on up top, and I put this on the back burner. Knowing that it all works well gave me the confidence to come back to it.

