 I was hoping this week to be able to complete the destructive test on the Polyester Resin sample deck, but the weather was a little chilly, so I had to wait for the temperature to rise again to mix up the resin and catalyst. I also ordered some micro balloons for making a fairing compound to test that as well on the same test piece.
This week I decided to go ahead and do the other repair on the deck where we had dried out the core. We thought we would need to replace it, but we didn’t. We removed it and allowed it to dry, then rebounded it to the lower fiberglass skin. Initially, we were waiting to finish our epoxy vs. polyester testing to determine how we would build up the deck over the core and someone had asked us why not use the piece we cut out. I wasn’t sure about this and also saw that a respected boat repair/restore company also does it the same way, so I figured I would give it a try.
I saw a post suggesting I vacuum bag the section to apply even pressure while it cures and I wasn’t sure how something like that would work. I had visions of a giant bag over the entire boat for some reason. I started to look at some videos where people were doing this type of process to mold car and motorcycle parts on a table top, and it dawned on me that this may not be too hard.
The supplies we use for this job are listed below if you find this a convenient way to shop for them. If you use these links, you get the same great Amazon pricing, but we get a small affiliate link credit. Thank you.
I did a small test to see how this would work and if I would be happy with the result, I was so I dove into the job. Here are the processes and the materials used. It was easy to do. The materials are all very inexpensive, and in many cases, you may even have them laying around. If you don’t at the bottom of the page, I have links to the supplies we used. You will notice they are all very inexpensive.
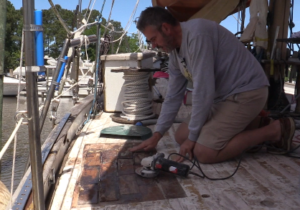 When the initial work was underway for this repair, I had painted a thin layer of epoxy over all the core wood to keep it from getting wet. I didn’t fair the surface along the different boards smooth, so before I was able to put the old deck pieces back down, I needed to ensure it was relatively flat.
A grinder was used with a 36 grit wheel to ensure adjacent boards were at the same height. I used my crafty dust collector made from a large picnic crawfish tray which you will see later became an integral part of the vacuum bag system as well.
 Once all the sawdust was cleaned up with the vacuum, it was time to prep the surfaces for the epoxy. I used a very liberal dose of acetone and a rag to wipe the boards from the core to remove any oil from touching the surface. The back sides of the top layer of the old deck that would be adhered back down were also wiped very well with acetone.
With the surface prepared, I was ready to get all the supplied close at hand. I got out my “Epoxy Bin” which is just a large plastic tub I keep all this stuff in so that if it leaks, it doesn’t get everywhere. I am glad I do as I had my first can of hardener leak a couple of years ago and the bottom of the bin is still sticky from it.
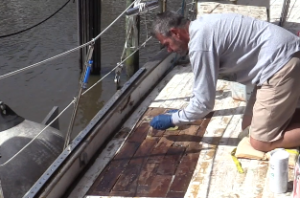 I mixed up my epoxy according to the instructions. I like to use West Epoxy for these types or repairs. It is a bit pricey but reliable and easy to use. The pump handles they sell to dose the hardener and resin make it very convenient automatically. I mixed up a fairly small batch because I had the 206 slow hardeners (not the 209 extra slow) which meant I only had about 25 minutes of working time.
After mixing some up, I painted the entire surface of the core boards with a mixture of the solution to create the initial coat so that if any of the liquid were going to soak into the wood, it would do so 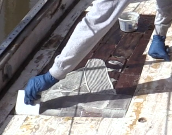 from that layer, not my thickened epoxy adhesive layer.
After that, it was time to thicken the solution with the adhesion thickener material. I used the one designed for thickening as an adhesive. It was as light as air and appeared to be much like micro balloons but had a different name. Once thickened, it is spread with the West scraper which has small notches (like a trowel for tiles). The notches govern how much adhesive you put down on the surface, and the spaces created by the grooves allow the material to smush (Yep, that is a word today) and fill all the gaps.
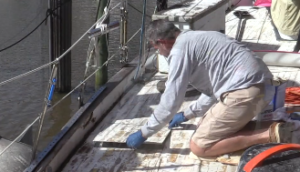 The material is spread on both the core and the bottom side of the fiberglass panel going in on the top. Once both are covered, it is just a matter of laying the pieces in place leaving a small gap all the way around. The gap was initially created by the blade when cutting these out, so the gap was about 1/8th of an inch wide.
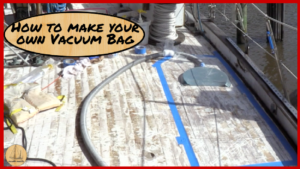
Once all pieces were put in, it was time to make the vacuum bag. Making it was surprisingly simple by taking plastic painters drop cloth (it must be plastic). The one I had was about .07 mil’s thick. 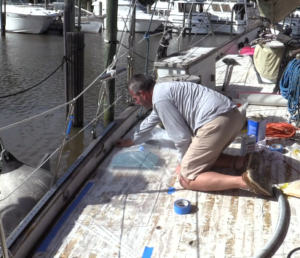 I just cut it larger than the area I had patched and taped it to the deck with blue painters tape. I was going to use something stronger like duct or gorilla tape, but when I did my initial test, I found that the painter’s tape worked just fine. Using this tape certainly allowed for easier cleanup when done.
I used that guard that I had made for collecting dust so that the plastic bag would not get sucked into the end of the vacuum hose stopping any of the pressure from building across the entire surface. By diffusing it with this pan, it allowed the vacuum to create all the suction across the entire bagged area.
This process worked so well in fact that epoxy ended up coming up through the screw holes in the upper skin. A great sign meaning that the vacuum bag put enough pressure on the entire surface was to see the ooze of material from between the two layers up into those voids. I will need to grind / sand along the joint and add a 2-inch wide row of a cross-strand mat. I will then sand that. Typically, one would fair it at that point, but since I am going to be putting two more layers of glass over the entire deck, I am not going to bother fairing at this point and will save that for later when I will do it for the whole deck at once.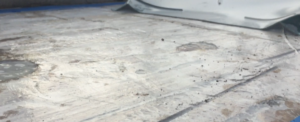
The video shows all the steps as well, and I will be doing this again. This was a great solution and frankly, would allow a repair like this to be completed in a single day.
Feel free to share this post on your favorite boating, fixing or DIY forum. I hope it is helpful.

