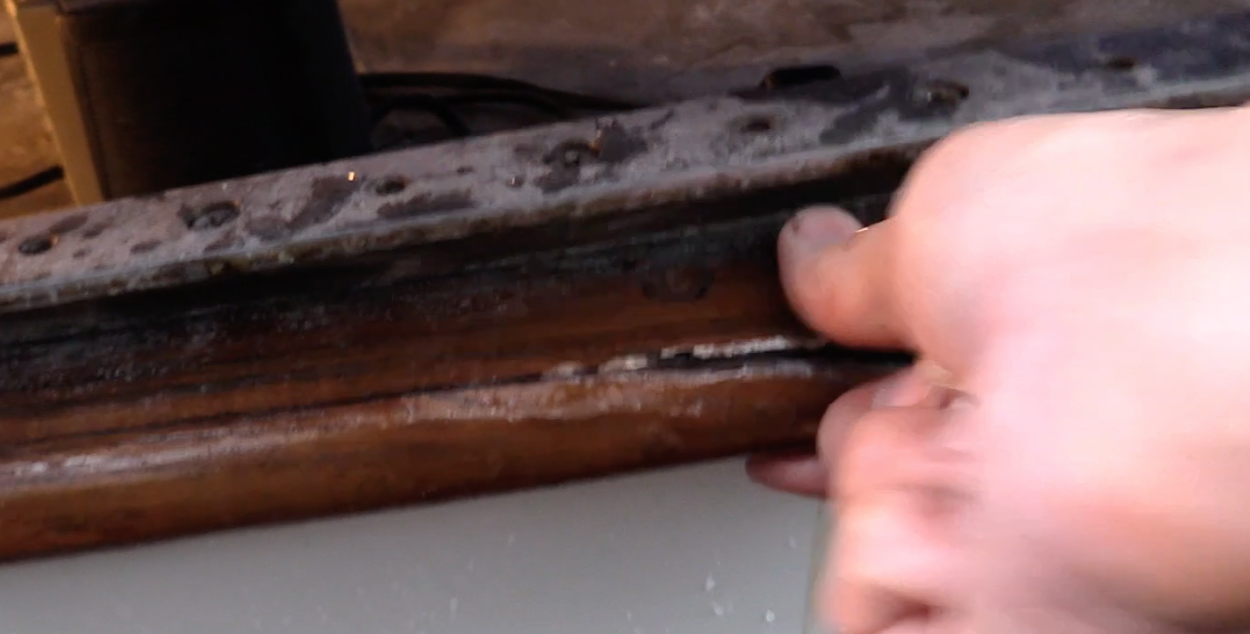
Dreamchaser has wonderful teak trim. It is one of the things we love most about this style boat. But with all things of beauty they can break and need upkeep and repair. The challenge is that some of these items also happen to be part of the structure or at least very difficult to replace. For example, we have teak toe rails, teak frames around our ports, teak handrails on the coach house, teak rub rails with a bronze protective strip on the outer edge; we have teak cap rails, teak spindles, teak scroll work and I am sure another teak that I am neglecting to list. Sometimes these pieces get hit or bumped in the course of maneuvering a 58,000-pound boat along a pier or bulkhead. That was the fate of a small portion of our toe rail. It caught the top of a pylon, and with a rock of the boat, the rounded outer edge cracked. Lucky for us, it didn’t break entirely off, but split about a half inch of it and snapped it but still left the cut portion in place.
The way to repair this is fairly simple but requires special consideration for the materials chosen. The first thing I do is apply masking or painters tape along the crack that I am repairing. If the crack is exposed on both sides of the wood, put tape on the top and bottom and both sides of the crack (left and right) for example. I usually run the tape in the same direction as the cut or break I am repairing. Leave about a 1/4 of an inch between the edge of the crack and the tape.
Mix a small amount of epoxy and add just a tiny amount of thickening agent. I like something white to reduce the impact of color, but keep in mind any thickening agent will impact the color. For example, using West 406 will turn the epoxy a gray color. This isn’t an issue on teak left all natural. Since we will be varnishing our teak toe rails, I didn’t want to see a gray crack in the repaired surface due to the thickener used in the epoxy. My thickener of preference for this kind of a job is sawdust. One of the best ways to get the sawdust is to use an orbital sander and store it in a baggie. Anytime I am doing some sanding, I keep a small bag of sawdust of different shades of wood for use later.
Put the thickened epoxy in a small plastic bag and squeeze it all down into a corner.Twist the top as if you were about to write happy birthday on a cake in icing. A sandwich baggie will work for this, but I have found that I waste four times the epoxy then I do, if I use a petite bag to apply small amounts at one time. I buy these cheap little bags on Amazon designed for beads. (They call it a piping bag). Cut the corner of the bag off and squeeze
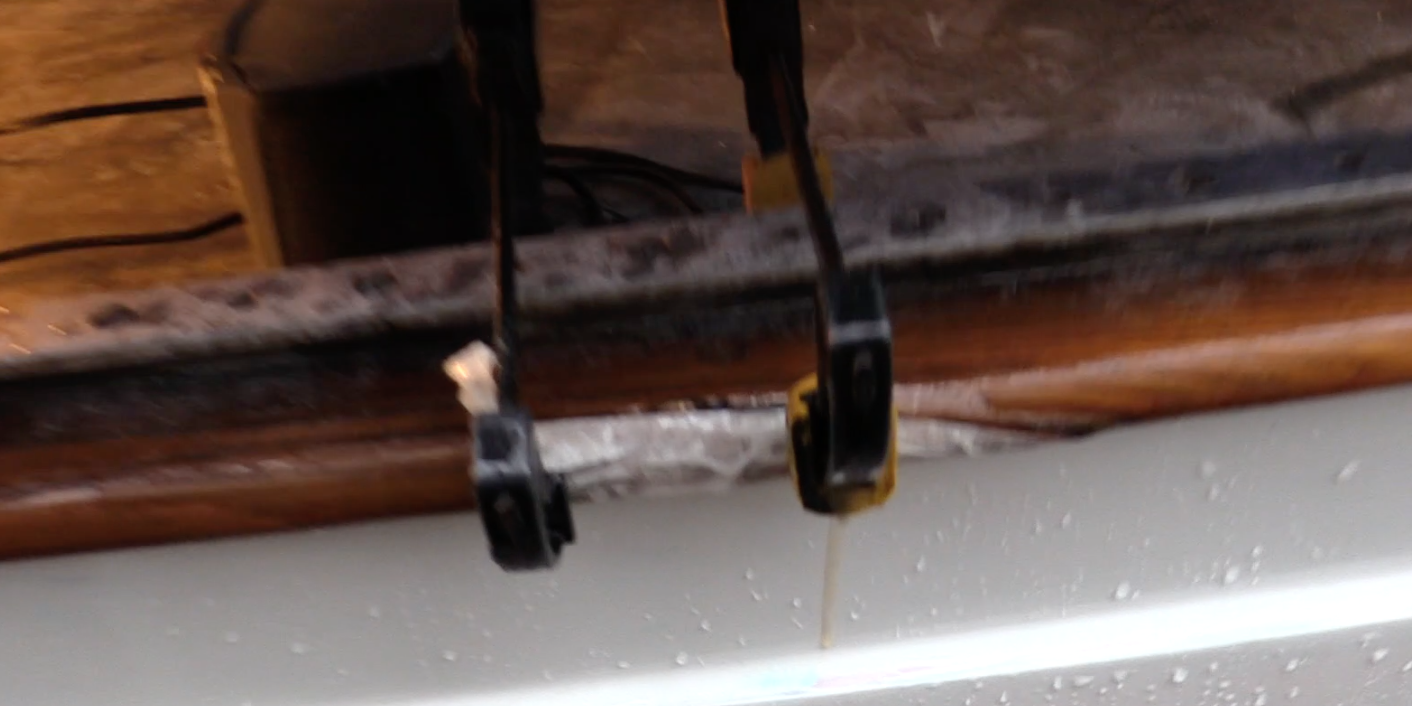
 Cut the corner off the bag off and squeeze a small bead of epoxy into the crack. I like to use the piping bag and then a popsicle stick to smear it on the surface of the break and “push” it down into the opening. Once the opening of the crack is filled, it is time to apply pressure. I like small clamps like the ones in the photo. You can buy them at a very reasonable price, and they can be used for so many projects on a boat.
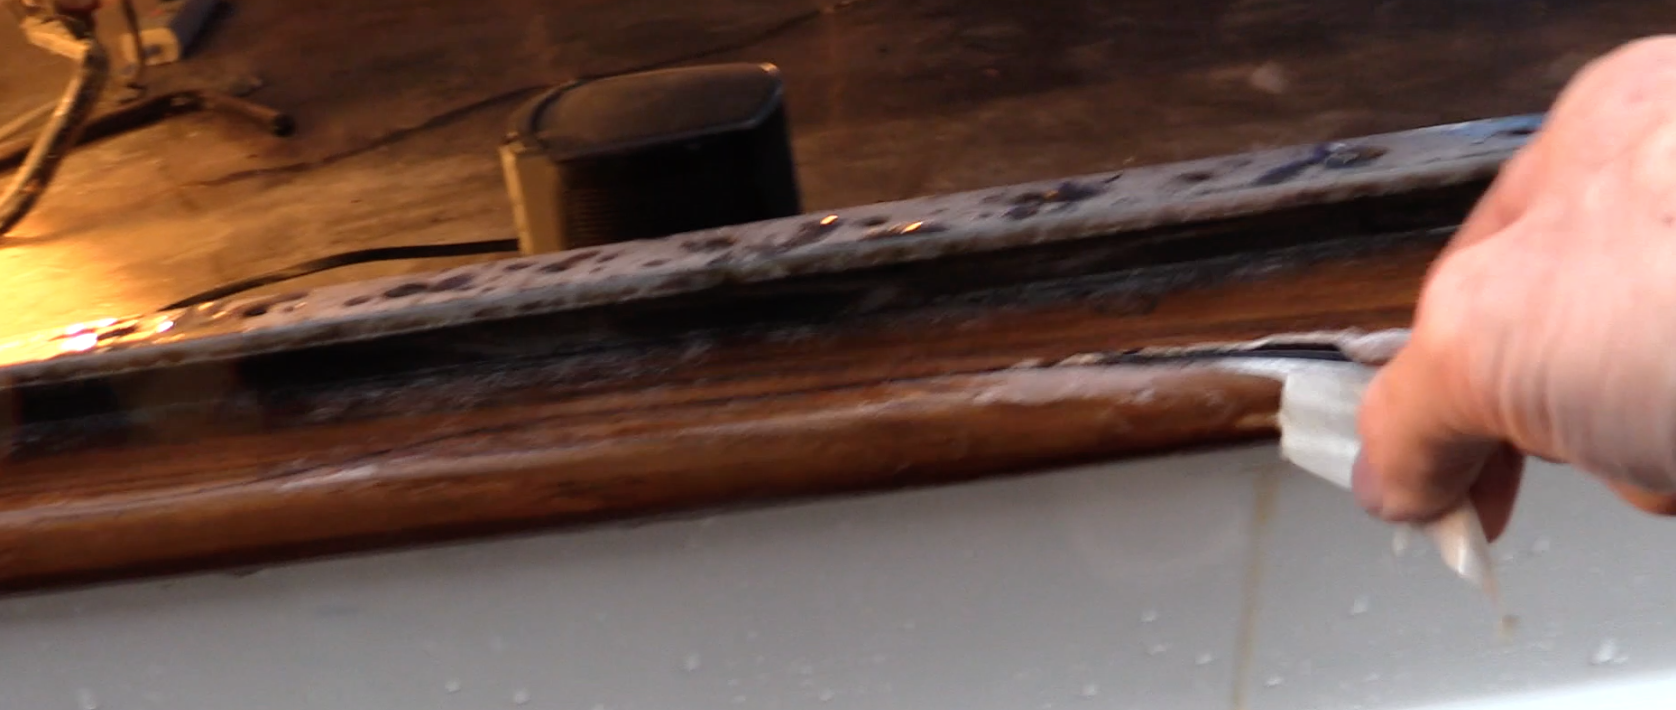
If you want the very best clear epoxy possible, I would recommend that when you mix it up, you do NOT thicken it. The challenge with this method is that the surface needs to be soaked and the two surfaces must mate together with the majority of the joint being able to sit flush against both sides of the crack.  Additionally, when you mix your West Systems 105 epoxy, use the 207 Special Clear hardeners. It is the clearest of all the wet hardeners and resins mixed. After the epoxy has oozed from the clamped opening and on to the tape, it is time to clean it up before you do a harder job than you likely want cleaning it up. Peel the tape off in a manner that doesn’t allow any excess epoxy to drip on that or any other surfaces.
 After the tape is removed, be sure the clamps are not in a position to receive any additional unplanned ooze out or run off of the epoxy. They should be used only to clamp the cracked wood together to allow the epoxy to cure before they are removed. The last thing you want to do is epoxy the clamp to the surface.
After 24 hours, remove the clamp and sand the surface smooth before applying varnish on top of the repaired area. The Special Clear 207 hardener method also allows you to build up layers before applying varnish for the UV protection that it does better than Epoxy.
If you enjoyed this information, please share it with others and subscribe to the blog.

