With all of the new fiberglass work we are having done on the deck, it means we had to remove and will have to reinstall a lot of hardware and connections from the deck of the boat. That included all of the deck fills.
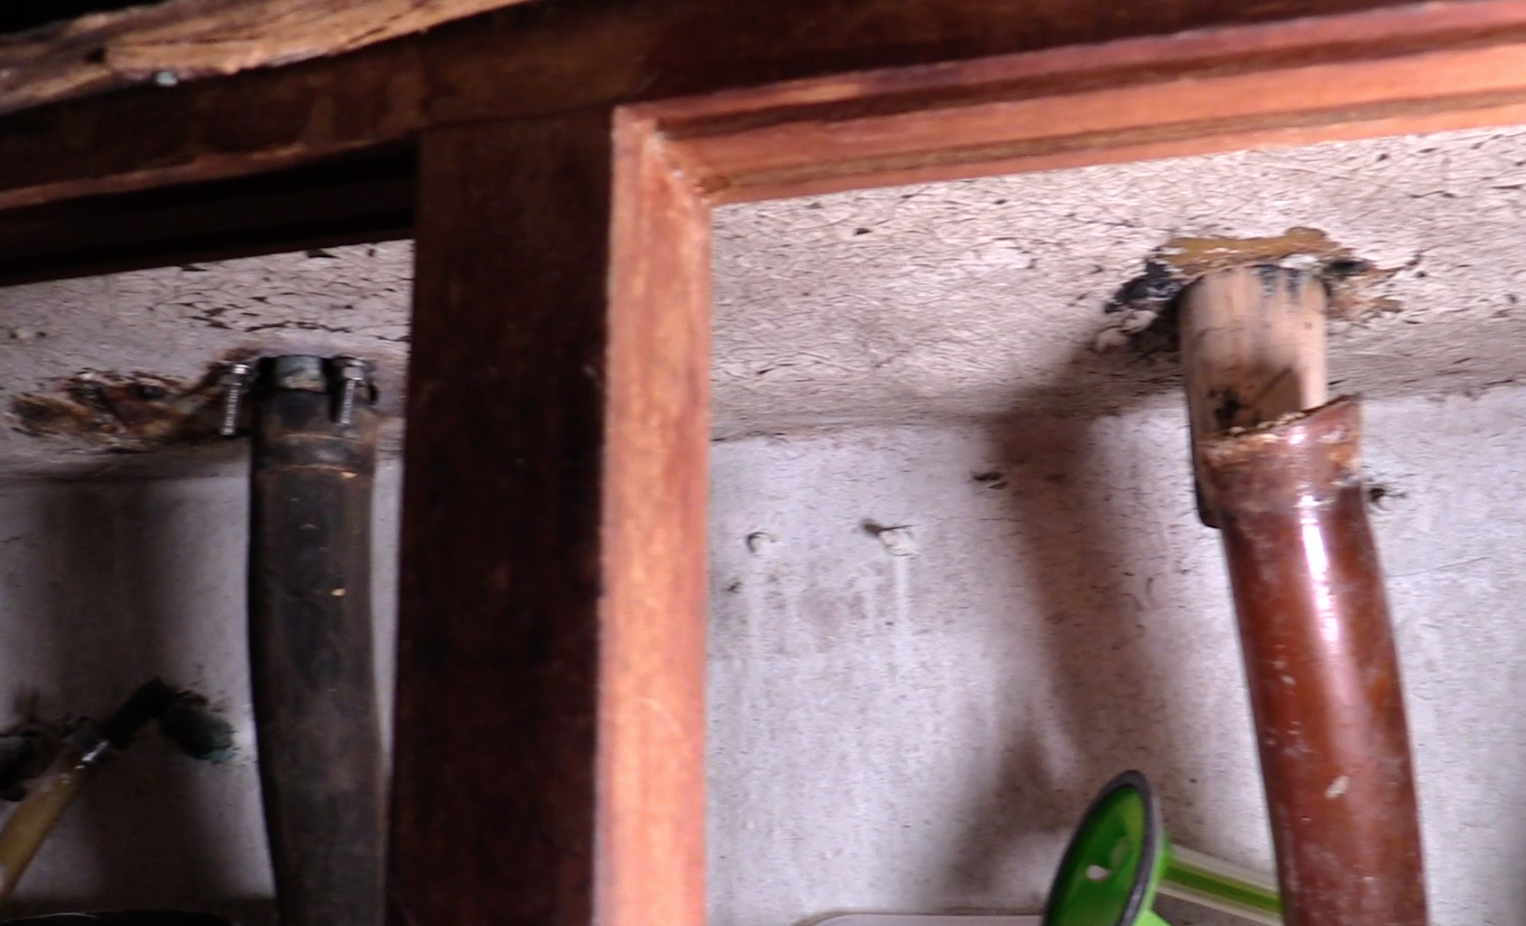
To prepare for the work, the deck fills were removed from and then placed inside their corresponding hose below the deck. By putting the deck fill back in the hose, we were able to keep track of the fills and not lose them in our piles of stuff we seem to have all over the place while this work is going on. The other reason is to keep any debris from falling into the hose while work is being done up above on the deck. In some cases, the actual deck fill either broke or was one that we were going to want to replace to keep all of them the same and standard on deck.
 In those cases, we would drive a wooden bung into the deck opening to keep water debris from running down through the deck and into the holds below where the hoses attach. For those hoses that did not have deck fills being replaced, we also would put a wooden bung at the end of the hose as well to keep dust and debris from falling into the fuel, water or waste tanks. Like all boat projects the locations and access to the things that we must work always seems to be hindered by something.
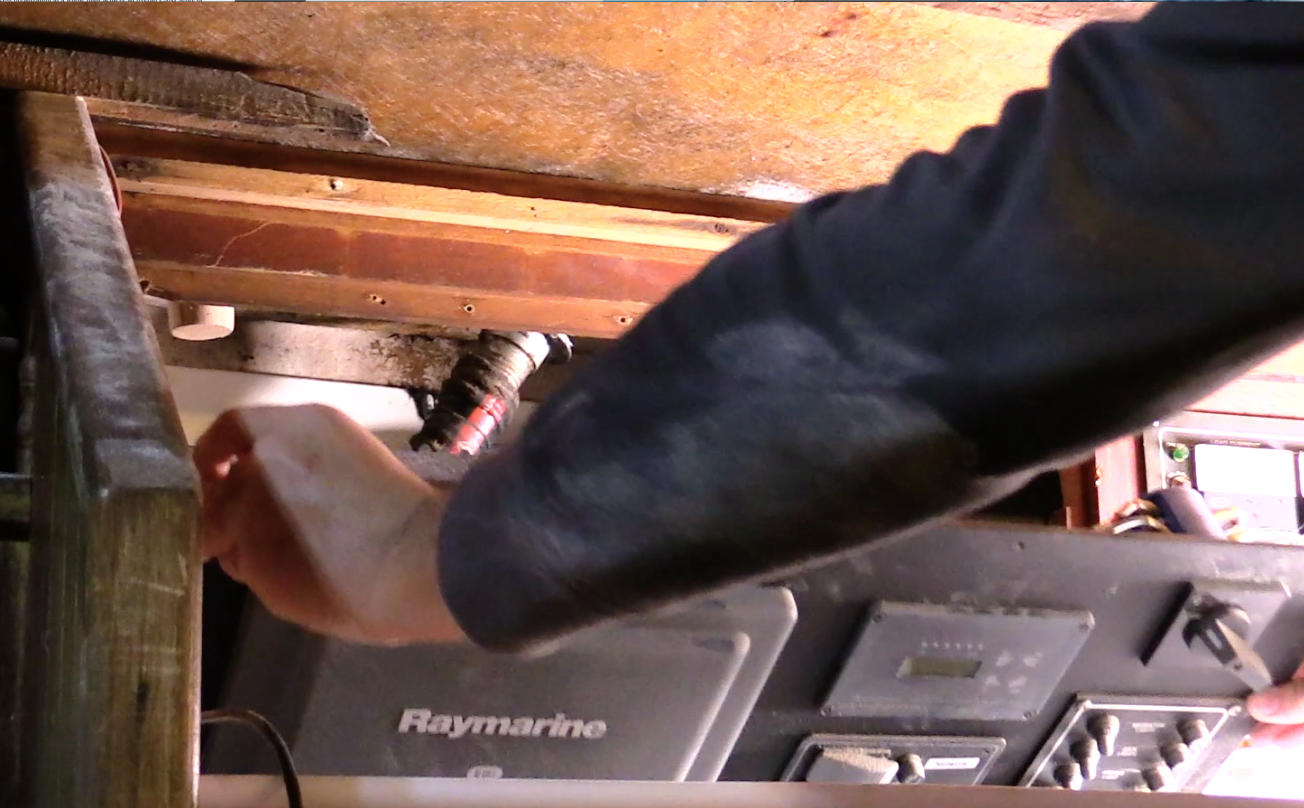
 In our case, the deck fills were reasonably accessible. For example, we had two on the starboard side of the galley that was able to be worked on by just removing anything from the cupboard to the outbound side of the galley sink. There were two more were located forward on the port side in the Salon, and then, of course, there were also two located directly behind the nav stations electrical panel. In hind site, this doesn’t seem like a great location, and I should have looked at relocating them while I was in there doing work, but I didn’t. As you can see in this photo, as I put the main navigation panel back in place, the diesel fill is just behind there with the deck fill stuck into the hose while the work above is being done. See the Video here on our youtube channel. You may also notice the butt end of a wooden bung on the far left as well to keep any water or debris from going back down to the nav station.
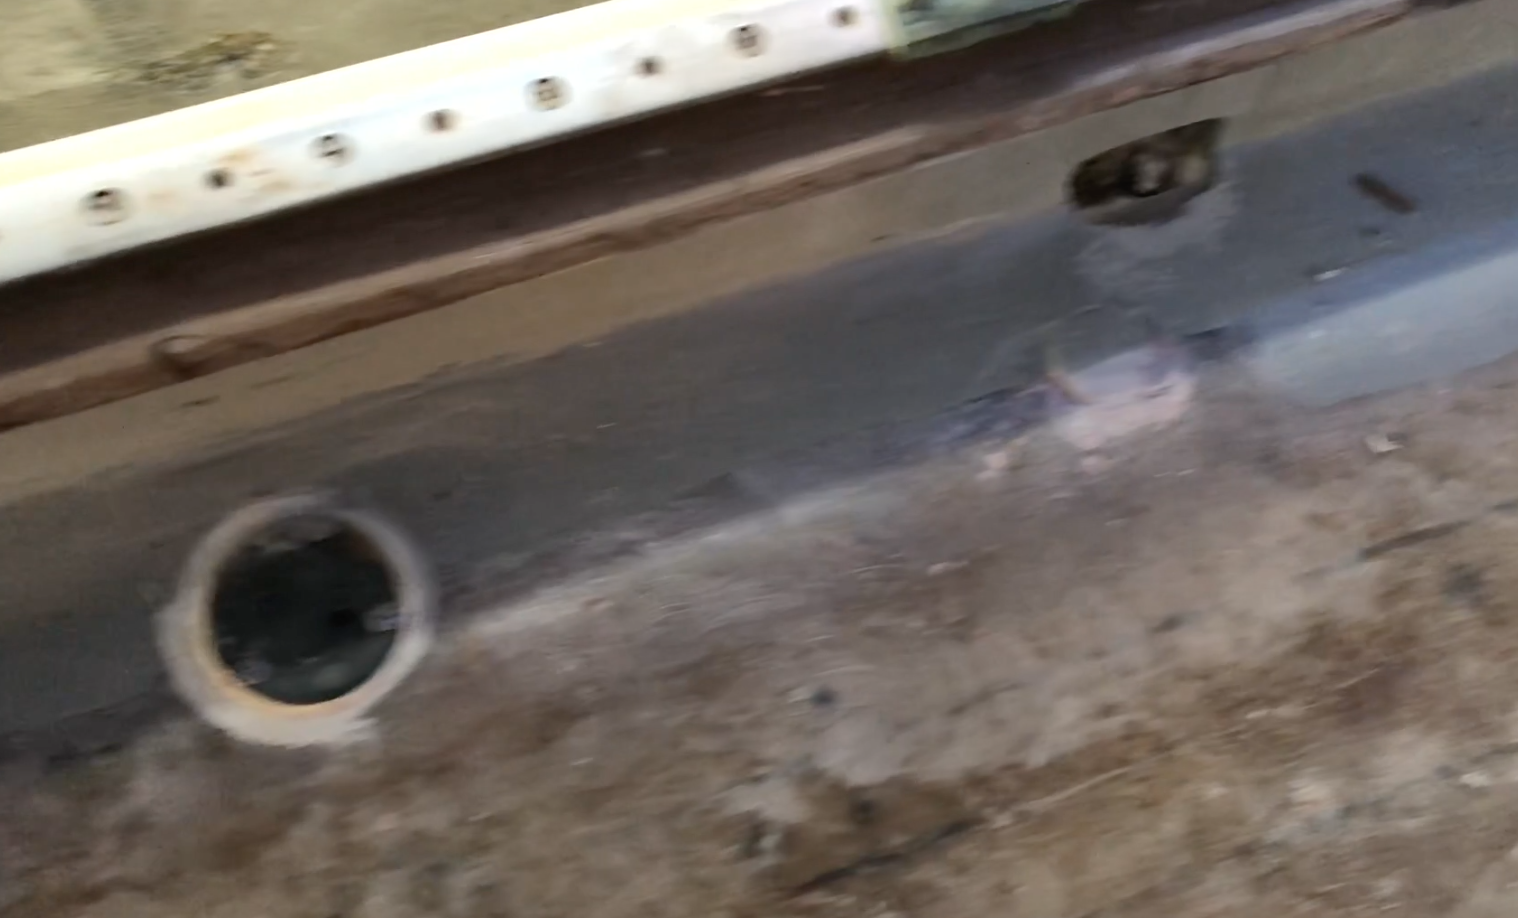
 The yard taped around the openings in the deck and inserted something to allow them to form the glass around. This was a great way to build the deck flush to the place where these would be installed in the future. In this photo you can see where one of the deck fills has been installed and the one just to the right (aft) of it, still has a bung flush with the deck that will need to be drilled out. Once drilled out, we also made sure to paint and coat the inner opening of the new hole with epoxy to create a watertight seal should the bedding ever fail.
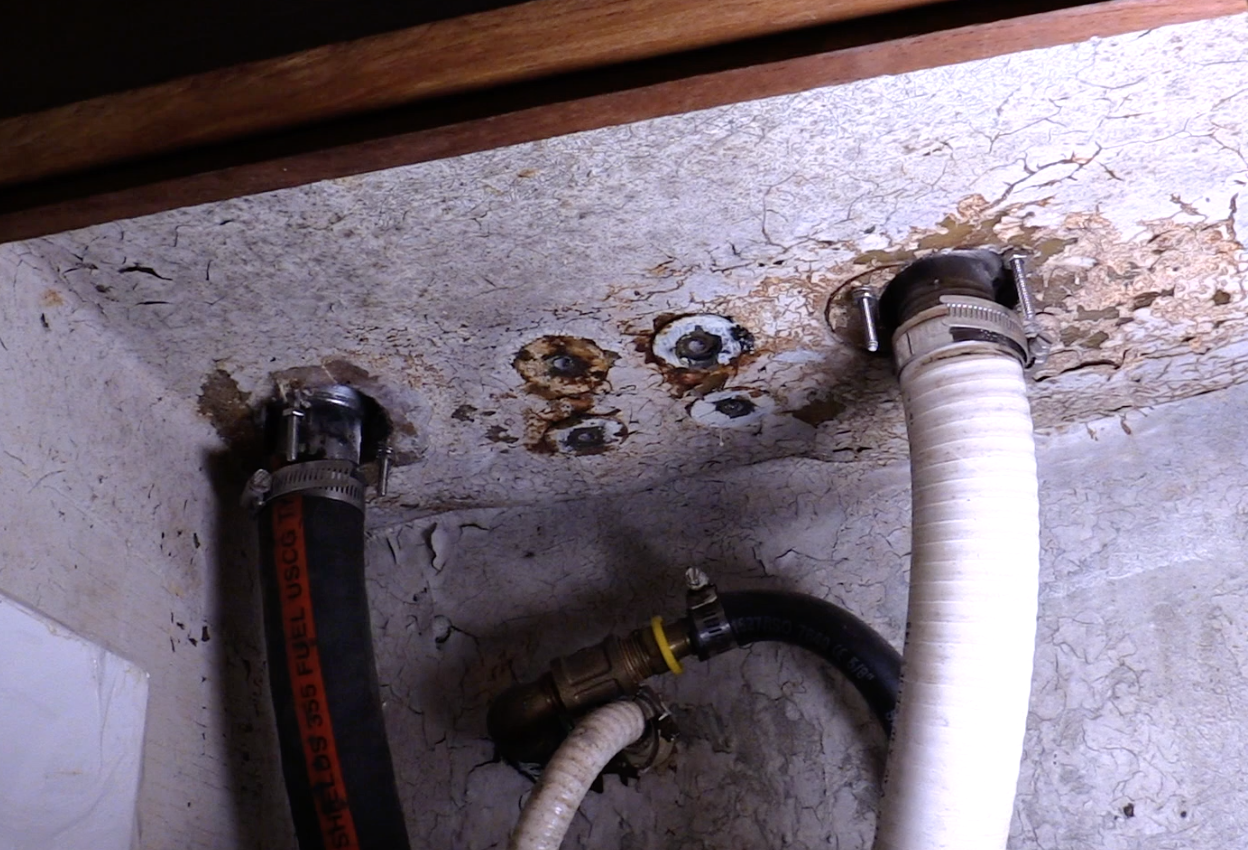
 Once the deck had been laid, and the yard was at a place for the deck fills to be put back in place, we bedded each one with 4200 and then attached the hoses from down below. In this photo, you are looking at the bottom side of the diesel generator/day tank as well as the deck waste pump out which very rarely gets used on our boat since we have an electric-scan waste treatment and discharge system installed.
We ended up installing all new deck fills that have the name of what (Waste, Water or Diesel) is in that fill stamped into the unit itself. By replacing the ones that were different, we can now have all of the deck fills the same make and manufacturer which allows us to use the same key for opening all of them.

