Deb has been working hard on some sanding projects. She started with the salon and then we stopped due to all the dust that was getting everywhere. We need to get our Fein Dust Collector back down on the boat before that project continues. The beautiful thing is that we can put the dust collector on deck and it is quiet. The hose is long enough to come through the butterfly hatch to the salon. This allows us to sand with the majority of the dust collected. But this was not the week for doing the work inside; it was time to get more done on the boom in anticipation of the mast going up. Read and see photos of the boom before it started and the first half of this prep project at this blog “Sanding the Boom”
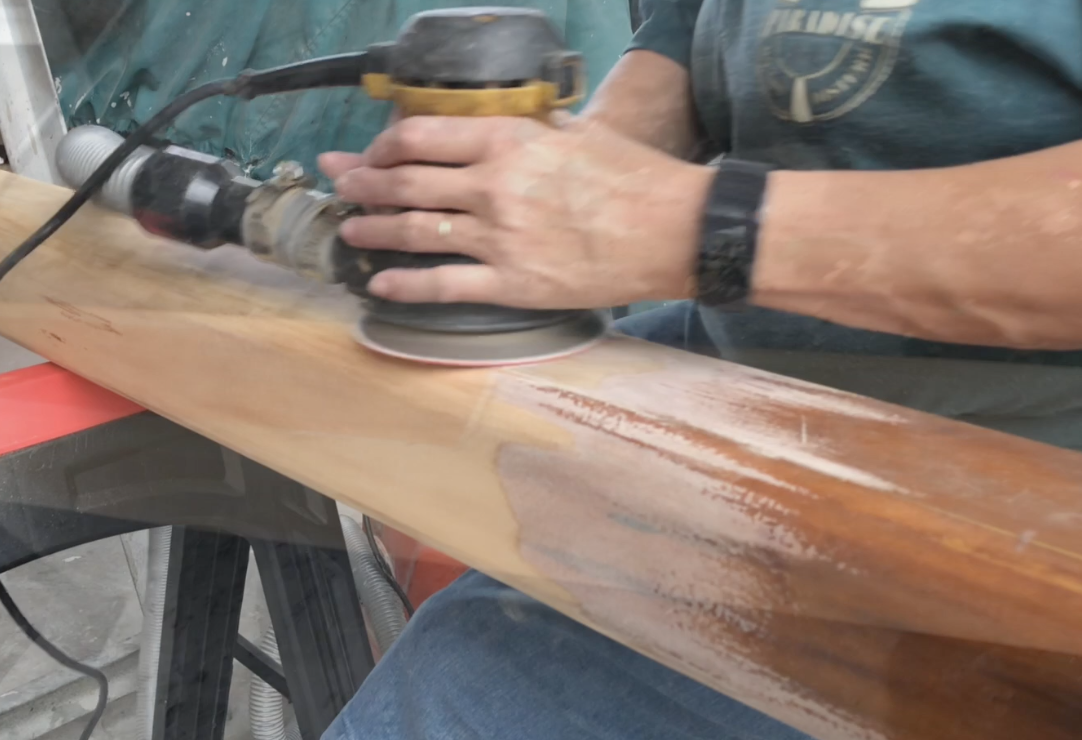
Deb connected the portable Fein dust collector to the Dewalt electric orbital sander and started working off the years of finish from the boom. One of the things we both like on this boat are the wooden booms for the mizzen as well as the self-tacking jib. The main spa has been replaced with a very large and beefy aluminum spar. So, we wanted to keep the wooden appearance in a few places to highlight the beauty of the boat. The booms were one of those areas. The finish was still in good shape given that it is covered with the sail cover most of the time so it’s exposure to the direct sun is limited.
The initial plan was to do a light sanding at 220 grit over the existing finish. From there we planned on adding more coats of varnish. As Deb started working on it, she decided it would look better and last longer if we brought it back to bare wood. Once prepared we will then finish it ourselves using some of the newer varnishes that we are going to be testing out. The years of varnish layers were thick and required a heavy duty grit to be sand off. We thought of scraping the booms, but with the rounded edges, it would have been very time-consuming. Also, it would have required more sanding anyway, so in the end chose to sand over scraping.
 Deb started with 100 grit paper on the 5” sander. We have done a lot of sanding in the previous few years between this boat and “Last Affair.” We have had our opportunity to try out a lot of sandpaper variations. We really like the “Diablo” brand sandpaper. We buy it in packs of 50 at a time to make it cheaper, and they last well as long as you remember not to leave them outside in the rain. That is the voice of experience talking, and it does ruin them. I didn’t throw them away but instead kept them for small hand sanding jobs. They seemed to be OK for that.
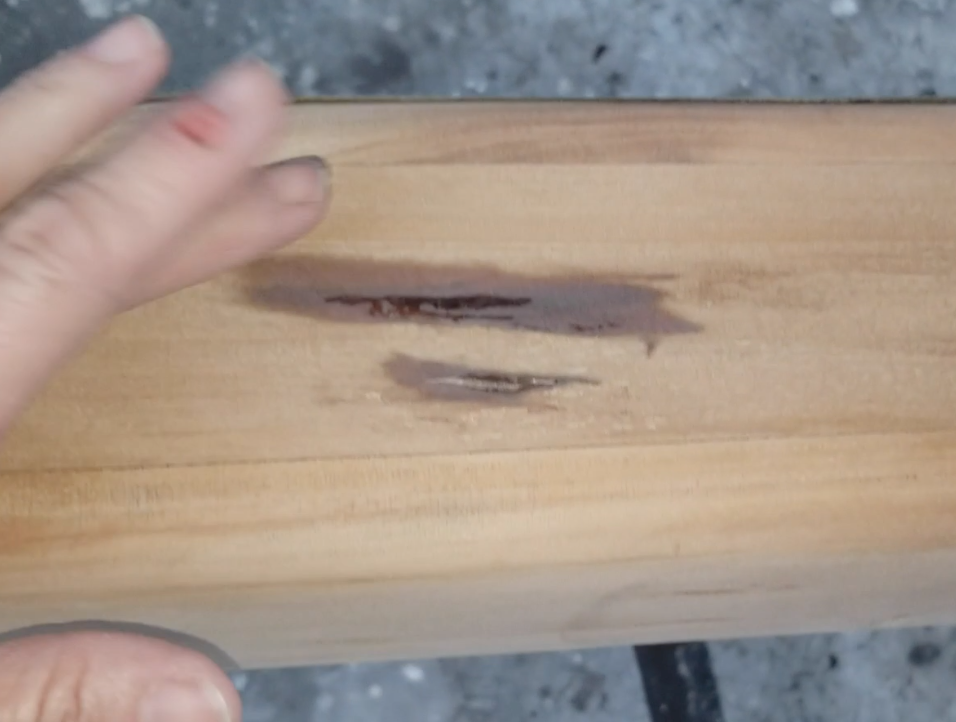
The two closeup photos show a few spots on the boom where it appears there is a little bit of rot or a knot in the wood that needs reinforcement. I believe the mast is box construction, meaning that it is four pieces of wood glued together and then shaped, so the center is hollow. We will be digging into this a little bit more in the future. We will share what the construction is when we do that work. We will also write a post and likely do a video on how to scarf in a new piece of wood when repairing this.
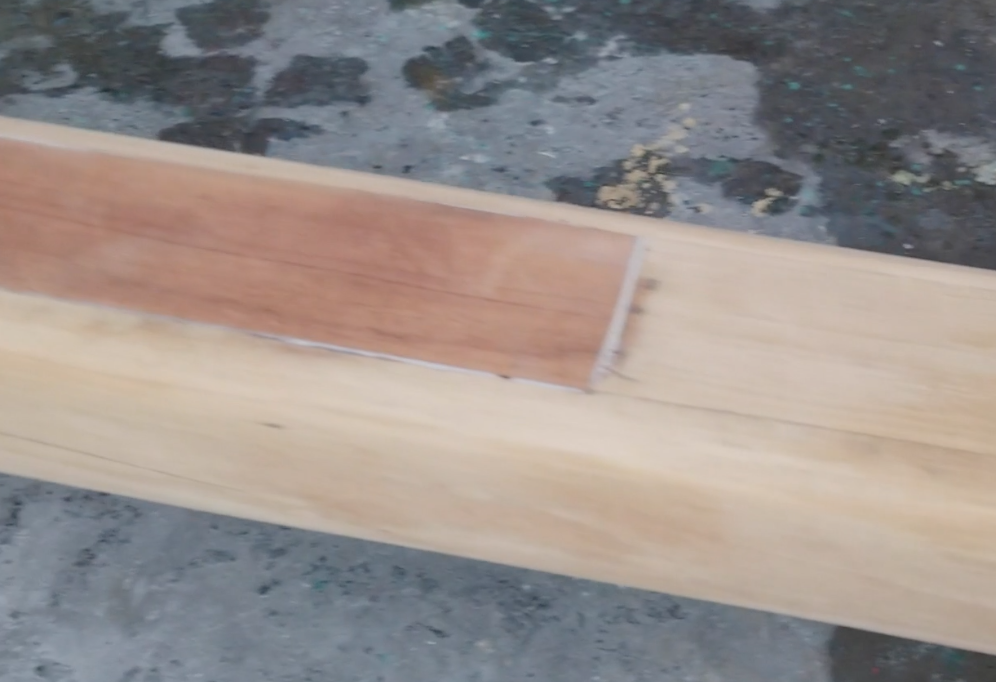
When I tapped on the spar right near this spot, it sounds a bit thinner than surrounding areas. The steps we will take is going to be to drill a hole into the boom with a Forstner bit, so it has a flat bottom. From there we can see what the best plan of approach will be. Either drilling flat bottom holes and filling it with a plug made of teak. That would then be epoxied into the spar. Or we may cut a hole in the wood and scarf in a more significant new piece. It will all depend on what we find inside. In this last photo, you can see a section of the boom where a previous scarf repair had been done. This appears to have been done very well as this part of the spar is very solid.

