
This blog is all about Debbie and the work she is doing this weekend. One of the things I love is when Deb can come help on a boat project. It has been a while since that has been the case with the grand squids moving in with Deb and us taking primary responsibility for caring for them. It is not that they are constant work, but they are continuous supervision, and that takes her out of the running most days to make the 1-hour trip each way down to the boat.
I know first hand that taking Swabby with me at times while I go to the boat to work, the pace drops to about 30% efficiency, so I get why it is not always advisable to do this.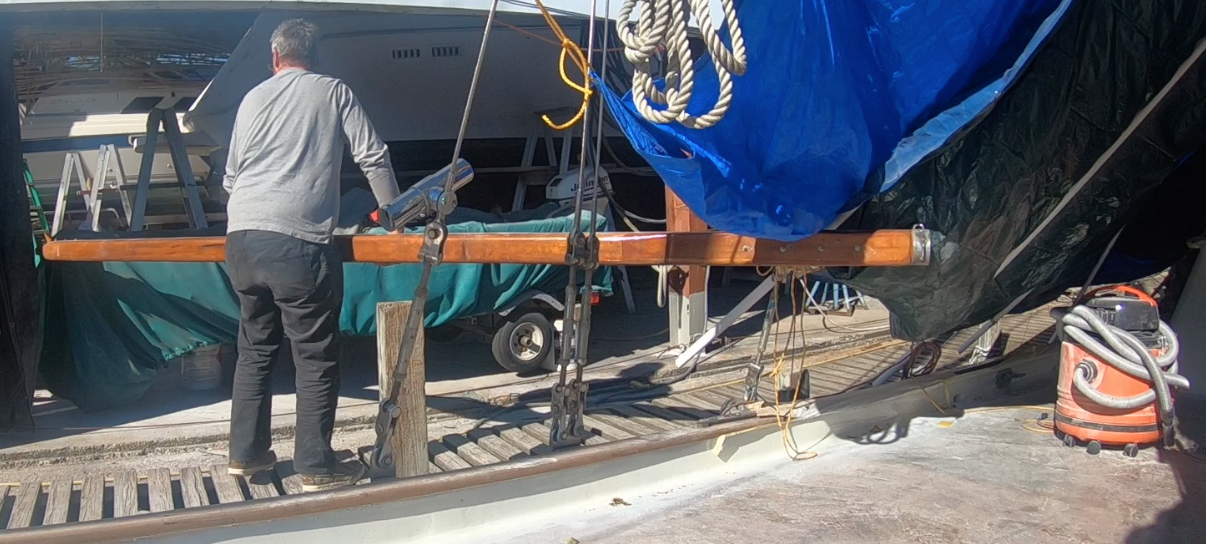
We started the day by getting the boom off the coach house roof where it has been sitting now for a couple of months. About three months ago, I was going to bring it home to sand it in the storage shed, but after driving to the boat and looking at it again, I realized that I was a little crazy when I assumed I would pop it into the back of the Tahoe and carry it on home. The darn thing is like 14 feet long or so.
I carried it off the boat and stored it in the boatyard shed so that I can pop it on and off of the sawhorses when Deb is doing the work on it.
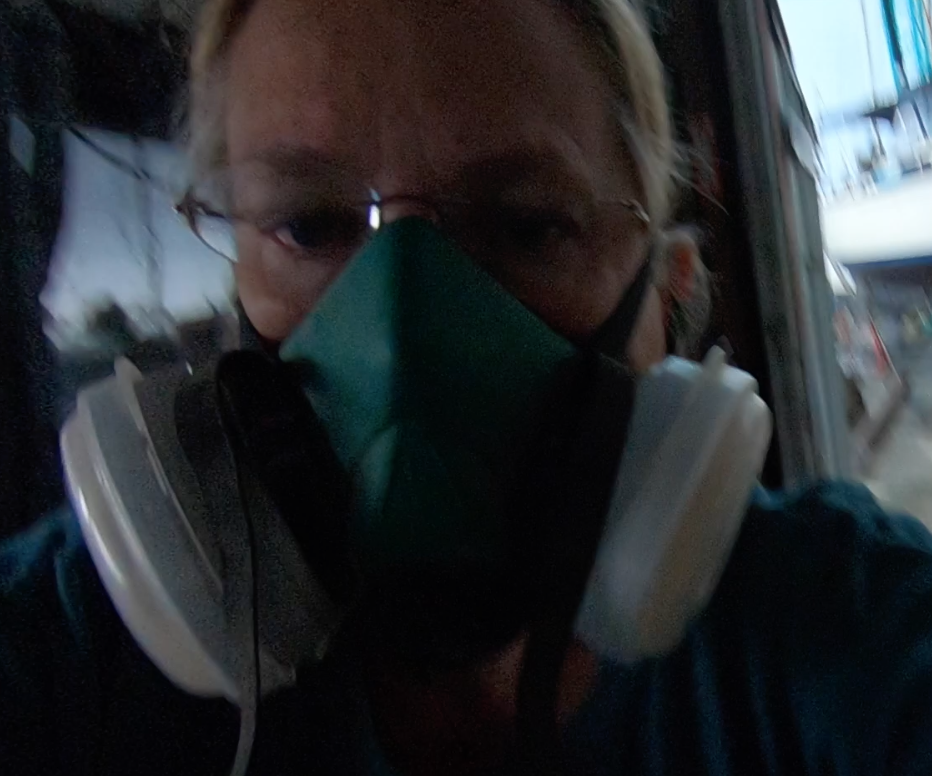 Deb is a better worker than I am when it comes to protecting herself when doing the sanding work. I am guilty of fooling myself into believing that I will only be a little while and it isn’t worth putting on a breathing mask. If I am grinding fiberglass, I will wear a respirator, but for wood sanding, I often don’t. Before you flame me here for that, I know, you are right, I am wrong, I should, etc., etc., etc. I am bad about it, kind of like wearing eye protection. I should do it more too, and I don’t. BUT this is about Deb, and she does. She has a good respirator with two canisters on it, and while she looks like she came from one of those late 80’s nuclear attack practice drills, she doesn’t blow sawdust out of her nose for three days as I do.
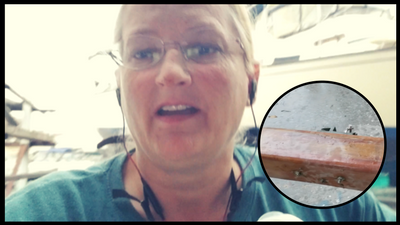
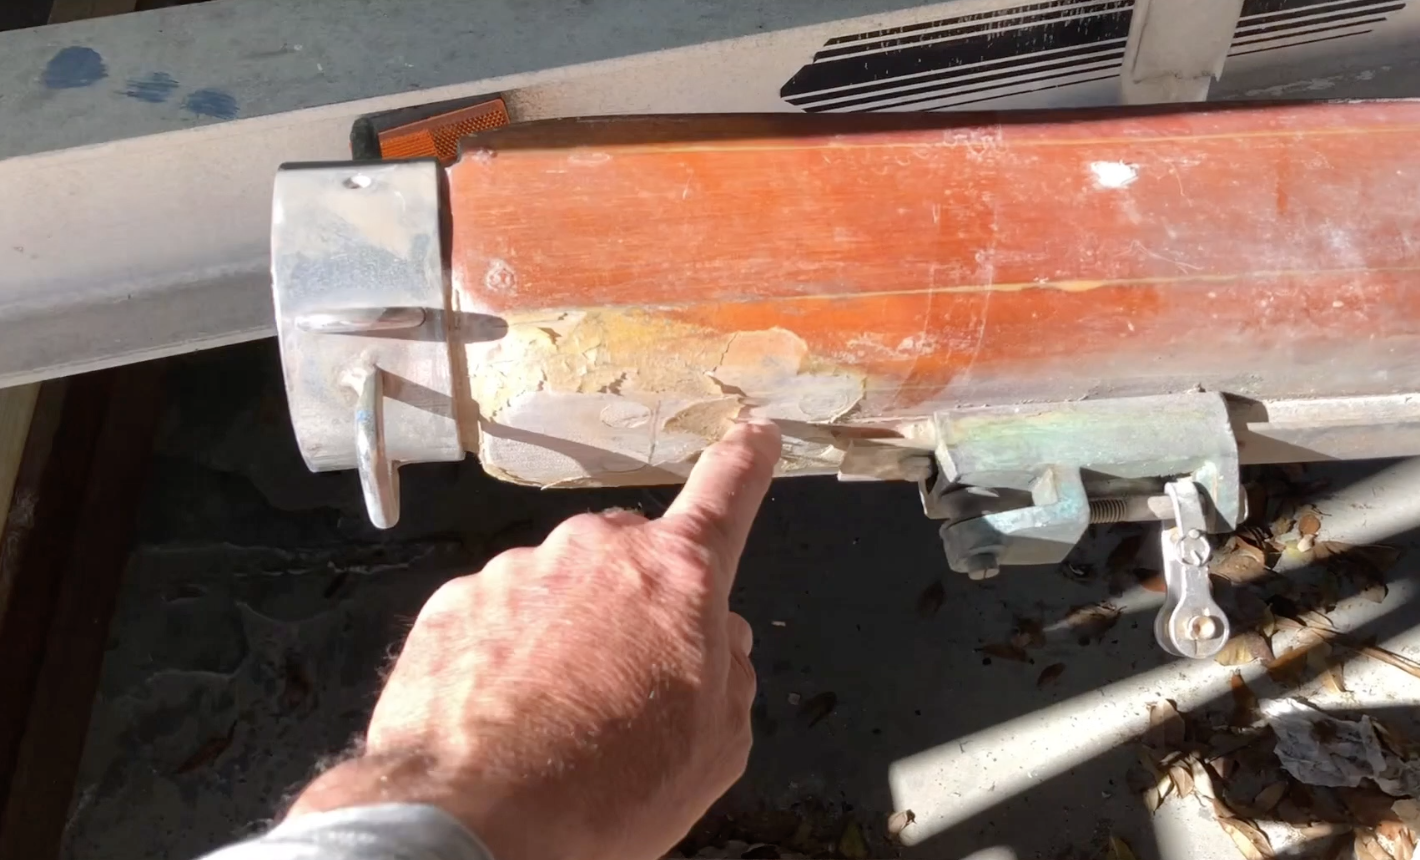 I was helping Deb by getting the boom setup on a couple of saw horses under the roof in the boatyard. I noticed something pretty interesting. All boaters know just how much damage the sun can do to varnish. I thought this was a great way to illustrate it and see the stark difference between exposed and non-exposed areas of varnish. This boom has not been varnished for at least six years. It has remained covered by the sail and sail cover, so ‘all in all’ the boom looks decent. BUT, there is a small spot at the end of the boom where the topping lift connects to it. This part of the cover has about a 4 inch slot in it. At the end of the slot is a twist snap that goes around the topping lift and allows the line to go through it.
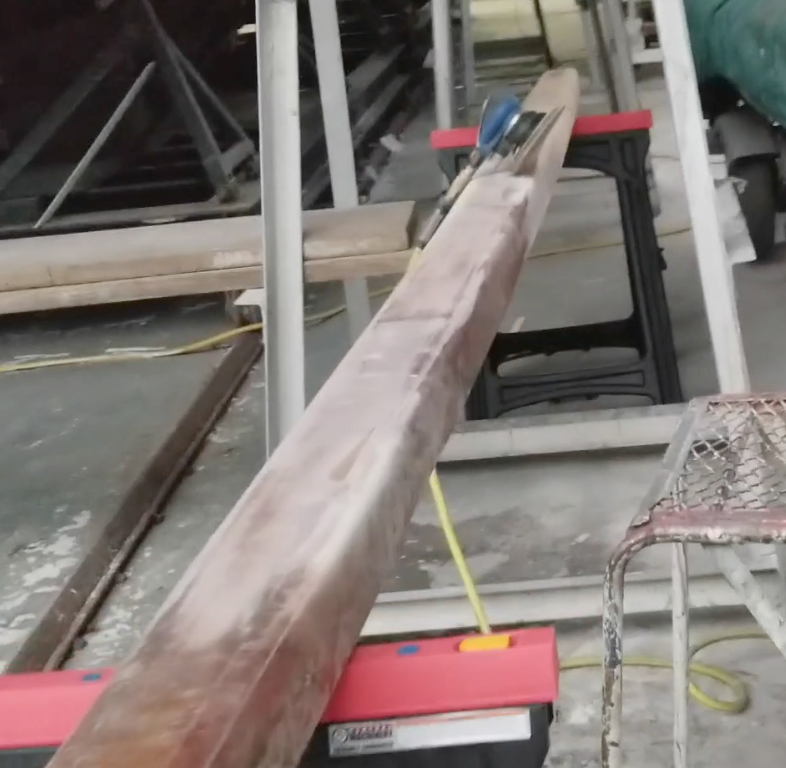
Notice the difference in varnish in this one spot, versus all the others. It goes to show that when doing touch up work, one must inspect it all thoroughly and not make assumptions. Even though this was a covered surface, it did have exposed areas. Those exposed areas needed their annual maintenance for keeping the brightwork, well, bright.
The original plan was to scuff the surface of the varnish and apply more coats on top of it since it was still in “decent” shape. Deb was in charge on this project, and as she scuffed the wood,rather she noticed some areas that would need further inspection. At that point, she decided to change her mind. She would not be scuffing the surfacinsteadgoing all the way down to bare wood. Then when that is completed, re-applying all the coats of varnish.
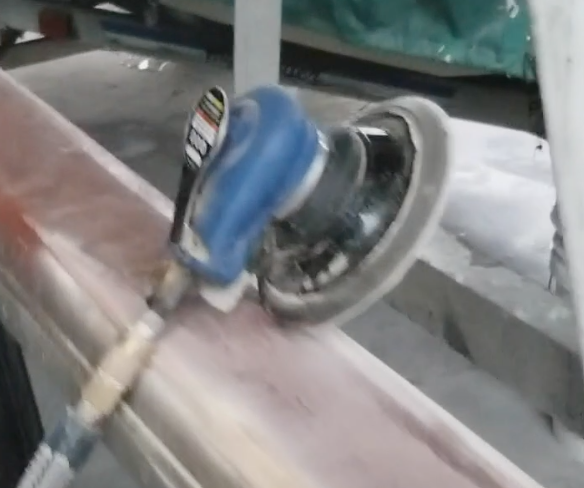
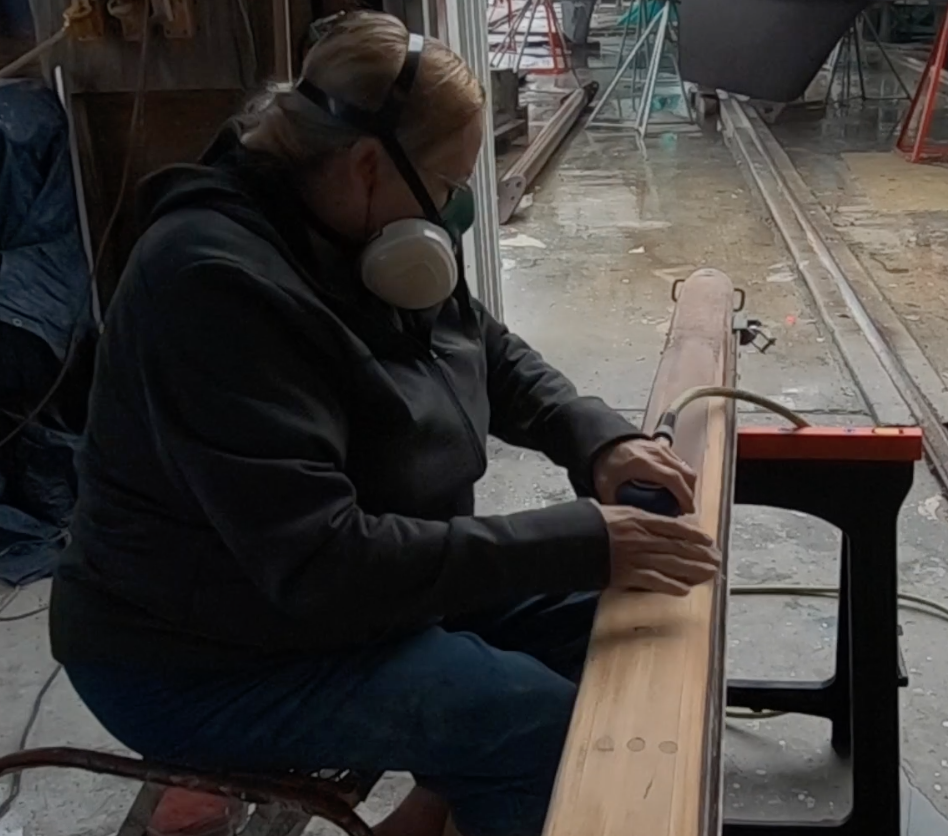 Normally, we use our Dewalt electric orbital sander for all our sanding jobs. We like it because we can connect it to our portable Fein dust collector which looks more like a small shop vac with a very long hose. It is awesome and allows the dust collector to come on any time you turn on the sander. BUT, this job required something a bit more aggressive. We like to use an air sander, a 6” orbital palm air sander for these types of jobs. The palm sander has the air actuator on the top so when you grip the tool and push down onto the surface, you are also activating the air flow. This also has a hose and small dust collection bag at the end of it. The cut is so aggressive at 100 grit or 150 grit that most of the dust goes up in a cloud around your work, but it gets down to bare wood quickly.
 As you can see this was a good way to make fast time of the work. As it started to rain, Deb scooted her setup into the 3 sided garage a bit more to stay dry. It rained something fierce but with her inside, she was able to continue to sand the wood down. She would sit on the stool, sand an area, then roll the boom to the other side and repeat this. Our boom is an interesting shape, it is more of a boxed rounded edge boom than a complete square one or round one.
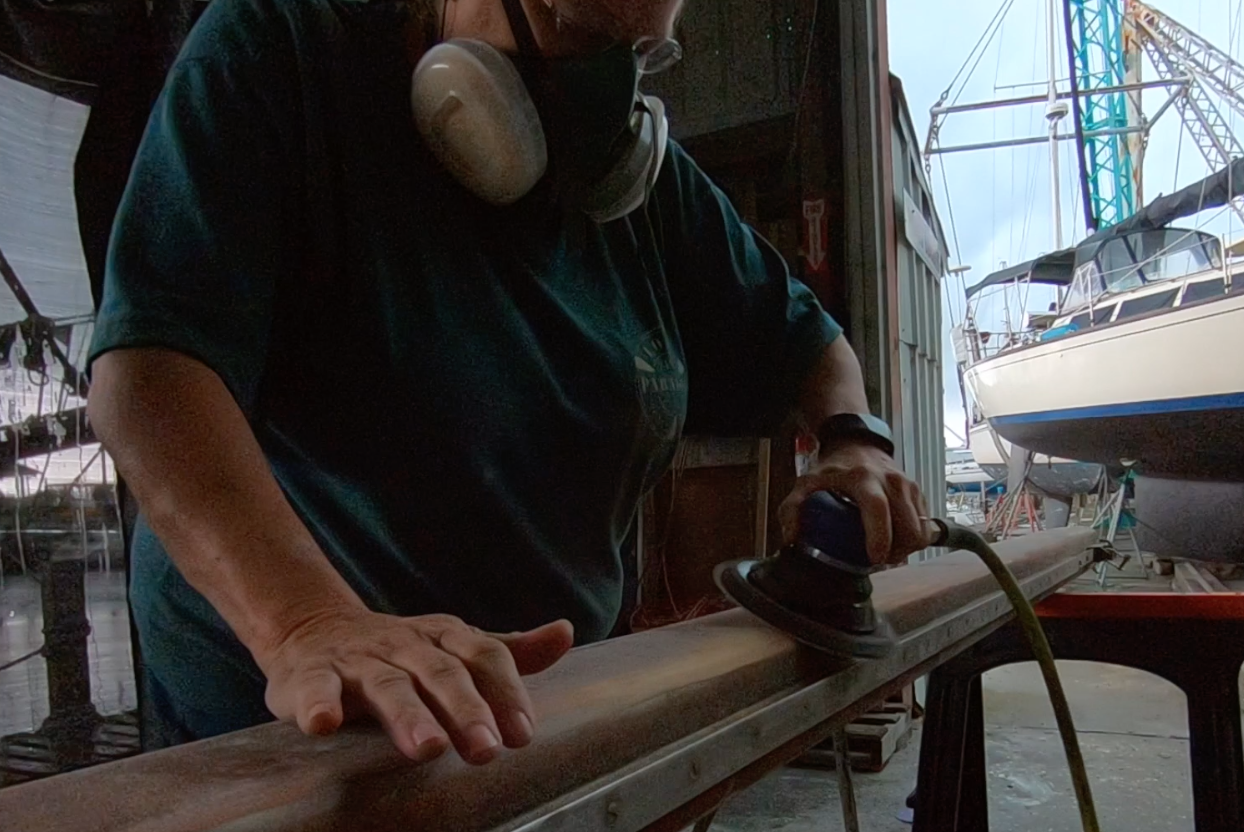
 Sadly, we ran out of the 6” disks mid-way through the job so Deb went back to the 5” orbital Dewalt Sander. She is our old trusty and have had it for years. The plan is to continue sanding this down to bare wood. Deb will work 150 grit up to 220 grit before applying precoats and ultimately varnishing the boom. As she continues to sand it down, we will inspect it closer because of those areas she found that made her want to go to bare wood in the first place. More to come on that as the job progresses.
Nice Work baby !!
See how this project finished up by reading this post “The boom is Sanded and ready for finish.”