
During the Plumbing project on DreamChaser, we installed a water distribution manifold for all the plumbing lines and located it right under the cabinet floor panels in the upper salon/galley. It was a bonus that the floor boards were not screwed down to the floor beams, and it made it easy to store or hide items under the floor. There is enough room to store a few cases of soft drinks or beer easily between the tankage and the sides of the hull.
During this water plumbing project, we noticed some water on the floor and I assumed it was where the old plumbing lines went from copper to poly tubing, however after checking them, I noticed that the actual water heater tank was leaking.
That was not part of the plan as it instantly made us focus on this items to resolve and have to put the rest of the plumbing project on hold to get this done. (We will create another post on the Hot Water Heater another day so that I won’t go into detail here)
After removing the water heater and putting it up on deck to start to inspect it, I realized just how bad the floor panels looked under the cabinets. This was a good distraction; I was not exactly moving as quickly as I was hoping I would have the plumbing replacements. The lines are all in and new faucets, however with the water heater leaking, I was at a standstill until it was replaced.
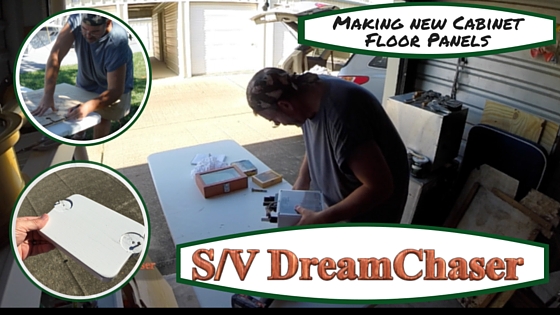
I pulled out the floor panels so that I could use them as templates to mark, measure and cut the new panels. This is the first project I have done where I was setting up and cutting pretty decent sized pieces of wood. When we were in Kemah, I would take the parts over to a wood shop I had setup in a rented space, but we are a little over 6 hours away by car from that setup, so…. It was time to just setup something temporary.

My temporary workshop consisted of a fold-up 6-foot table, an extension cord running from the boat up to the little spit of grass at the end of the dock, and my cell phone blasting out some Bob Marley on Pandora.
I used the old panels as patterns and cut out the panels for a good tight fit back in the cabinet floors and then sanded each piece to 220 grit. I also cut a small hardwood block that I will epoxy to the bottom of the hull in the forward bilge and mount the shower sump to it rather than the hull directly. Lastly, I also cut out the forward head substrate for the granite countertop.
Once everything way cut, dry fit tested and then sanded to 220, it was time to load it all up in the car and take everything over to the storage shed to paint, glue and clamp where it could be left overnight to dry.

I started with the small hardwood block and used a forester bit to make small indentations for the attachment feet on the sump allowing it to sit flush and solid on that block of wood.
The next step was to paint that block of wood as well as the two-floor panels. We opted to paint these with “topsides” paint so that it would have boats exterior paint job making it easier to clean in the event something spills in there. Making the new panels will also allow me to mount the new water heater in a different orientation to provide more room for storing kitchen supplies.
The last thing that we did was glued the new granite counter-top to the substrate that we cut so that it can be mounted in place with screws from the underside of the counter. When finished there will be a fiddle rail mounted all the way around countertop as well to keep things from falling off of the counter in a sea-way.
I must admit, the cooler weather, the ability to setup our small working area and to get some new wooden panels, cut, sanded and finished, felt really good. We have not been making progress on this boat as we did on the last one and it felt good to get some large items take care of.
A few weeks ago, I put up a small video on the Youtube channel letting everyone know that we are working on a 4 part series on replacing the plumbing lines within the boat. We have the footage, and I have some of the blog content written. However, It is taking longer than I expected, so please be patient for a couple of weeks while the editing process and writing continues.
Wishing you safe travels and fair winds.
[embedyt] https://www.youtube.com/watch?v=m77lsNPx7DU[/embedyt]