It is never an easy decision to embark on this kind of work as a DIY project or hiring it out. The sheer economics of this one made the decision easier for us, but over the years we have become more comfortable with doing our work ourselves. We have found that most of the time the work we do ourselves is as good if not better quality over much of what we have hired out. That is not to say that there are not great marine service companies out there, it is just that we have had varied results when we have used them.
Just like people vary in character and quality, so do the organizations that exist in this space or any other for that matter.
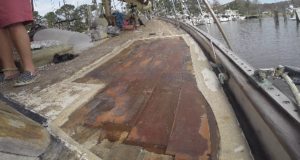
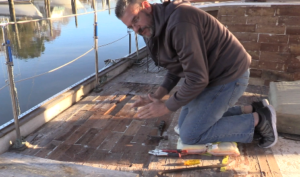 This thought about vendors and money was the mindset that we had while going into this project. I started by removing the loose or rotted board that were inside the deck. The entire core was filled with 3 inches by 9-12 inch long planks. I suspect they used these because they were scrap wood from something else or because putting them in the deck in small pieces made it easier to get the “curve” of the hull factored into the deck.
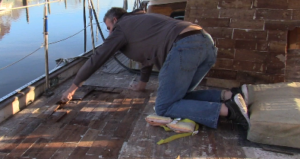 Some of the deck pieces came out very easy, and you could tell they were delaminated from the top and bottom skin and were not
even bonded together in some places. This hole I cut in the deck exposed about 35 or so of these boards and of those about 8-10 of so came out of the deck with no effort. I was able to use a screwdriver to get under the edge and lift them up. The rest took much more effort to separate from the lower skin showing me that as I moved from the original water ingress point, they delamination was not as bad and was holding the bond together in those places.
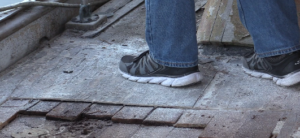 I planned to do this job in sections because I am not in a boat yard where everything can be covered. I have an awning and have jury rigged up some water protection but it is not permanent, and I can’t reliably assume no rain will get to the deck for an extended job. I have decided to do this section by section. As I was standing on the edge of the cut I made, I could
 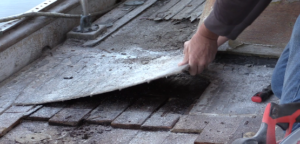 feel and see that the lowest portion of the deck just forward of the coach house was also very severely delaminated and wet. I extended the cut another 18″ or so back. This additional cut doesn’t get all of the bad core out, but when I do the next section along the side of the coach house, I will be able just to cut a bit of the part I just did up and join the two sections. It is not the best way to do it, but it is the best solution for our current situation, time and location.
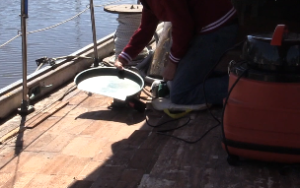 Some people have asked how I make sure that the work I am doing does not make so much dust that it goes on my neighbor’s boats. With a palm sander, it is not too bad, but if using the belt sander or, heaven forbid, the grinder, it makes a lot of dust. Some of my tools have a dust port installed on them, and I have a Fein portable dust collector. The best way to describe it is like a shop vac on steroids. It has several suction levels and you can either use it like a vacuum of you can set it to an automatic mode. In this way, you plug your tool into the Fein, and when you turn on the hand tool, the vacuum automatically comes on, and when you shut down the tool, the vacuum goes off 5 seconds later. It works very well.
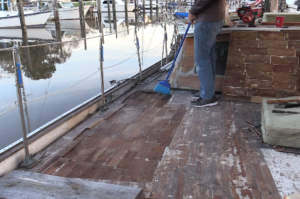 I then swept up all of the wood, sawdust, fiberglass dust and what not and got ready to prepare the lower skin for adhesion of the new core. For the new core to be bond mechanically to the surface, I needed it to be rough and clean. It was already rough, but there were brown spots that resembled the board shapes, and I wasn’t sure if this was just discoloration from the wood being in contact with it the last 40 years or if this was a thin
 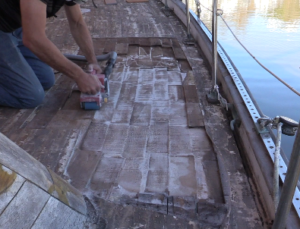 layer of the wood fibers that were still sticking to the
lower skin of glass. I didn’t want to chance it so decided to sand that off. I started with 150 grit in a palm sander, and that was way TOO SLOW. I quickly moved to a 36 grit belt sander which made the job take just 15 minutes or so.
I decided that since the boat had hardwood core, I had to go back with something as good. I contemplated plywood, but it felt like a ‘lesser’ material than hardwood, so I opted to put 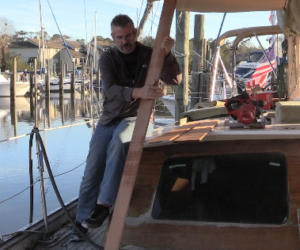 mahogany planks inside the deck. As a someone who has had a hobby woodworking, it was a painful decision to take a beautiful wood like this and bury it in epoxy and fiberglass, but I had to swallow my thoughts and move forward once my mind was made up.
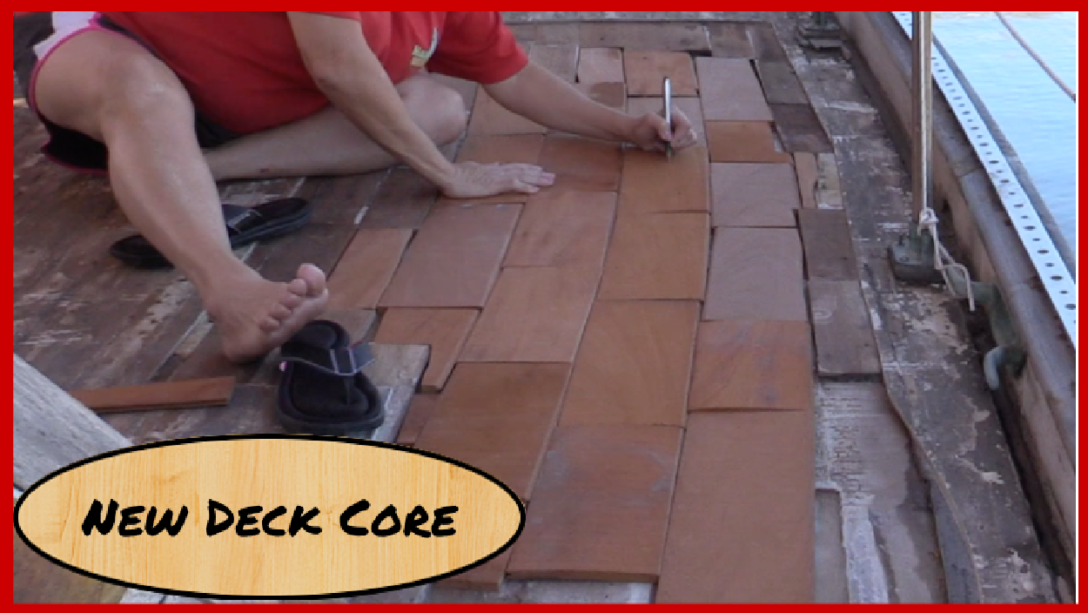
I cleaned up my mess again, and we dry fit all the new boards into the opening. The mahogany I bought was slightly wider planks at 5 inches rather than three, so we had to do a bit of ripping on some of them to get a good fit into the opening. We numbered all of the boards so that when the clock was ticking on the mixed epoxy and we were laying them back in, we would remember the order they went in and their orientation.
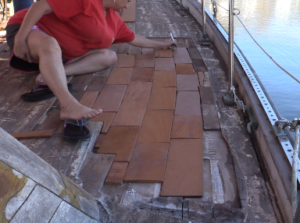 I then painted the lower skin with a coat of epoxy resin and harder well mixed. I used West Epoxy systems 105 resin and 209 extra slow harder. I opted for the extra slow to give myself some more time if needed given that I am not an experienced user of these chemicals, nor have I done a deck re-core previously so wanted to have plenty of time before the epoxy started to kick on me.
The tools we use for this job are listed below if you find this a convenient way to shop for them. If you use these links, you get the same great Amazon pricing, but we get a small affiliate link credit. Thank you.
Hindsight lesson learned: The coat of epoxy on the inner skin was not needed. I should have painted the bottom side of each of the mahogany boards instead as an added security. This is a theory but if I had painted the bottom of the boards, it would create a barrier on the wood so that the next layer of thickened epoxy would have a solid surface to cure to rather than potentially having the wood absorb some of the mixture into the grains reducing the amount in the joint. Again, this is just a theory as I don’t think even a balsa wood would be able to absorb so much of it that it would weaken the bond or reduce the material in the bond enough to make a difference. But the short 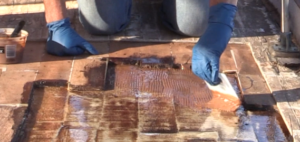 answer is this step for me was not necessary, and I won’t do it moving forward on any other spots we repair.
I then thickened a batch of epoxy and used a small plastic scraper with notches in it to spread the material and lay each board into it. This process reminded me a lot of laying tile in a home and the way the mastic is spread out. The notches in the scraper give it a nice even coat and space to expand when you push the wood down into the material.
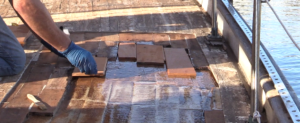 Deb and I broke this up into a team sport, but if you were doing this on your own, there was plenty of time for one person to do it. I would mix the epoxy, then thicken and spread the next section and Deb would lay the boards into it and apply the pressure to them. We did this until all were down and we let the material start to harden a bit over the next hour or 2.
 We then used more thickened epoxy and spread it between the gaps between the boards. Doing so gave us one solid surface out of all of these small pieces of mahogany. We let that cure for 36 full days (it needed about 24 hours but the time of day we did the work did not allow us enough time start to lay the glass on top.
Once it the epoxy was cured, I did
set some cross-strand mat, but we will cover that in the next blog post as we only put one test layer down (and in days after that found a mistake that I had to fix). More to come next week.
Feel free to repost this article with embedded video to your favorite sailing group, sailing club or even point them to our youtube channel or Facebook page for more info as well.

