
This week the painting of the hull continues. The yard did some finish work on the white paint and taped and masked off the boat for the second color. We love the idea of a black boat, but it is hard to spot in an emergency, imperfections really show up, etc.
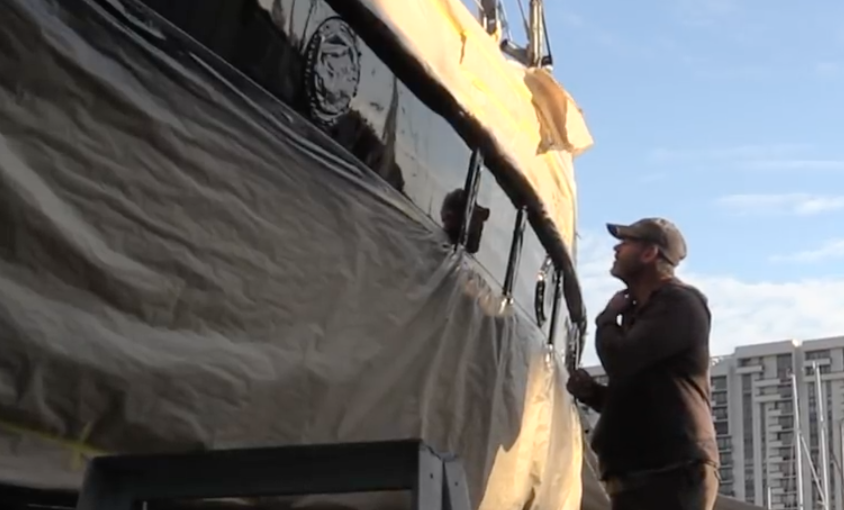
The challenge with that is all of those are true, and the only reason we wanted black (or something dark) is just that we like the way it looks. So we have found a great paint scheme that we have come up with to give us what we hope to be the best of both worlds. The boat is white, with the entire stern which will be black (more photos to come as they get to that section) and we will have a VERY large stripe between the rub rail and bottom of the ports. It will follow the contour of the deck and the decorative teak scrollwork on the ends of the rub rail and the beautifully carved scroll work on the bow. I can see my reflection in just the first coat of black. Heck, I could almost shave using this reflective surface.
 It is amazing how work can progress when there are a team of people with the proper tools and are set up to do the work (as opposed to the way we do it while living aboard). In addition to the work they are doing, the yard owner at Mayer Yacht Service has allowed us to do work on the boat while it is in the yard. He joked with us that we “had permission to work on the boat, but not permission to hurt ourselves.”
The flexibility of Michael at the yard has allowed us to do work as well on the boat. Taking advantage of the fact that it has scaffolding 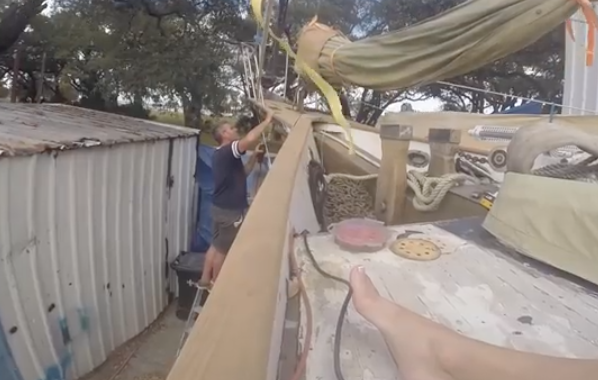 set up around it, we were able to get a lot of sanding done as well. Additionally, we don’t have to worry about the noise bothering our marina neighbors.
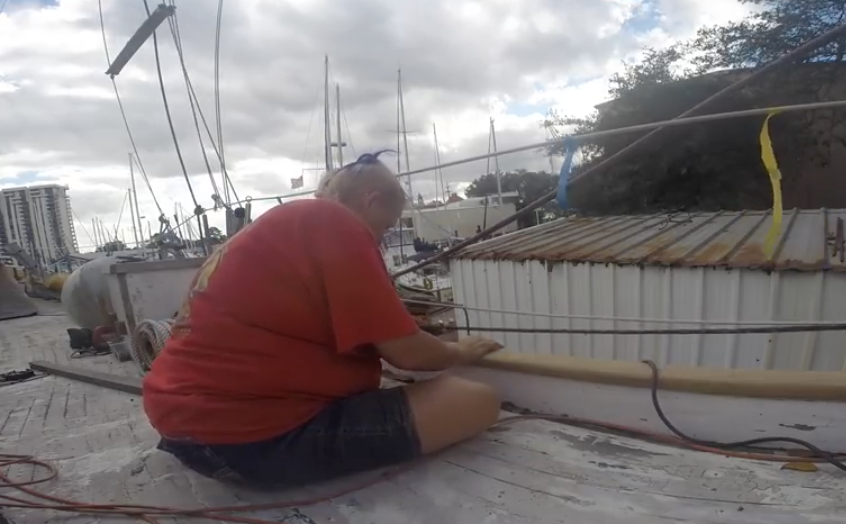
Deb started working on deck and sanding on the toe rails to get the old material off and get it back down to bare wood. She used 100 grit and finished with 220. Usually I would never use 100 grit or rougher on the wood as it is too aggressive and I don’t want to lose any wood thickness, but frankly we would have been sanding 5 times longer by doing it with 220 and in the end, likely taken almost the same amount of wood off the surface.
Deb focused on the top of the toe rail and into the inside of the gunnel, and I worked on the bowsprit. It was a challenge because it was higher than the scaffolding, so I did most of this standing on the top of an 8-foot ladder. I can tell I am getting older because, after a full day of doing that, my calves were feeling it 🙂
I also sanded the bowsprit (from above and below) to get it down to bare wood. I really want to varnish this for the great look of it, but also realize that varnished surfaces are more slippery and I don’t want to be sliding around when bouncing up and down on the bow of the boat 12 feet over the water or so.

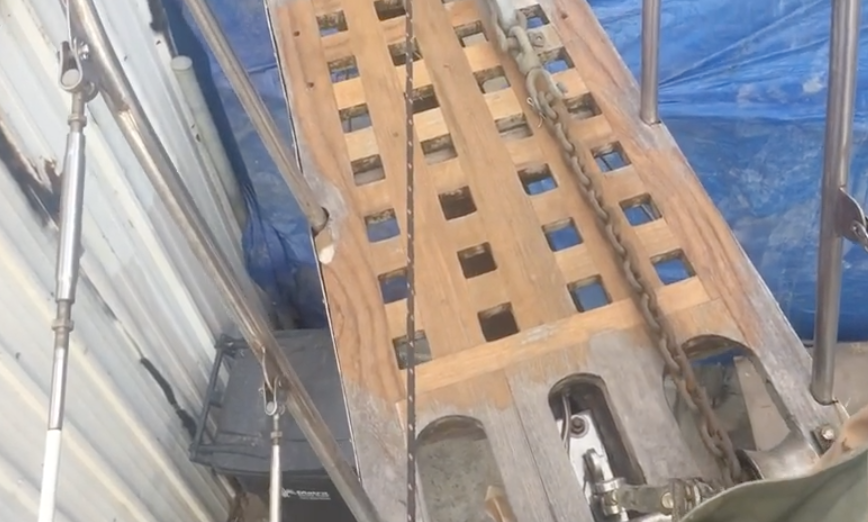
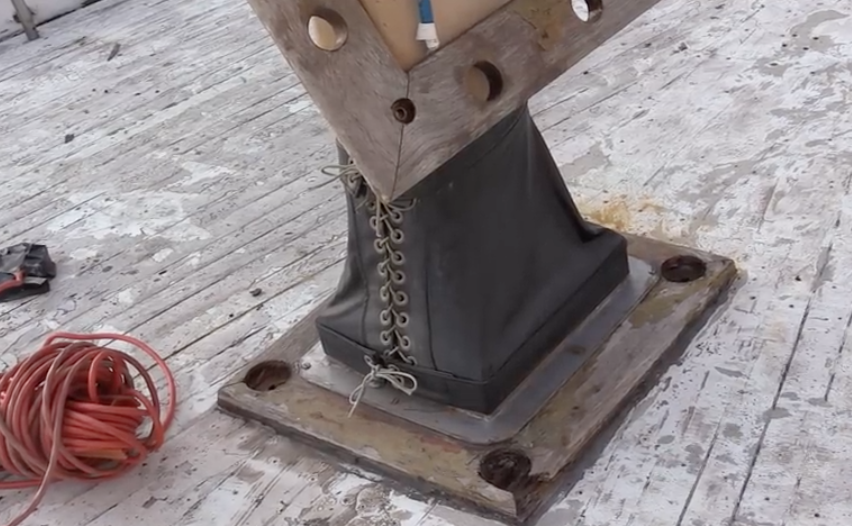
We also made more progress on the mast replacement. The yard removed the Mizzen as you likely read in a previous post. As part of the modification of the aluminum spar, the yard cut the mast down to the correct length. They also removed the hardware from the wooden mizzenmast to see what could be used again and what needed to be fabricated on the new mast. A great example is in the picture to the left. This is the top of the mizzenmast, and the stainless hardware that wrapped over the top of the mast and down the sides to the shrouds has been removed. They are being used to fabricate how they will attach to the new mast given that the aluminum masthead has a flat surface to mount VHF antenna and any other hardware we want to put there. The thing that shocked me and the yard workers the most was that they believe that this mast is made of teak. Teak, Can you believe it? Now I believe I will be taking a chainsaw to this mast when they are not going to need it for any reference and will be milling it for wood I need for other projects. For example, we will be building a set of deck boxes and want to use teak corners and accents, and this will save a thousand dollars or so in the cost of teak wood to be purchased raw.
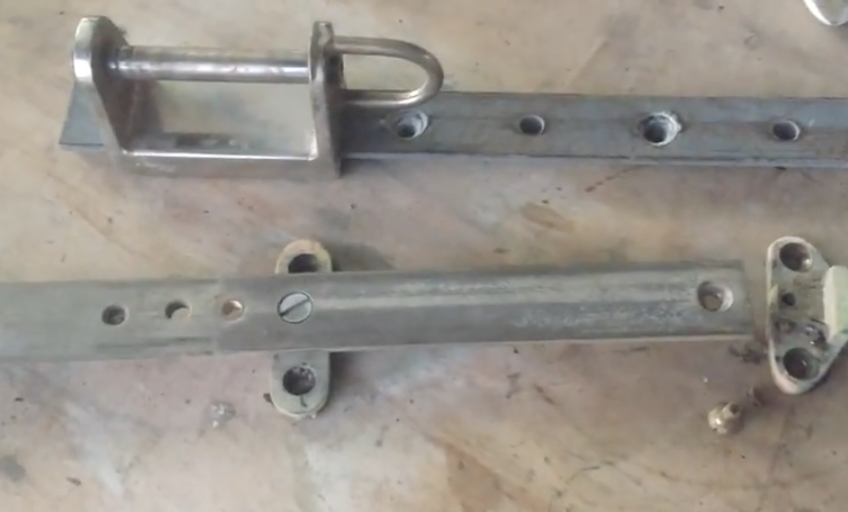
Bottom track is the original with external slugs and bolts, the one above is the new one with internal mounting screws and will fit into the sail track
I checked with a local hardwood supplier and depending on the width of the boards; I will be paying between $35 to $55 per board foot. That would put the cost of this mast to replace in wood to be about $11K if I were to purchase the teak to replace a teak mast. One of the other things we have had to do (Well the yard, they are doing the VAST majority of the work) was to consider how the mast track would work. The wooden mast is flat and wide, so a sail track that had outside slugs works great. The new mast is thinner and more rounded so bolting a 2.5″ wide component to the rounded edge requires a backing plate and what not. The sail already has an extruded slot for an inside set of sail slugs. The new hardware was modified from the original jib pole and will work great for attaching the gooseneck. One of the things we wanted to do was to keep the original boom which is a gorgeous teak boom. This allows us to mount the existing boom to the new mast.
We had asked for a quote on having the deck fiberglassed. This is something that I was going to do myself but was really worried about how to do it. I attempted a small project by making a fiberglass deck box which turned out decent enough, but my ability to fair a surface was certainly called into question when I looked at my results.
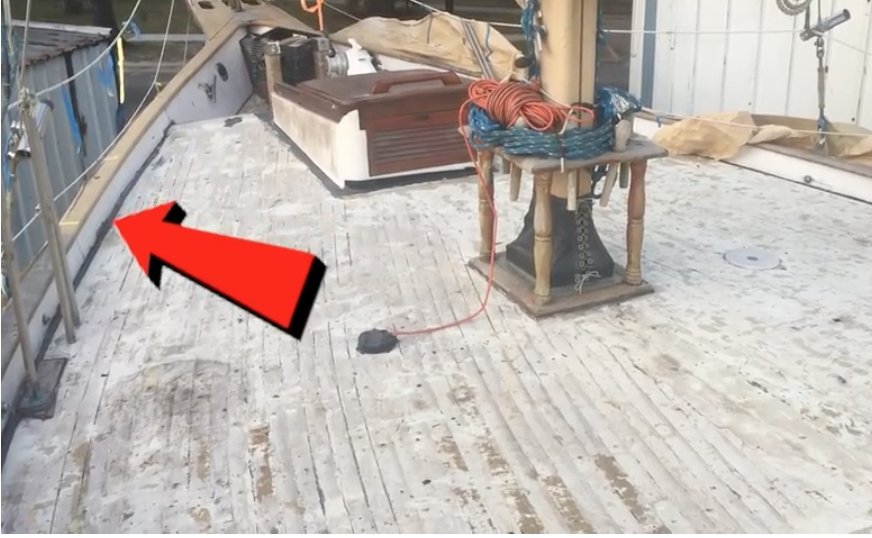
So with my hand hovering over my wallet in self-defense, I asked Michael for a quote on what it would take to glass the entire deck. I was anxious about what this would cost, and while it was indeed expensive, it was not as bad as I thought it would be. Frankly, I expected the cost to be higher and ultimately high enough that I wouldn’t have the money and would need to defer the job completely. In preparation for the job, the yard removed the seat from the cockpit so that there was plenty of working space. We also had a lot of discussions about what the repair may look like. The picture with the red arrow shows one of the decisions we contemplated to help save cost and provide a better result.
Today the deck on DreamChaser has a small trough that the water flows down between the sides of the teak deck and the gunwhale. This could be glassed back in place and just would require more detail work but doesn’t change much about the way water will flow when it hits the deck. Water will flow toward the coachhouse and out toward the gunwhale just forward of the coachhouse, even if there is this channel or trough. So with that, we talked about filling it in and making a nice radius from the gunwale right onto the deck. This does mean that the scuppers need to be reworked ab it, but that is four areas of detailed fiberglass rather than 40+ feet of area to do detail work on each side of the boat.
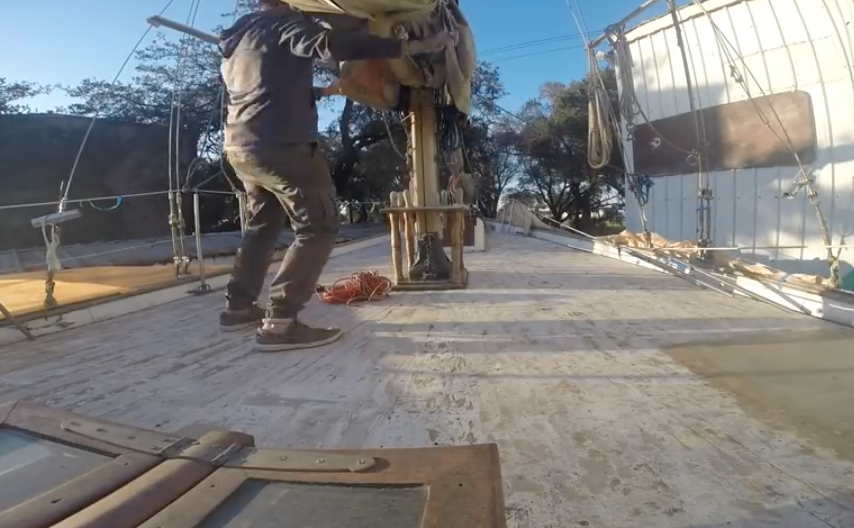
I have also taken the time to remove the belaying pin rack around the mast and will be cutting the base of wood so the fiberglass can go right up to the mast. This was a work filled week. There is still a lot more sanding to do as we didn’t get it all finished.
[embedyt] https://www.youtube.com/watch?v=Np1c7ddqHAA[/embedyt]Subscribe to our youtube channel!!
https://www.youtube.com/c/svdreamchaser?sub_confirmation=1
Support !!
http://www.patreon.com/svdreamchaser
Let’s Connect !!
– http://www.facebook.com/svdreamchaser
– http://www.twitter.com/svdreamchaser
– http://svdreamchaser.tumbler.com