
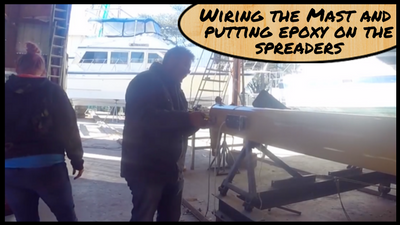
While the mast is sitting horizontal, we wanted to take full advantage of its easy reachability. While a flag halyard and anchor light is to be mounted on the main mast, we felt that having a backup on the mizzen would be smart and a good redundant system. So with this in mind, we went to work on planning the layout on the mast.
The plan was to wire the mast as well as prepare the spreaders and reinstall them. My daughter Whitney came to help me today since Deb was not feeling well. Today’s work was a two-person task to run and pull the wires through the mast, so I was very grateful for her help. It was fun for me too. Frankly, this is the first time Whitney and I did something together, just the 2 of us in about five years or so. It reminded me of the times when I used to take her to work with me out of town during summer breaks from school. While I was working, she would hang out at the hotel and play Xbox. When I would get off of work, we would sightsee in the city where we traveled. It was a great time and a tremendous father-daughter bonding time as well. And at 15 or 16 years old, it was a good time for some father-daughter time.
 But I digress. So we chose our tasks and Whitney was going to start by applying several coats of epoxy onto the freshly sanded spreaders. We taped around the stainless steel mounting brackets on each spreader and hung them from some wire to allow all sides to be painted with the epoxy. I showed Whitney how to mix up the resin and hardener and she was off to the races applying it to the spreaders.
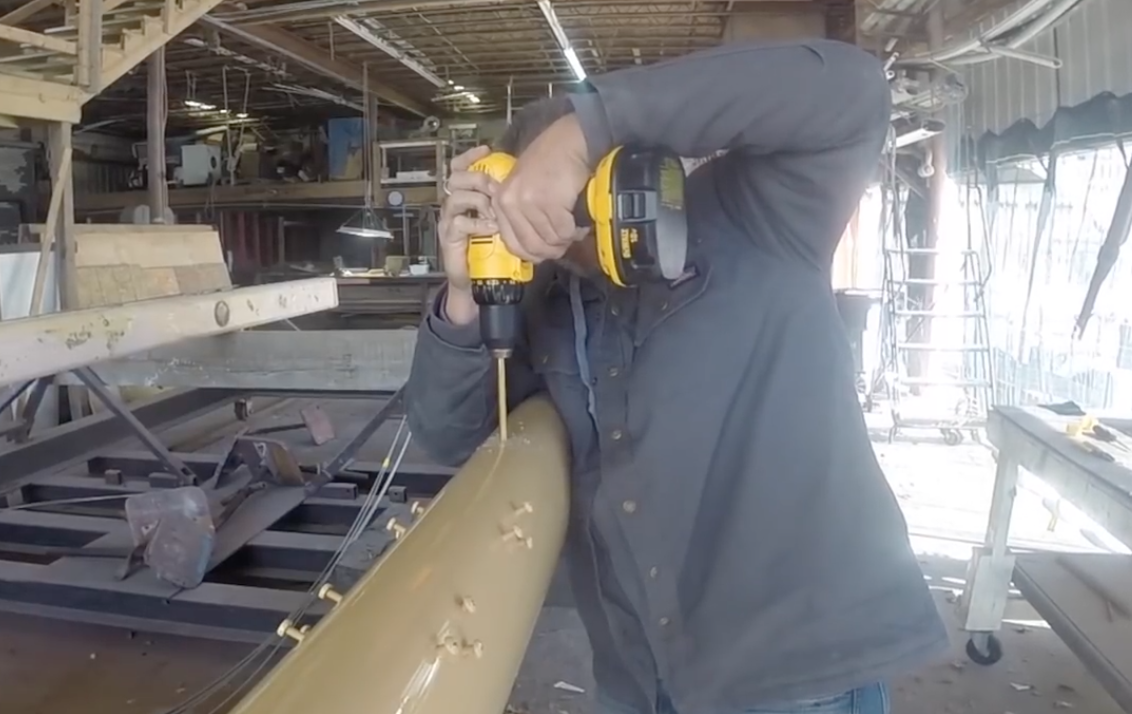
While Whitney did the work with the epoxy, I marked all the places for holes to be drilled in the mast. I started each one with a quick tap with a punch to create a divot. This method allows the drill bit to begin to cut before wiggling out of place or moving along the curved surface. The good news is aluminum cuts kind of easy, and after drilling the pilot holes, I used a tapered bit to widen each gap to the size needed. Each hole was then sanded on the outside as well as the inside to remove any burs or sharp edges that may catch on any of the wires being pulled.

We ran 12-volt lines to the top of the mizzen for the spare anchor light as well as to the spreaders for the spreader lights. We ran a VHF antenna to the top side of the mast and connected the mounting bracket there. The holes were drilled, and then mast was tapped to create a threaded base to adhere it. We applied lock tight to the treads to ensure vibration does not loosen it up. We also drilled holes and ran pull lines to the GPS/AIS antennas and also drilled a more massive hole and doubled up on pull strings in this hole to pull up the power and connection wires for the 26 miles radar dome. Because the mast was down, we also installed an additional pull string from the top of the mast to the bottom in the event we ever need to pull something else up to the top of the mast. This spar has two separate internal conduit tracks that fit into an extruded groove on the inside of the mast. All the wires we were pulling would not fit in this conduit, so we chose to put all electrical inside and all communication outside of the channel. This way if there is a problem or a wire shorts in the mast, it does not cause an issue with the electrical system.
All in all, this was a very productive day. See the video from last week that shows the details of this work, along with the deck fiberglassing.
[embedyt] https://www.youtube.com/watch?v=mHdw-uV7GB8[/embedyt]