
In the last blog post, we left off by sealing the first of the ports by adding 3M 4000 and bedded the glass in this substance. We then forced more sealant/adhesive in and around the glass from the outside. Once it was all in, I removed the tape that was on the
 Once it was all in, I removed the tape that was on the exterior fiberglass. While I thought this was going to be a great way to do it, it turned out to be a little bit messy because the 4000 was so thick. When the tape pulled up in some cases the squeeze out material stretched (like gum between your fingers) and in some cases still made contact with the fiberglass requiring it to be cleaned up. I still repeated this process on all ports with the tape but pulled it an angle that would make any that spilled out to fall on the glass where it was easier to scrape it with a razor blade rather than risk scratching the fiberglass by scraping it off.
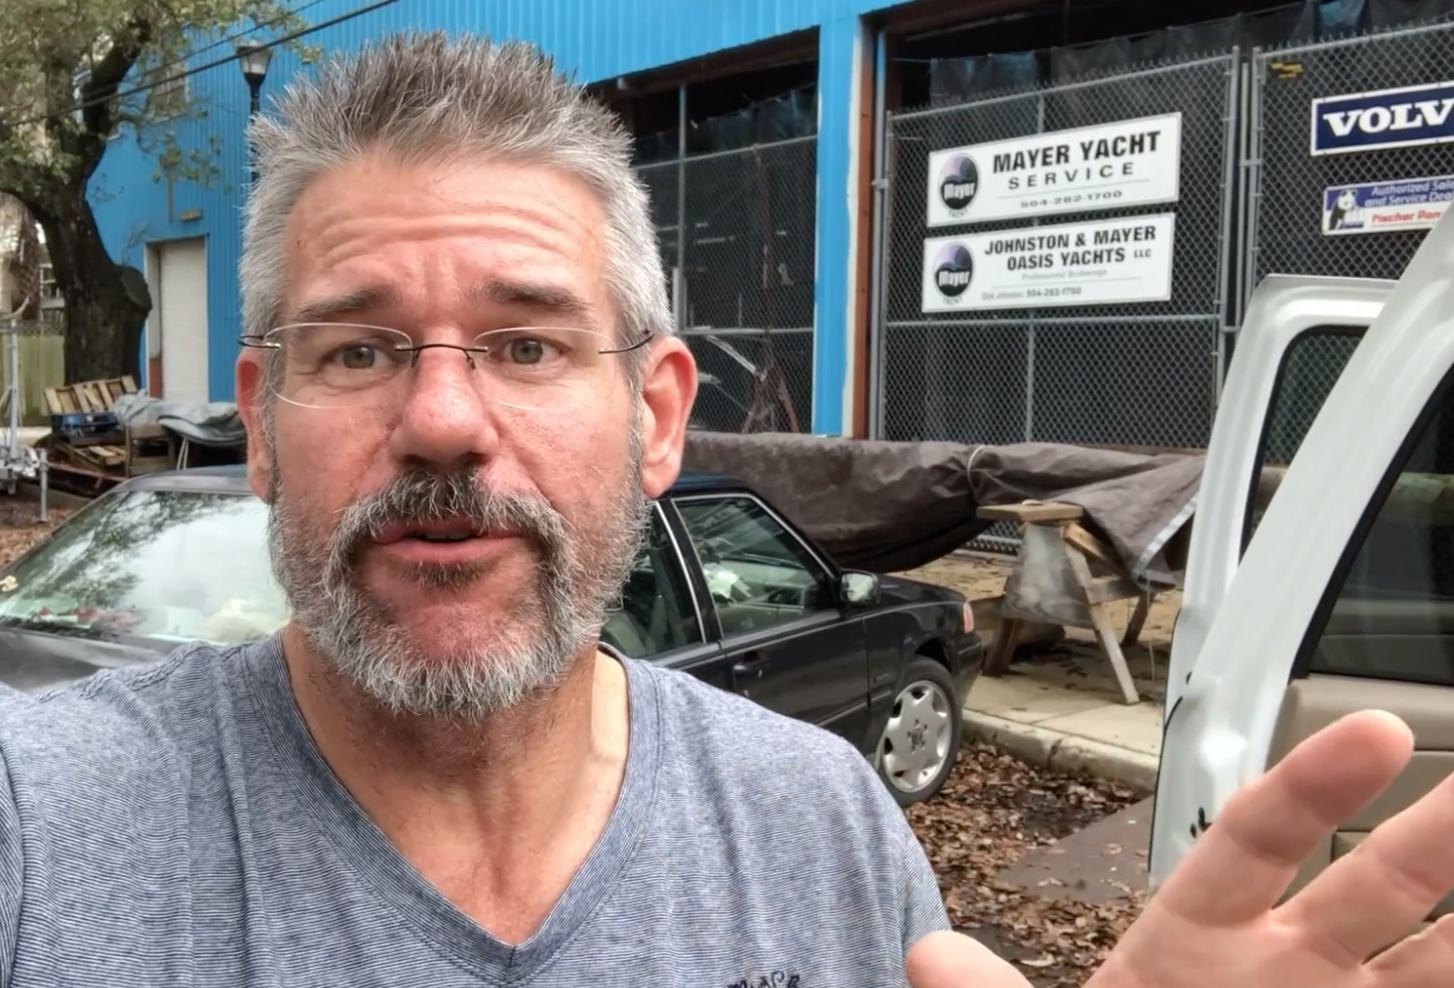 I felt like I made great progress getting the first 2 ports installed. It took all day because I was figuring this out via trial and error. I had my little helper (My 4-year-old Grand Squid) with me and she did great all day. I had to snap a quick photo out in front of the yard. If you are in the New Orleans area, I would recommend Mayers Yacht Service where we are having the work done. I noticed when I looked at this photo, that they painted the building and moved the signs for the business over onto this fence instead of where they used to be closer to the office that is on the second floor above the bays for painting and working on boats inside.
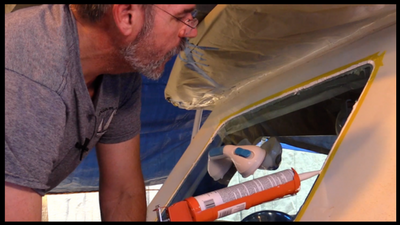
 It was time to start to repeat the process on many more ports. I got a kick out of this very oddball solution I came up with. As I put this port in, It was the most vertical of all the ports, and I wanted to hold it tightly into its bedding material and with a cure time of 24 hours, I was not able to hold it long enough. I didn’t realize I would need to do this otherwise I would have had something better planned for this solution. Instead, I noticed I needed it while holding the glass and what I could reach without letting go of it. These pieces of scrap wood were sitting on the roof of the coach house so combined with the suction cup handle; it was able to work for me.
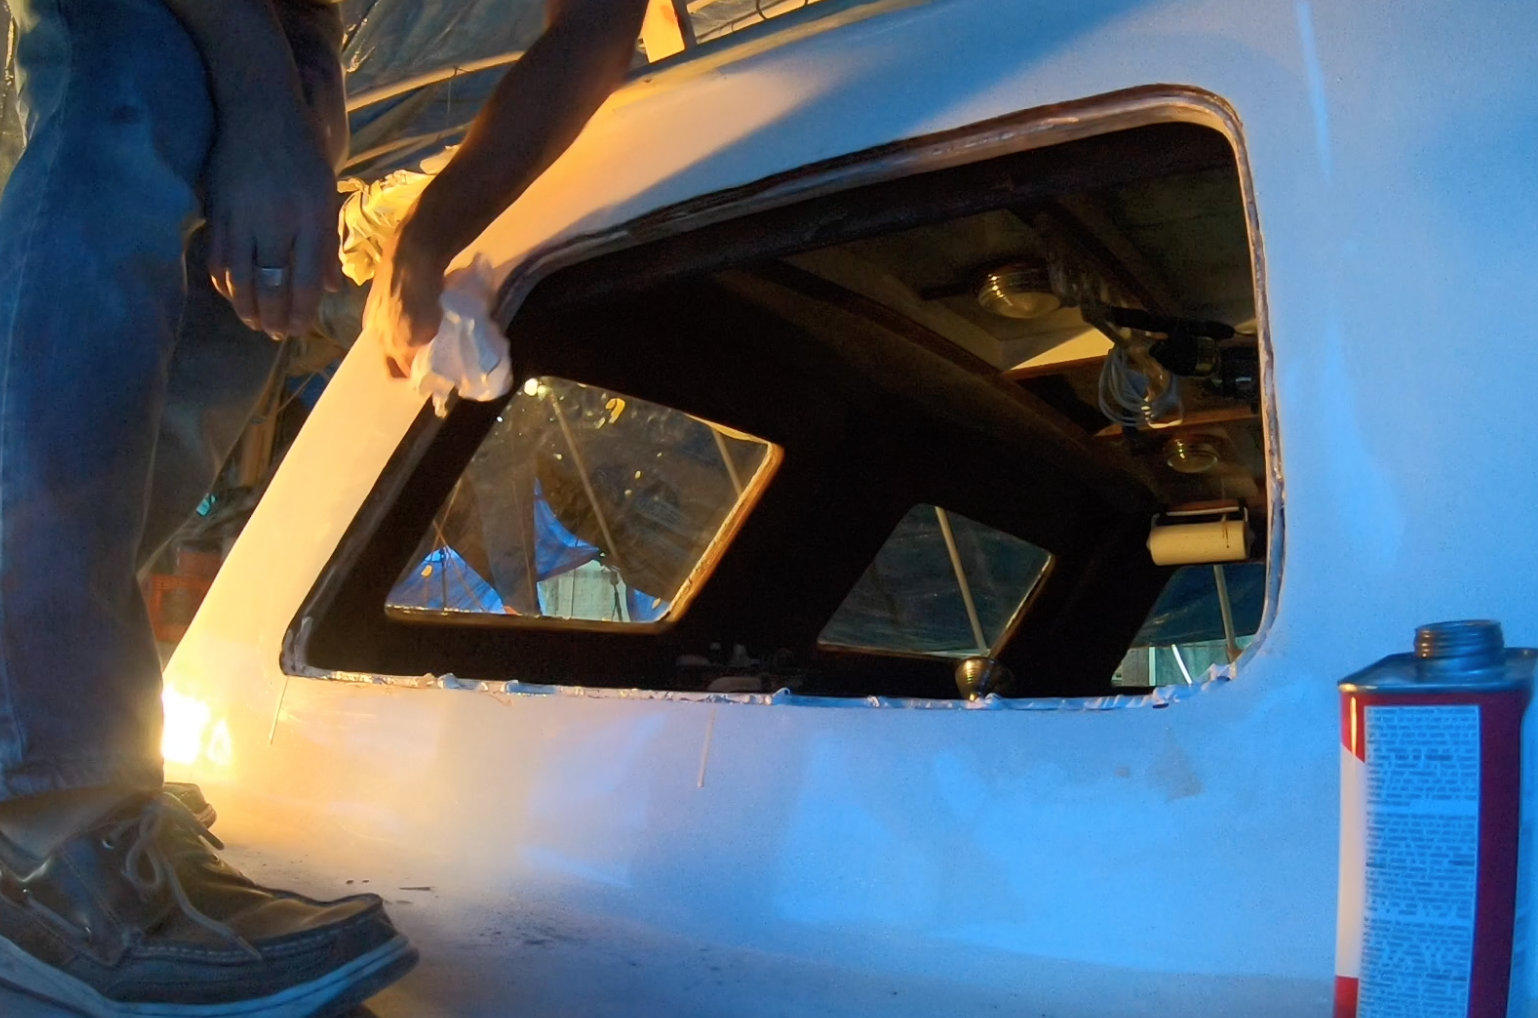 After putting the starboard ports in and getting them bedded, I called it a day and decided to see how well they set up before going to the port side and repeating the process. The next day, I went back to the boat and repeated all of the steps. I started with wiping the frame down with acetone. I then ensured that I had the spacers in the correct spaces to position the glass properly in the opening. I put a layer of 3M 4000 UV sealant/adhesive in the opening and positioned the port. I then put the material in around the outer edge. These forward port and starboard pieces of glass were the most oddly shaped and hardest to get cut and positioned correctly.
 I repeated the process on the final aft port glass. This did require a bit of creative positioning to get the caulk in the openings on the glass. This was the tightest position for putting the material on compared to all the other ports.
When these all cure, I will clean up the sealant and then will be making teak rings that will go over the outside of the ports to seal them in tighter and provide that classic look with a teak frame. I know I will likely regret the decision at some point down the road, however I love the classic look of Teak on our boat. With the removal of the teak decks, I just feel like I need my teak fix.
 As a test, I went back to the first port I had done several days earlier and used a straight razor blade to trim the squeeze out.
I used the blade flat against the glass and the fiberglass. In most cases, the two surfaces were very close to the same height. However there were some areas that the glass was just a tad higher than the fiberglass and in those cases, I just carefully trimmed it to avoid scraping or scratching the paint on the newly painted coach house. By cutting this flat, it allowed me to see where I may also need to add a bit more 4000 as well.
The next step for me is to add the caulking on the inside of the frame now and will be what I do after all of the ports have setup for a few days.