
“It Feels Soft, not solid,” he said.
“Here let me tap it a few times.” She replied
“Well stop stepping on it, that damn sure isn’t going to make it harder,” he replied
“I know I keep pushing on it and hoping it will be hard.” She replied
Is that a scene from some wacky, softcore porn? Nope, that was the general dialogue Deb, and I had when walking in certain areas of the coach house roof. We knew we needed to repair it, but figured it was one of those items that could wait. But, was that the right decision with all the other work we are doing in the yard and the fact that they are going to be painting the roof. We figured we should make sure it is right. Now, while it is easier to do so.
 Armed with that new motivation, we started to cut holes in the boat. We have replaced parts of the core before in the deck of the boat, so we had a general idea of how these things are built. Typically you cut the top skin off, remove the old core and clean the lower fiberglass skin, install the core and glass it all over. But this is a Taiwanese Turkey, a Leaky Leaky if you will. While they are fiberglass-hulled boats, the construction of the coach house is more wooden boat then modern fiberglass boat. In this case, we knew that the roof had a thin skin of fiberglass on it and that there was no bottom skin. The bottom of the plywood formed the inside ceiling. So when we removed the core, we were going to be exposing down into the boat. But, I am getting ahead of myself.
The first thing we had to do was inspect what was below this fiberglass in the areas that were soft. Was it that the fiberglass was no longer sticking to the plywood, delimitation? Was it rotted core from water intrusion at some point? Or was it the dreaded termite damage? We had termites in the boat this year and had them treated. We weren’t sure how long they were there before you found them.
 Before you take a saw to your deck, it is a good idea to know what your planning on doing. For example, we had two choices. We could cut the upper skin off and inspect the wood. Or we could cut all the way through the glass and wood and remove them together. I chose the first option.
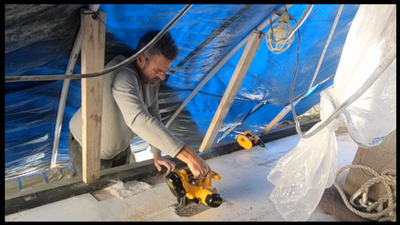
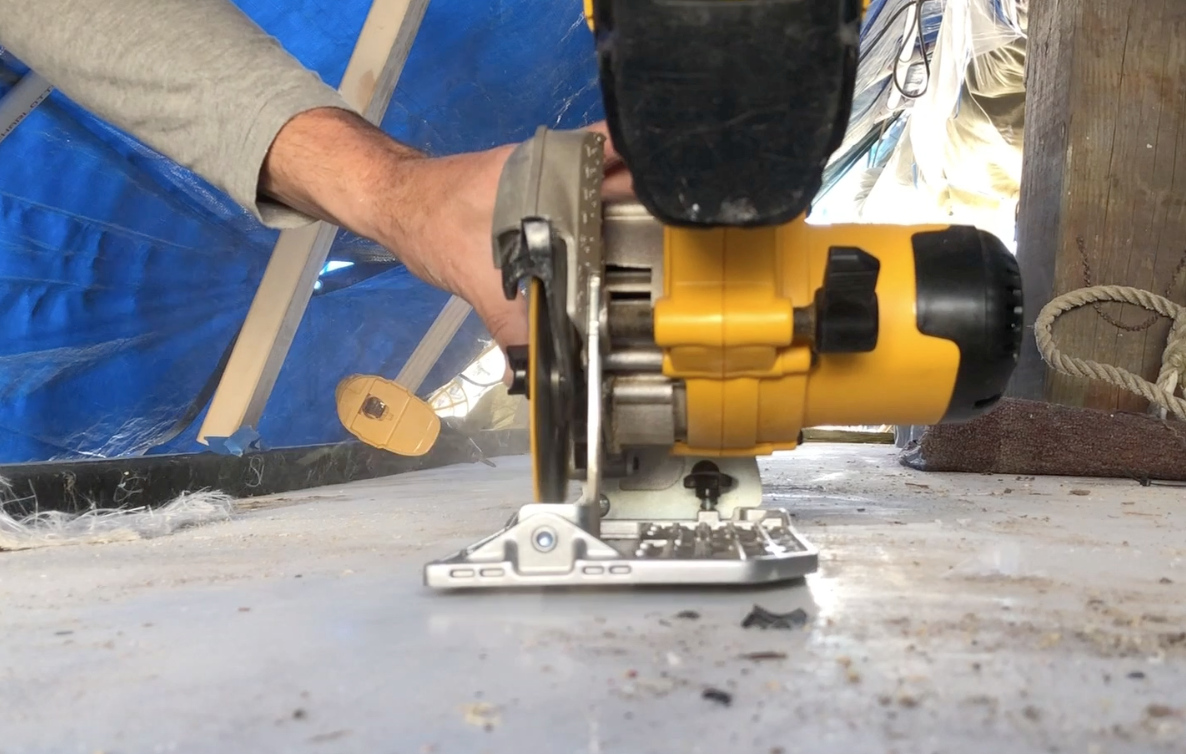
I had cut a few inspection holes earlier, so I knew that the layer of glass was about an eighth of an inch thick. I set my blade just a tad deeper than that. With the Dewalt Battery powered portable circular saw resting on the forward section of the base, and the heel end up in the air, I started the saw. I held the blade guard up with my fingers while doing this. From this position, you can lower the running saw down flat onto the surface which drops the blade through the material. Once it is flush to the surface, let go of the guard, and it will allow you to use two hands to stabilize and use the saw.
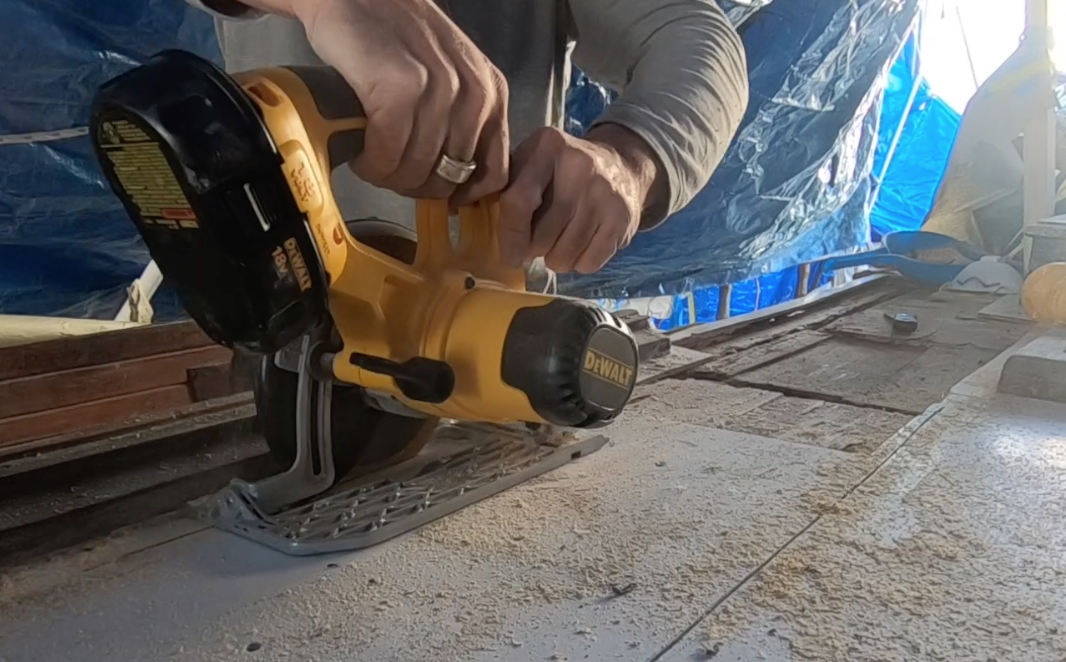
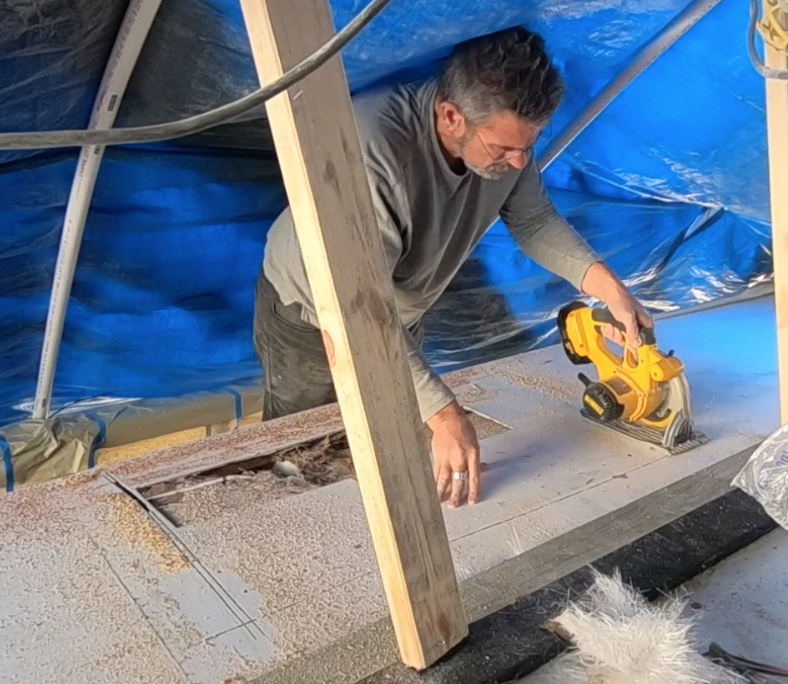 At this point, It is a matter of following the line you marked and cutting the material slow and steady. Be sure to overlap the corners of each cut. Because the blade is round, it creates a concave cut that will not be “far enough” if you don’t overlap each cut by a few inches. Because I am about to expose holes in the roof shortly, down, I found myself sweeping up with a dustpan and hand broom after each cut. The goal was to keep any of this mess from falling and getting into the bilge.
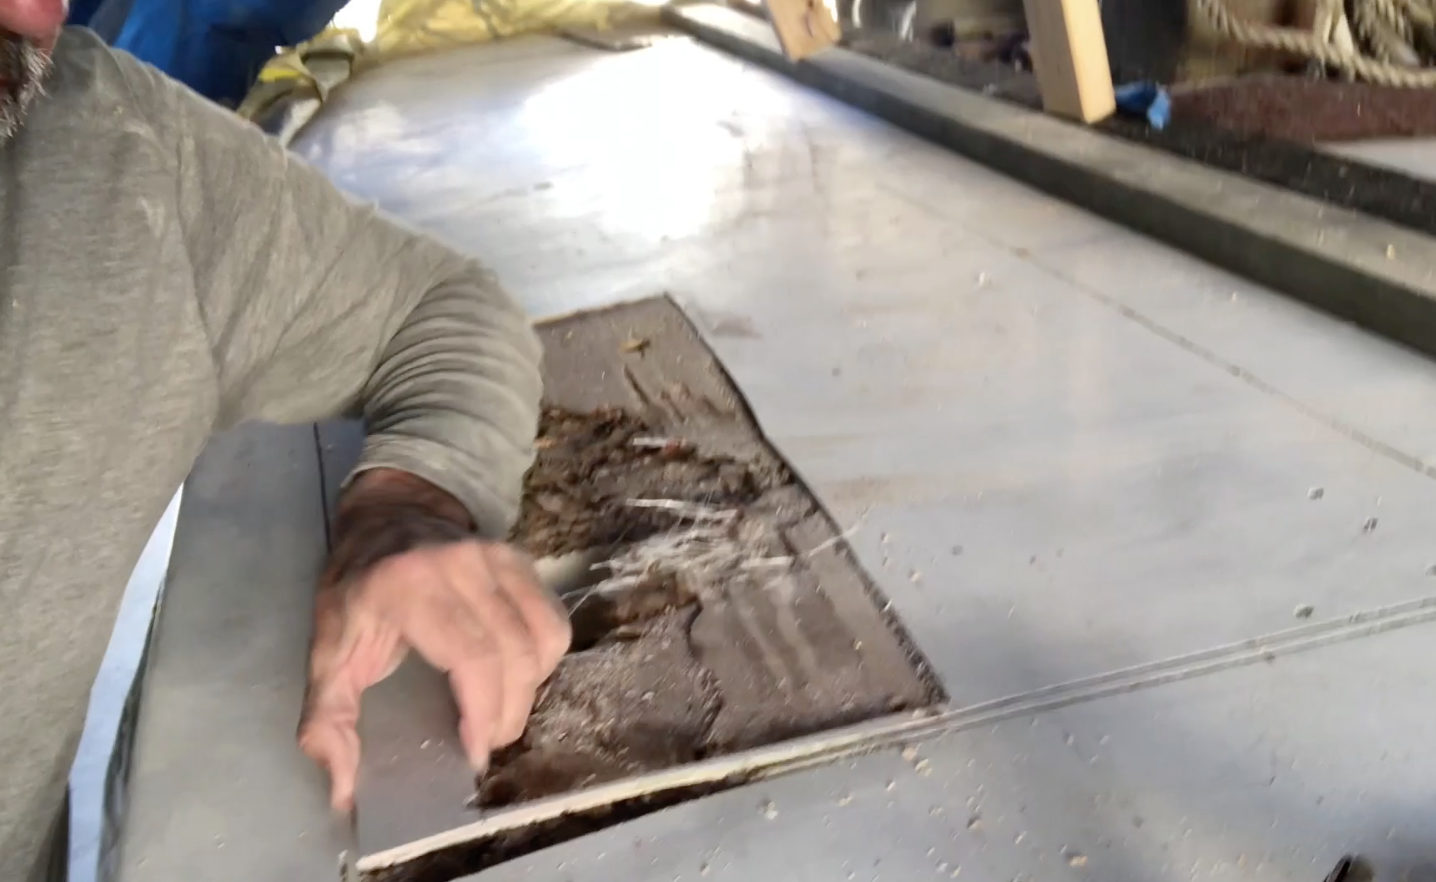 Once the cuts are made, I use a Paint Scraper to find the loosest corner to begin to pry up the glass. If all has gone well, your glass will be hard to pry off. If you have core damage or delamination, it will be much easier to separate the fiberglass from the core. I pry a corner up with the paint scraper and keep working it along the sides until I can get a larger flat bar pry bar under it. In most cases, I attempt to get a foot or so of the fiberglass lifted up. From there, I can use some brut strength and pull it up and off of the old core.
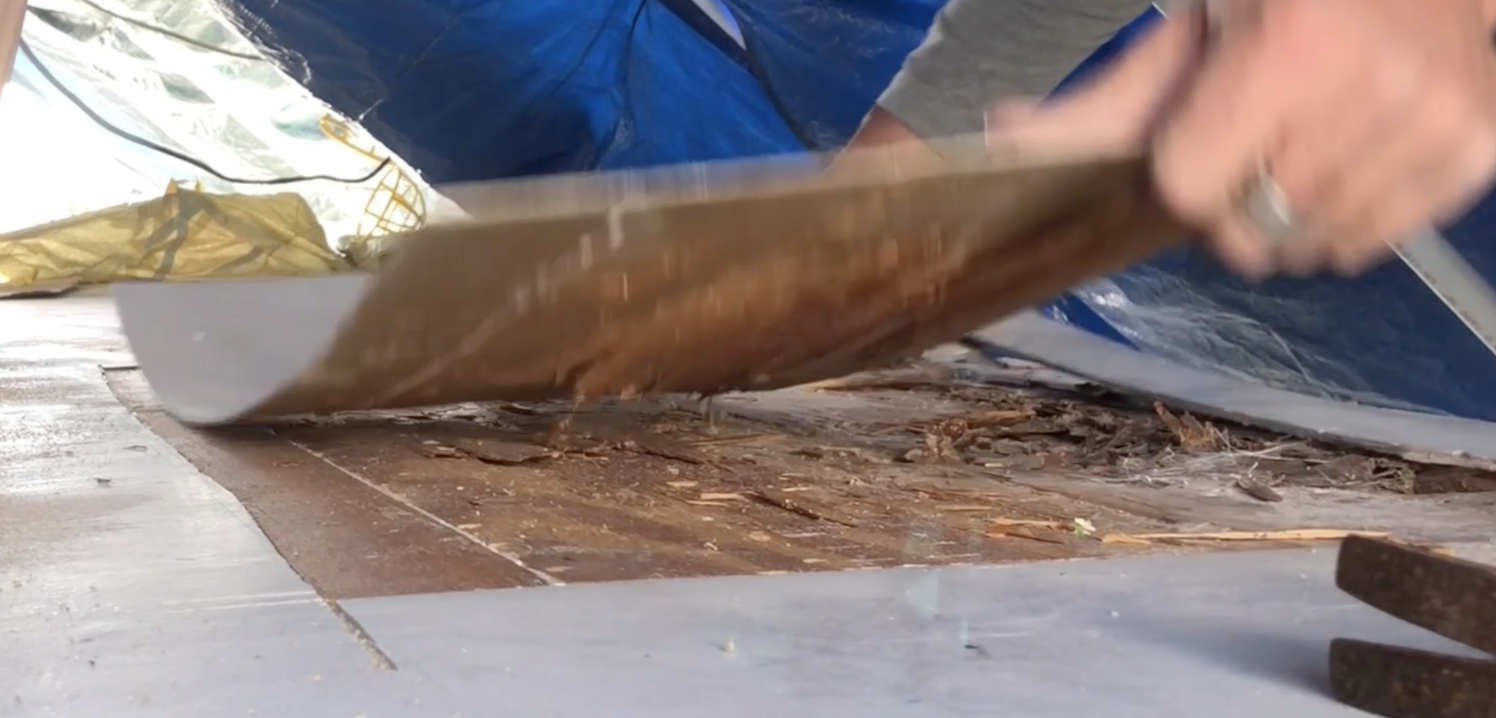 Once you have it loose, go ahead and pull to remove it. At this point, you have a couple of options for this “soon to be” hole you are going to have. You can either toss the fiberglass layer in the trash and put a new one down. You do this by bonding it to the surrounding surfaces. Or, you can attempt to reuse the same piece of glass and epoxy it down in place and patch and fair the joints. In our case, we are having the yard do more fiberglass work, so we are going to be tossing the glass. The yard will put the new glass down and fair it all smooth.
For us, it was time to see what was going on. Was it rot, termites, both or did we do all this for nothing? What we did know is that there were sections of the core that felt like tissue paper. Another way to describe it would be like puff pastry. It was thin and brittle and appeared to lack the wooden structure between the plays. I started to surmise what I was looking at was thin layers of the glue between the layers or plies of wood that form “Ply” wood.
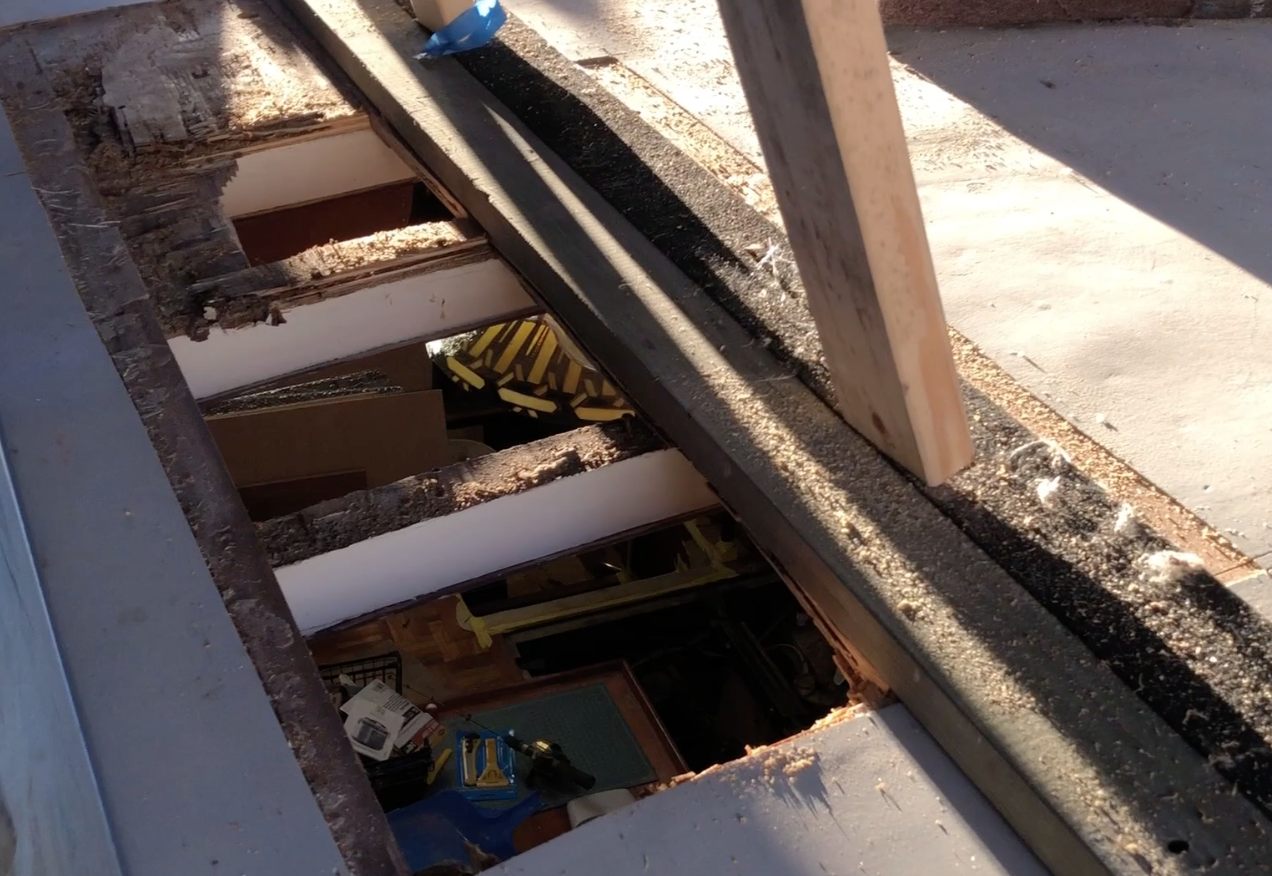 We removed the wood, and in one section it was very easy to remove. It came out in pieces into my hands. As I moved forward and toward the center of the boat a few inches that became too hard to do by hand. I could still see the layers of ply were not solid; they appeared to be missing sections in the middle of the wood. We continued to remove this by hand, then used the saw like the way we cut the fiberglass skin. This time we set the blade depth to just a tad over 3/4” thick. That is how thick the core is on this part of the roof. Once the cuts were made, I had to use pry bars and claw hammers to remove the core from the beams that run across the roof structure of the coach house. The beams can be seen in the previous picture. They were attached using some adhesive that was VERY strong. I am still not sure what it was, it was pliable and felt like double-sided tape to me, but indeed it couldn’t have been. Besides the double sided tape, the old wooden roof had been attached with nails (not screws). Then the whole things were glassed over. The nails were rusty, but I suspect their primary purpose was to hold the plywood to the beams while the material bonded the two surfaces. Removing the plywood was much harder than I anticipated.
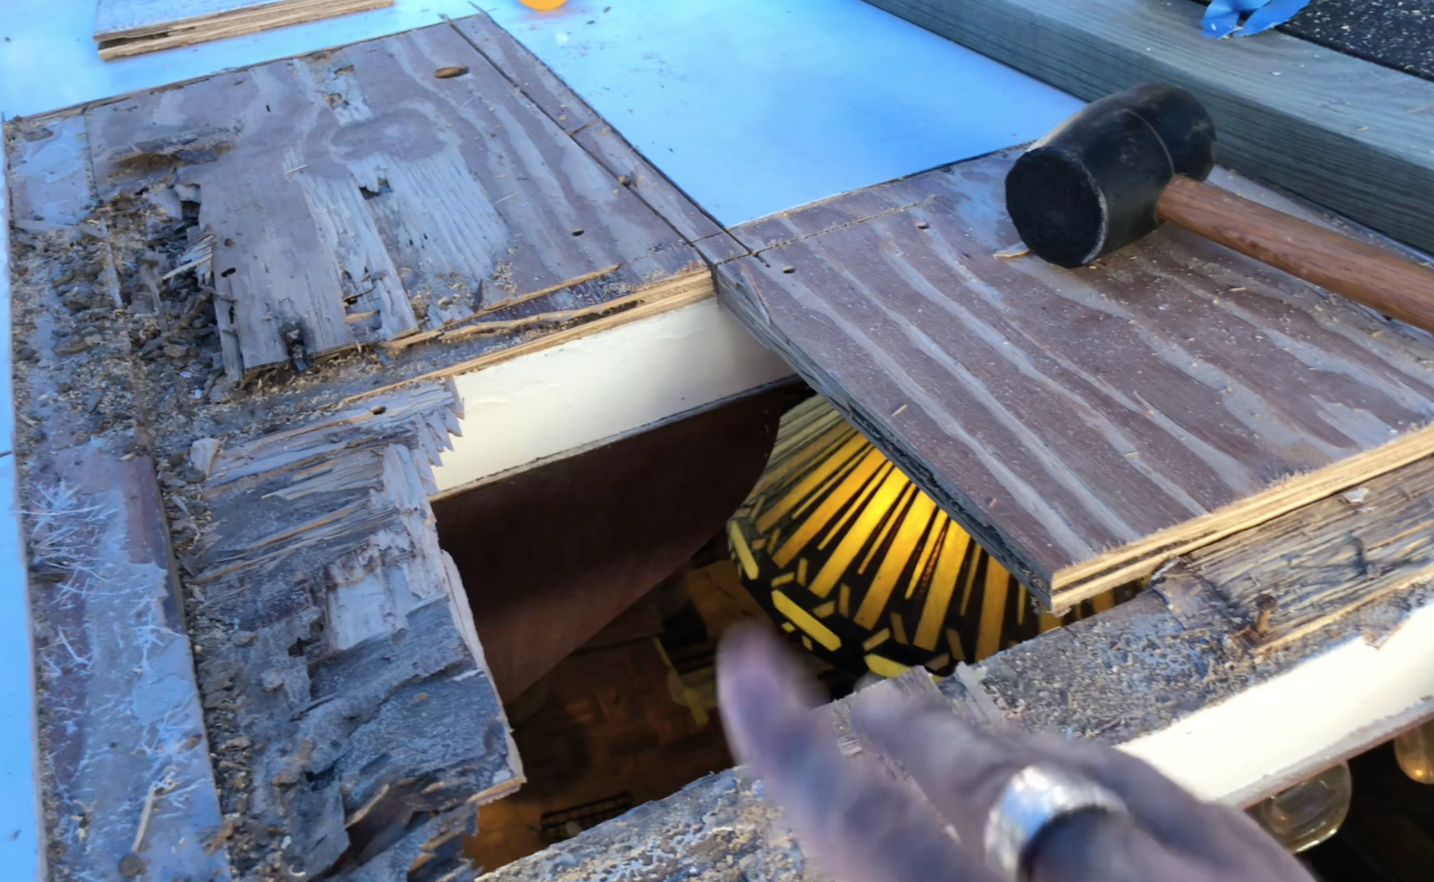 Once the core was removed, we could see the cut edge of the remaining section. In most of the areas that were exposed this looked great and solid. But, in some areas, the material in the adjoining area was not solid. This proves that the issue often is a little larger than expected. As you can see on the left side of this image, the core is still discolored and soft. This is right where it attached to the side rails and the coach house wall. This now makes some sense to me. I suspect that the fixed ports on the coach house leaked for a long time. The soaking core in the essentially acted like a sponge that was wicking water up and down the wall. Where it was wicked up, it made contact with the roof members and roof plywood. Luckily all the materials in the support structure are hard wood. We don’t have any damage there, but where that core from the wall met the core from the roof, there was damage. It seemed to be localized to an area just above and forward of one of the worst leaking ports.
So the next step is to continue cutting more fiberglass and removing more core to see what we have to replace. This was an obvious area as we could see the damage from down below.
But, more on that in our next post.