
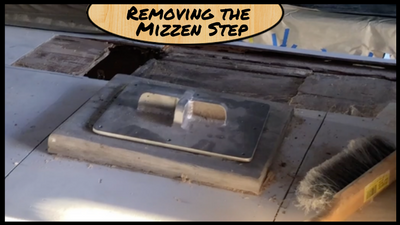
As we explored the coach house roof on the boat, we noticed that one of the spots that appeared soft was next to the mizzen step. We cut the skin near it, and sure enough seemed to be soft underneath. Given the loads that this has on it, we needed to fix it. When you think about the forces that are pushing down at the base of the mast, there are many.
- The force of a sail this large under load on a reach or close hauled.
- The sheer weight of the original mast that was on it weighing almost 600 pounds.
- The force of the rigging is pulling downward by the stays.
- The force with each bouncing wave.
Work had to be done and much like the theme of the last few months, it seems better to do it now while it is having work done.
Since we are getting a new aluminum mast, there is going to be a new aluminum base that will be mounted to the deck. We decided to mount it on top of the previous teak compression block for the look and aesthetics of it. This decision meant we needed to remove the block in one piece to be able to do the repairs to the core below it.
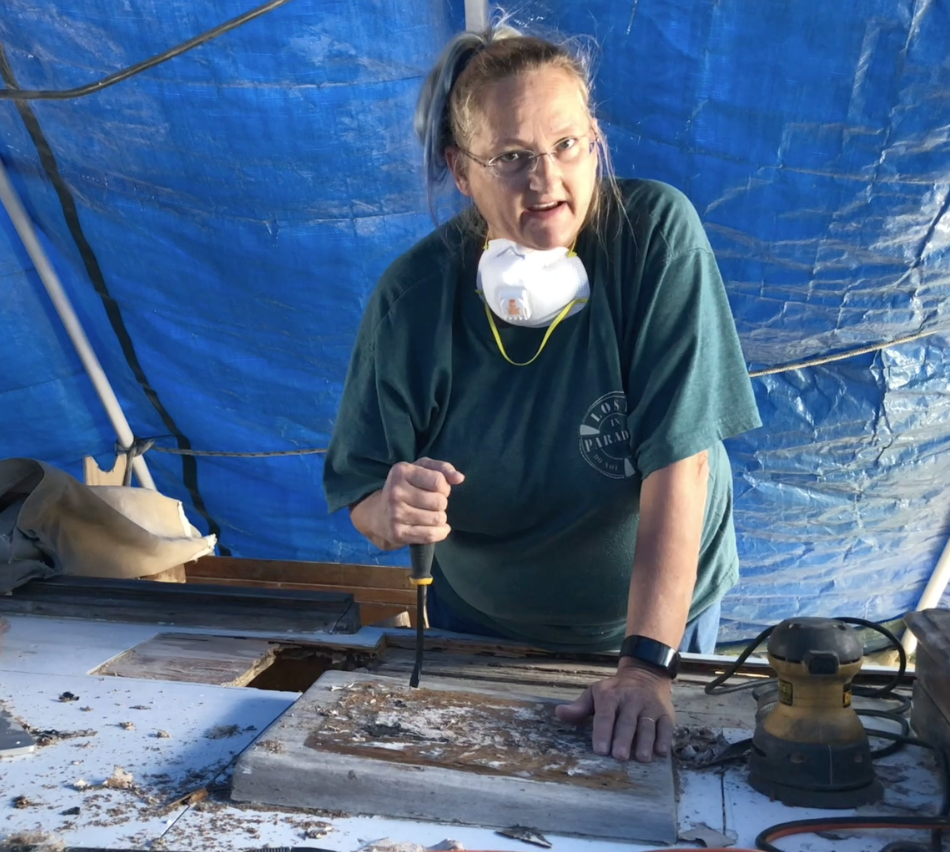
 This started with removing the bedding material. it was on the bottom of the wooden mast and on the top of the mast step. Deb started by attempting to scrape it off, but that didn’t work well with hand tools. We stepped it up by using the oscillating cutter tool with a scraper blade on it. While it did remove some material, the friction heat didn’t help the cause.
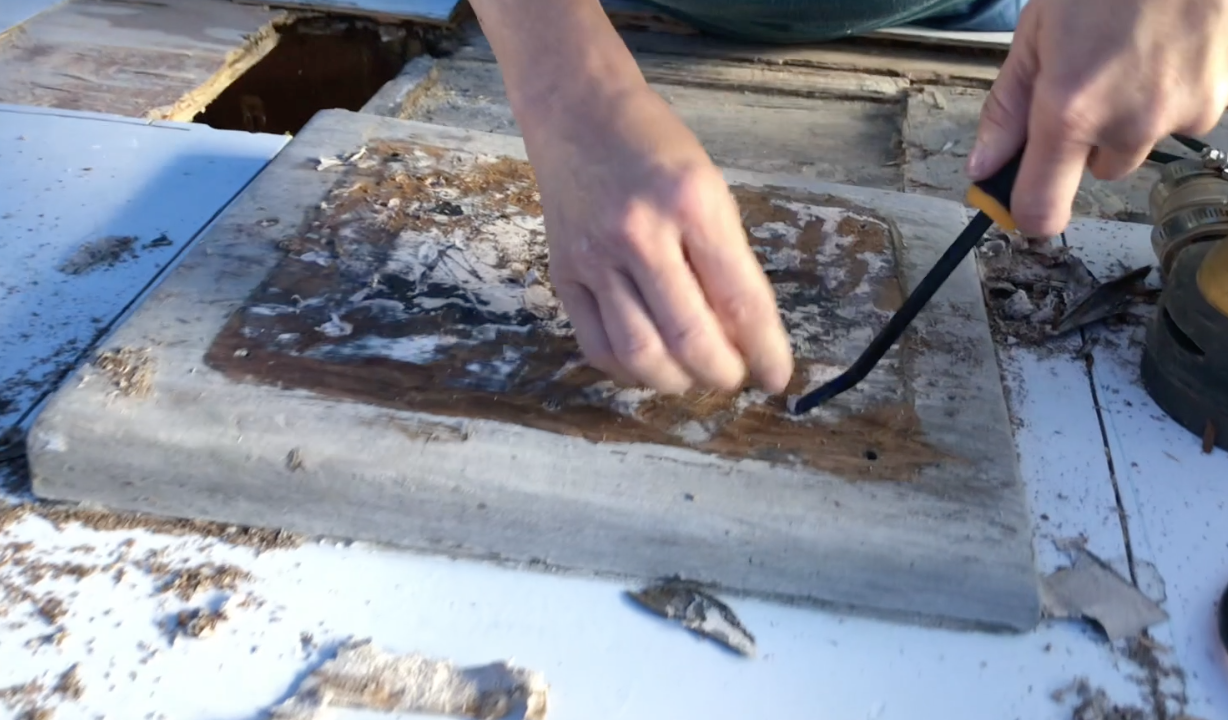
We had to go to the next step which was to use a hand scraper and work strategically in certain areas. The material was very elastic and by far some of the best sticky material I have ever had the displeasure of removing. Each time a section was cleaned up a bit, a new screw head revealed itself.
In the end, there were a total of six screws holding it down, and each screw was 3 1/2 inches long.
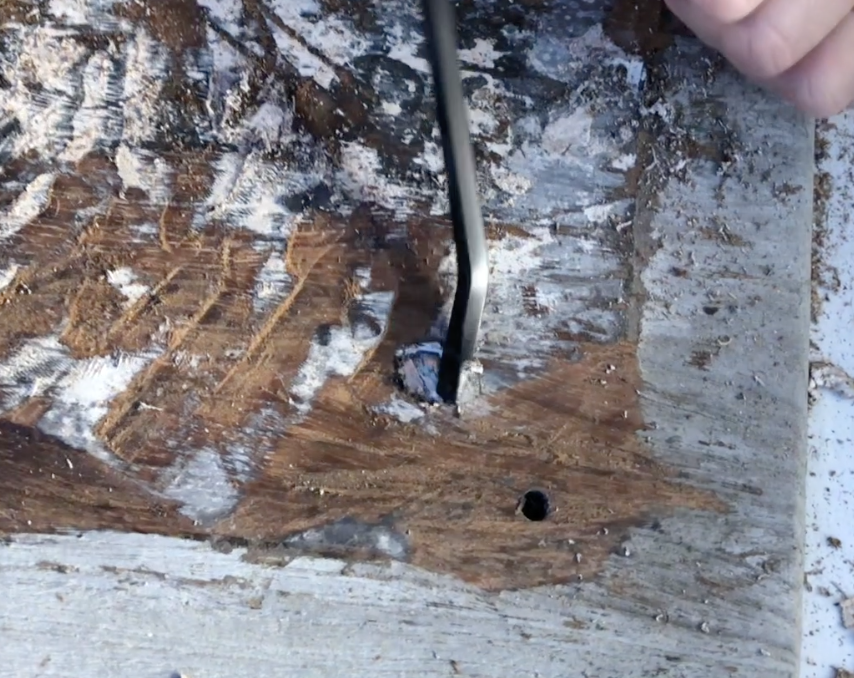
Each time she found a new screw that was countersunk she picked as much of the sealant off with a screwdriver as possible. After a while of scraping, Deb realized that since this block of wood is between an inch and 2 inches thick. She decided it can lose a little bit of the surface to make this easier. Out came the aggressive sandpaper and within seconds all that sealant crap was gone. Once the surface was sanded, it was time to remove the screws.
One would think this would be a reasonably simple task. Just use a screwdriver. Nope, not so easy. I already shared how long they were, so it was a lot of turning on each screwdriver. The screws were so large that the slot (yep, slotted screws) was also large and my screwdrivers slipped off of them.
The screws were so large that the slot (yep, slotted screws) was also large and my screwdrivers slipped off of them.
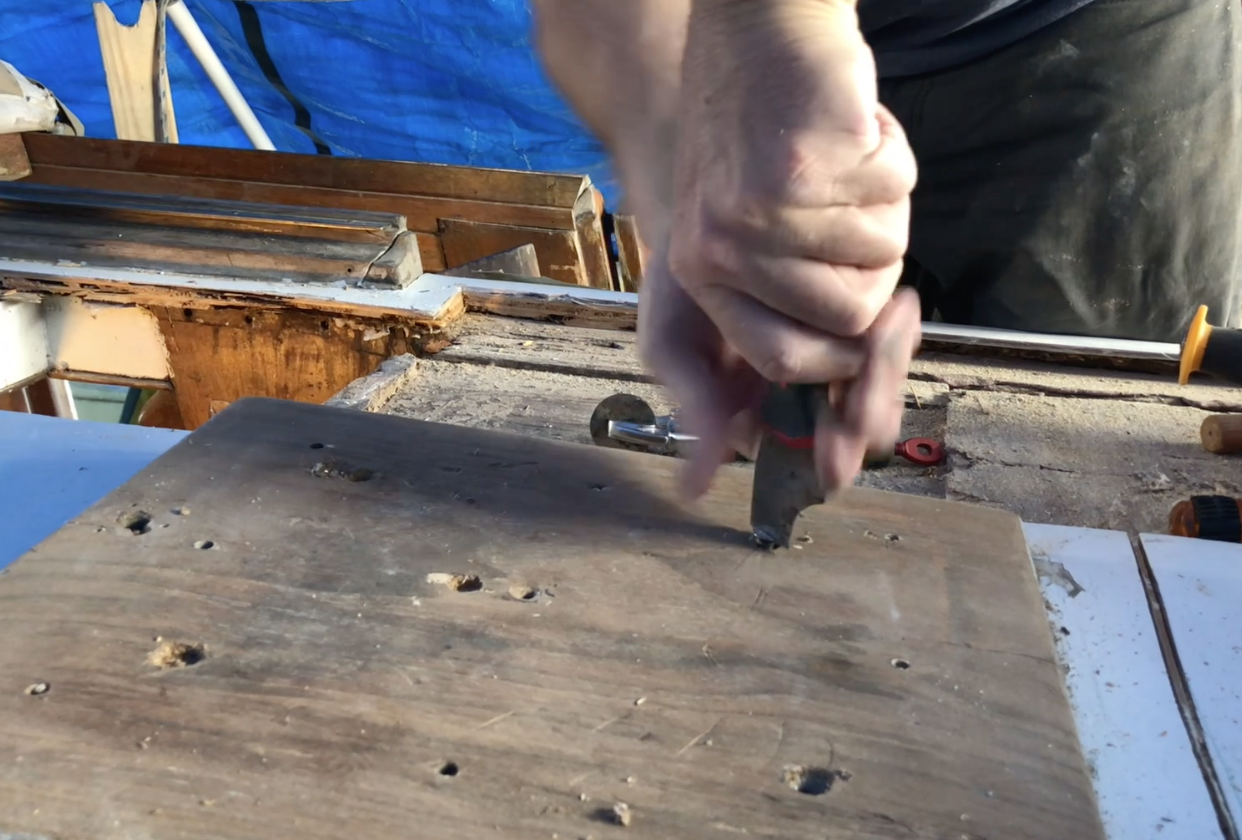
I thought I was a genius; I used an old broken paint scraper because the base was thick and substantial. Doing so allowed me to get it down on the screw head and remove the screw. This however only worked because the screw head was exposed above the surface of the mast step. For ones that were just below the surface, I needed a different method.
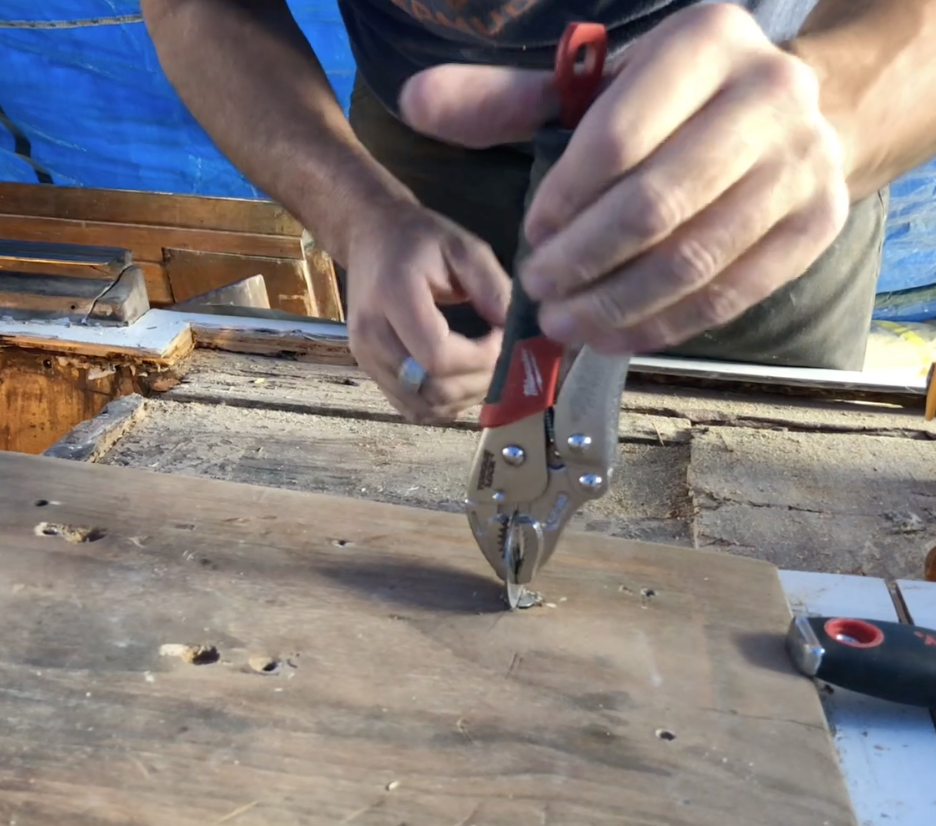 I looked all around down below, and I found what I needed. A large washer and a pair of vice grips. With this method, well I was able to get the other one out.
What was left? Well, 4 more screws sadly. I needed a bigger screwdriver. I picked up a set of screwdrivers that had a nut shaped head so that I could use a socket wrench as leverage to turn it. They worked great and the next 4 came out without incident. Well at least for the most part. It is a boat, so of course, one got stuck and i had to use a pair of vice grips right on the screw head. But we got her out.
If you don’t have a set of these, I strongly suggest picking one up. I have a link below for the ones I got. You may wonder why I didn’t just use the screwdriver bit in my socket set? It is because I have never seen a screwdriver bit that was as large as what was needed for these screws. The bit that I could have used in the small socket wrench would have stripped out for sure.