
Have you been reading our blog or watching our Youtube Videos for a while? If so, you know that we have been replacing a lot of core on our coach house roof recently.
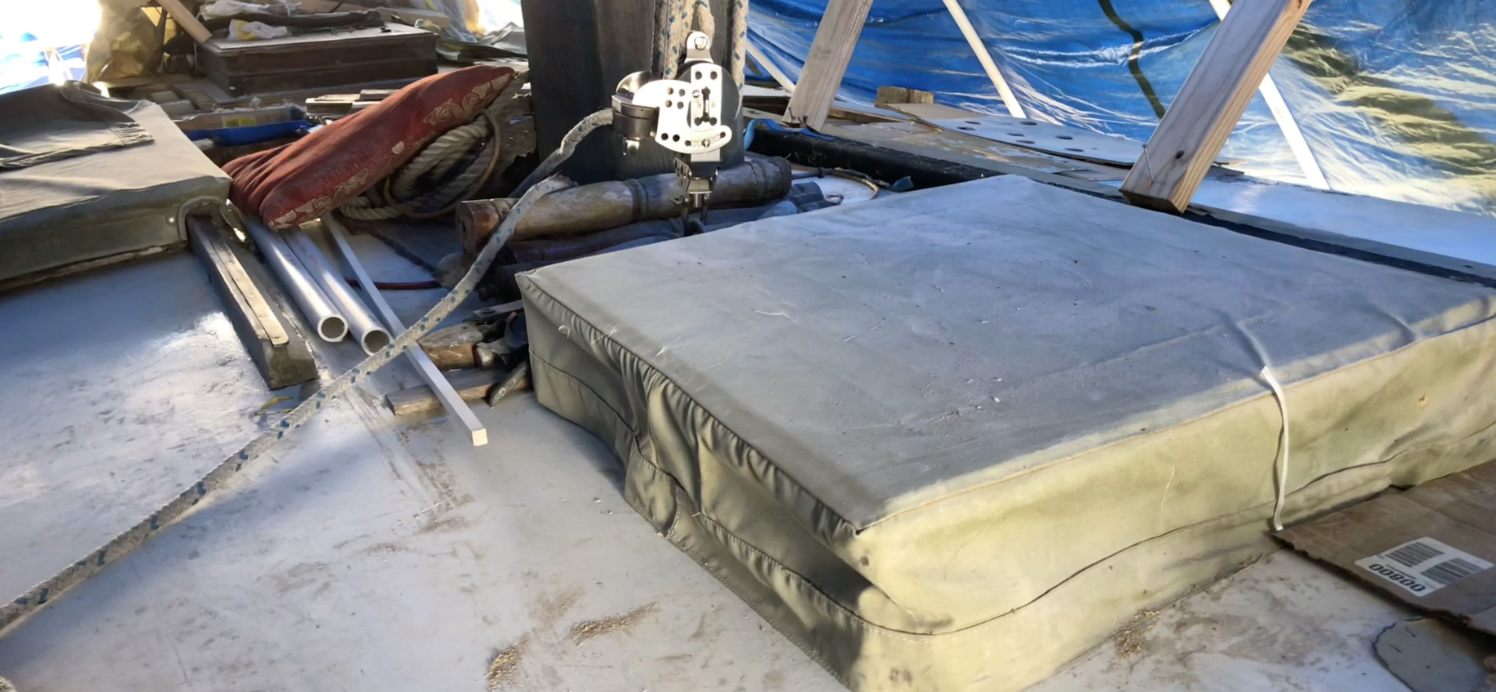 The top of the boat is still a terrible mess because it has been a place to store all the items that need to be worked on for the boat. Right behind the hatch, you can see the traveler for the main boom. Behind that is a huge block of wood. That is holding up the spar because the topping lift is still off the boat. Between the block of wood and the traveler are the belaying pins. The scroll posts that hold up the belaying rack around the main mast are also there. Add to that all kinds of other tools and whatnot, and it was a terrible mess.
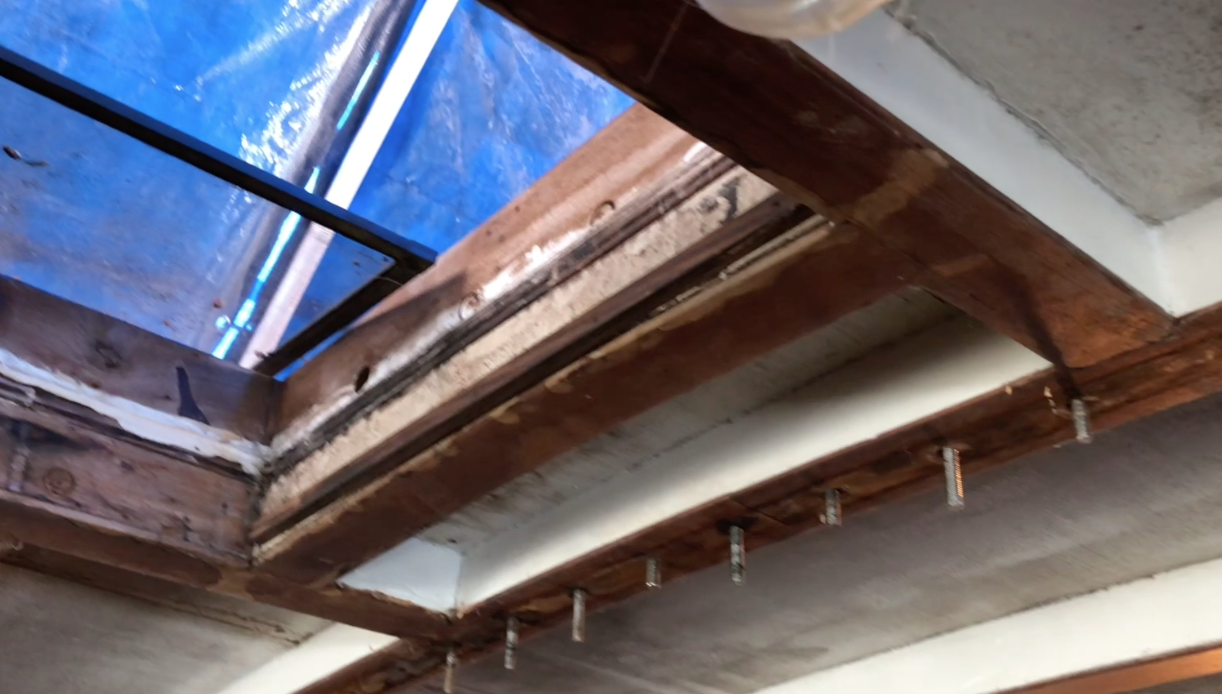
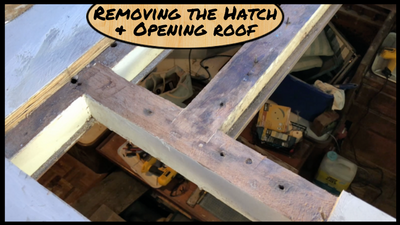
Right behind this hatch and what appears to be in front of the traveler, there were some spots where the roof is rotted as well. I wasn’t sure if it was from a leaking hatch or leaking bolts on the traveler. As you can see in this photo, there are eight bolts that secure the traveler across the roof. The go through the primary beam of the roof structure as well. I removed each of the nuts and washers from this in preparation to removing these screws. The actual traveler rail and the wooden block that is mounted below it. The reason there is a wooden block mounted below is because the traveler is flat, but the roof is not. The roof has a slight slope to it as it arches from center to the outer sides. That makes the block of wood under the traveler thicker on the outer edges than in the center.
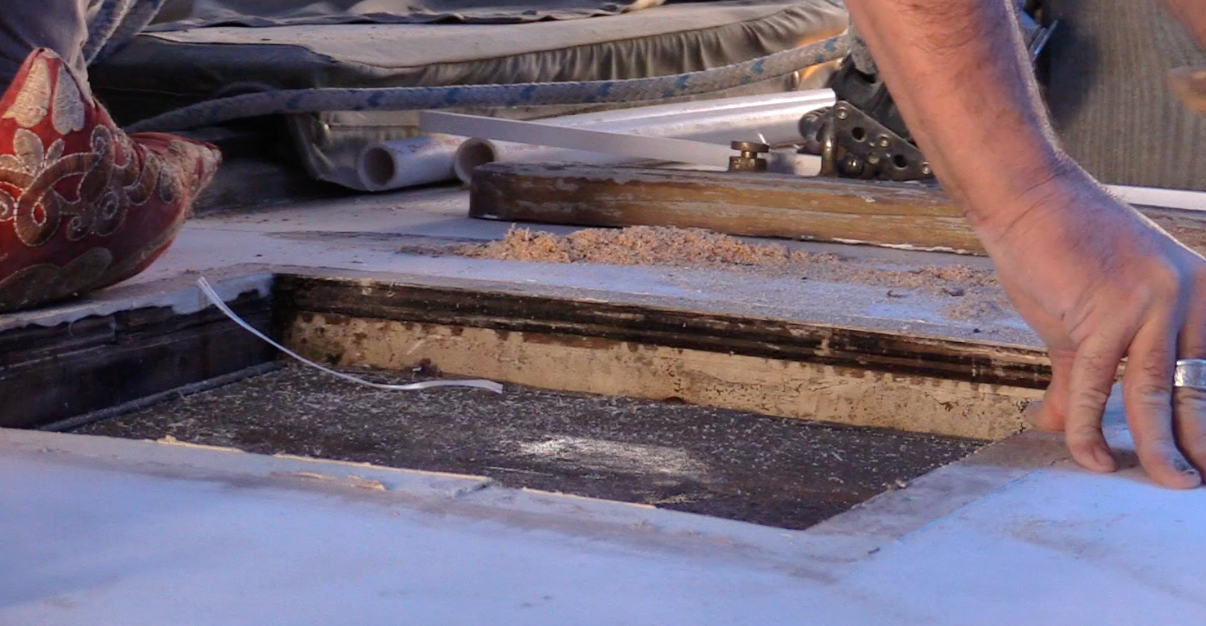
Before embarking on this part of the repair, I drilled test holes. I drilled them up into the core from down below to see if the core was stable or not. What had me suspecting this was an area to look at was the area I am pointing to in this photo. As you can see from inside the hatch opening, the core is the area I am pointing toward. Above that core is a thin layer of fiberglass skin, and above that is the actual frame of the hatch. The wood with the drilled hole in it is the hatch and I don’t know what that is fore. Below the core is the cross beam that forms the aft side of the hatch opening.
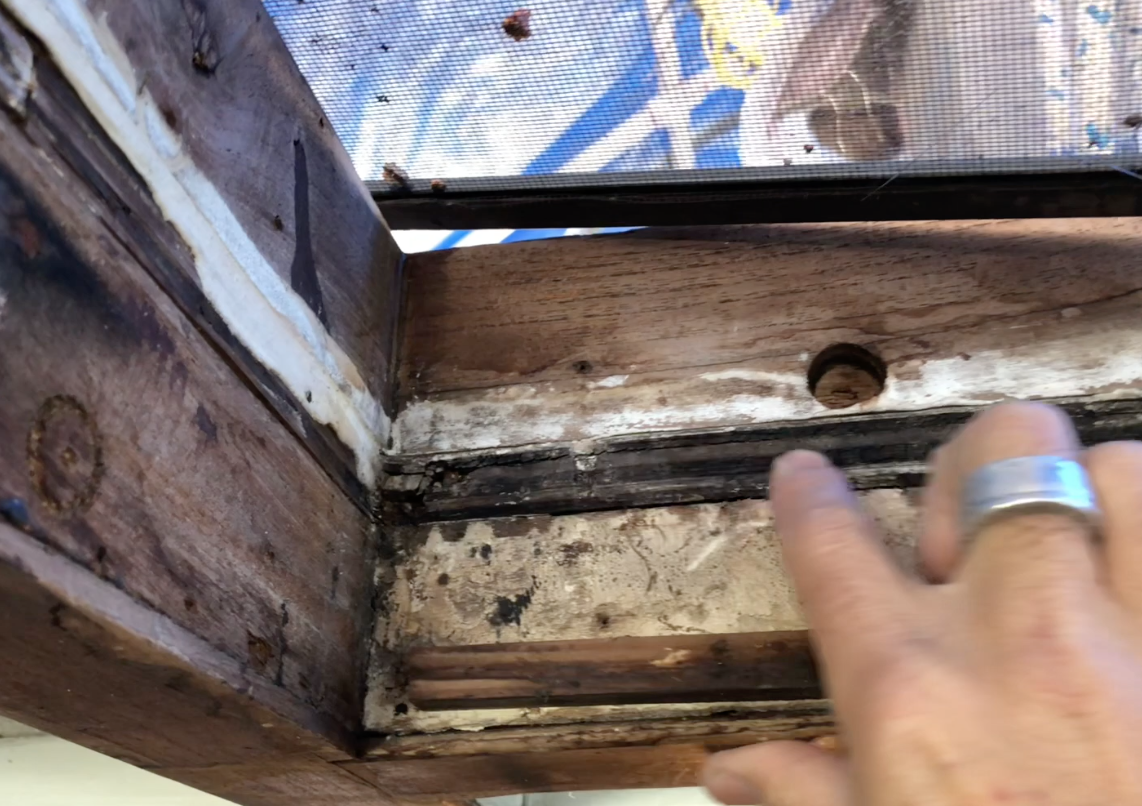
 The core is a different color than the surrounding core which was an early indicator of an issue. The blackened color also led me to believe that this was an area that had received water intrusion at some point(s) in the past. Once the nuts and washers were off the bottom of the traveler, I used a screw gun to extract out the bolts. These bolts are long. Consider that each of these bolts goes through the traveler rail, the wooden block, fiberglass, core, and the beam. They then extend into the galley below, I mean, they are long. I removed each one without issue from above.
Removing the hatch proved to be as easier than anything else I have removed from the roof of the boat.
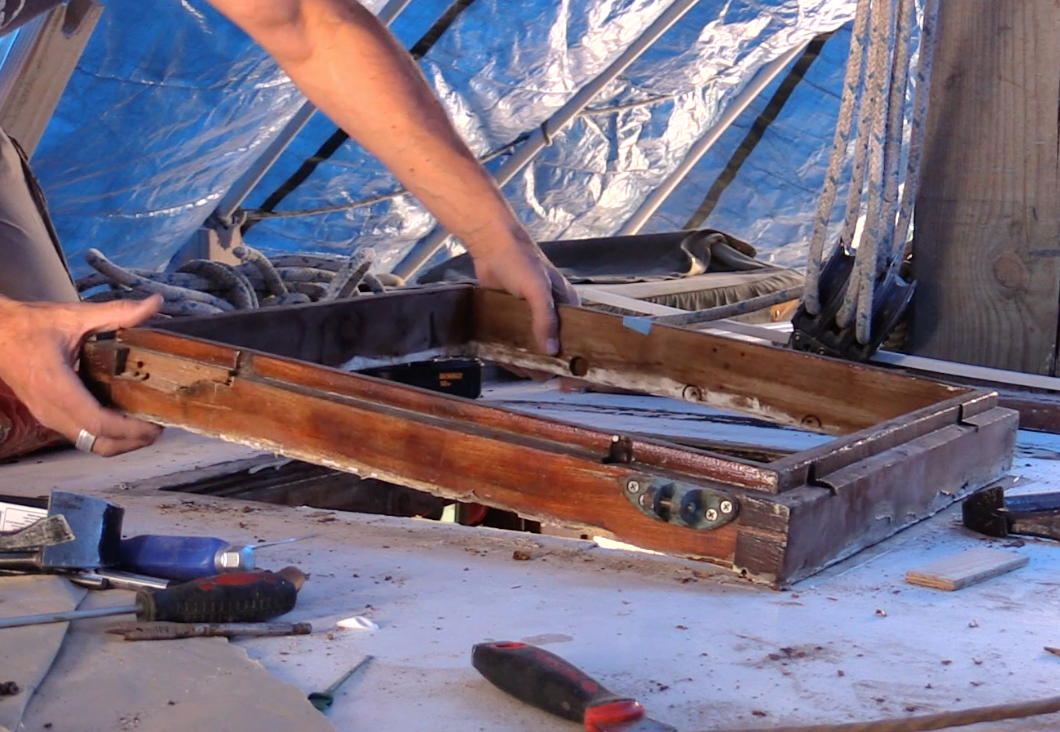 What was interesting about this hatch is that there were bungs that were visible on the top of the frame. These locations corresponded to holes and visible nuts below the teak trim that covered the roof beams from the underside. So I did the logical thing. I removed the nuts from down below and drilled out the bungs from above. The odd thing was from above; I found no bolt or screw heads. I used my typical pry bar method to remove the hatch. I start with the thinnest pry bar or even a rigid scraper tapping under the hatch as I rotated around it. It was lifting up, without having to remove those screws. A few rotations with the small pry bars and the hatch popped right up. This one, however, didn’t have any bedding material under it. It appeared to have been just set down into the wet resin when the roof was being done last time.
 That didn’t seem right to me. I looked at the bottom side of the hatch for clues. This is the portion of the hatch that mated with the roof. There were no bolts under those bungs I drilled out. It appears that when the roof had been worked on previously, someone cut and ground off the bolts. That would be fine, but they never installed new ones. In the photo with the hatch frame removed, you can see the mating surface. No sealant. There was one corner of the hatch that was hard to remove. The fiberglass was still lightly attached to the frame and appeared to take a thin layer up from the roof when I pried it up. That was fine since I am getting ready to cut a hole here anyway.
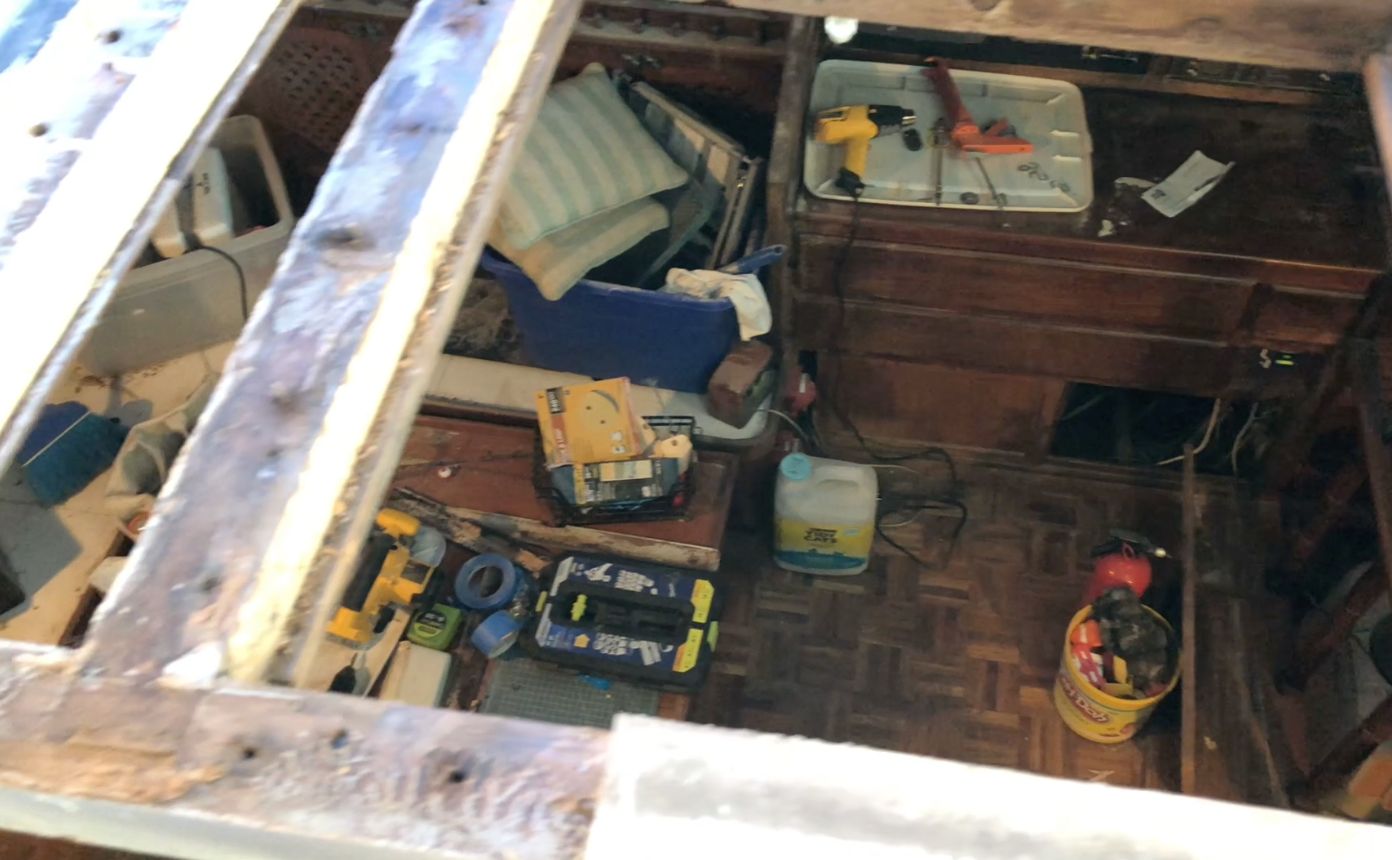 After inspecting the mating surfaces and with traveler and frame removed, it was now time to cut the core away. Doing this allowed me to see how far the problem went. Did it go from the hatch toward the traveler car only or was I going to have to go beyond it? If the traveler had been the leaking point, it would stand to reason that the rot would extend forward and aft of that point. Knowing that the traveler mounts right on a primary cross beam, I struck a line down that center point of the beam. I repeated my process for cutting out the core. The rot did extend a bit to the starboard side of the boat. It shows in the lower left corner of the photo the exposes the tools and whatnot down below in the galley.
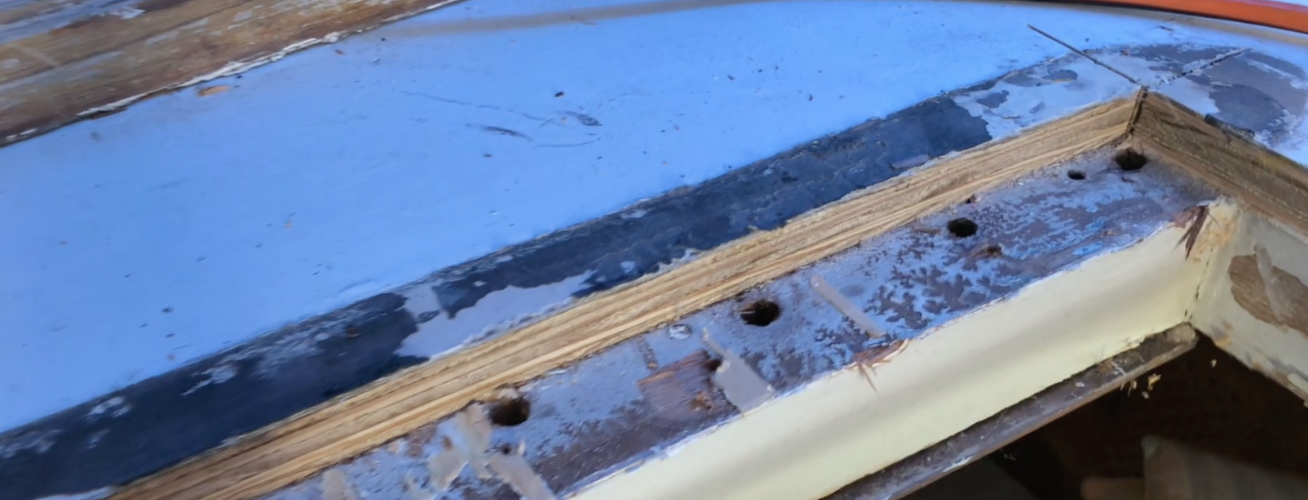 In the photo, you can see a closeup of the cut that was made right along the traveler beam. As you can see the core is VERY solid at this point. This was good news as it meant that I had removed the bad section. This turned out to be a very small area only about 8-10 inches fore and aft and about 18-24 inches wide.
The next step will be to continue to clean up the surfaces below where the new core will be bedded down to the beams with epoxy.