
We have decided to use Marine Grade plywood in our new core. With that decision came the realization of the price for marine grade plywood. There is a difference between that and what you can get at your home store. We will do an entirely separate post on the differences and recommendations. What we found is that there is a lot of misinformation out there on the subject.
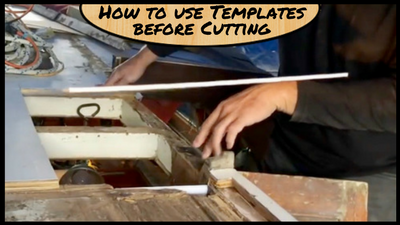
 The cost and unique shapes of our repairs required that we come up with a good way to cut the new core. Our original plan was to use 1/4 inch thick cheap plywood or “Luan” to make the patterns. We have used luan before, the problem is that it is so thin, that it is hard to cut without it splintering. While it works, the splintered edge is almost guaranteed to end up in your fingers. It also makes it hard to transfer a straight line to another surface using it as a template.
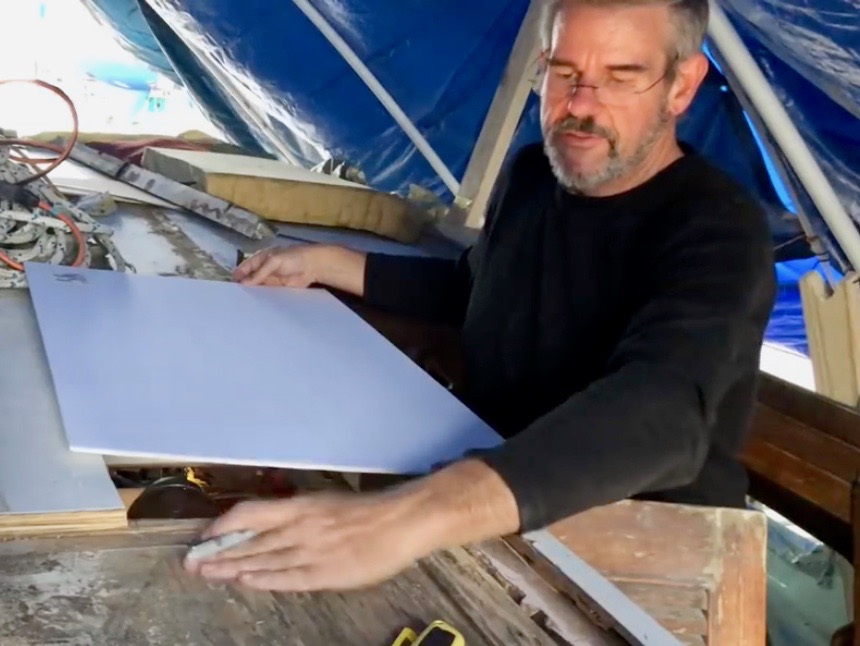
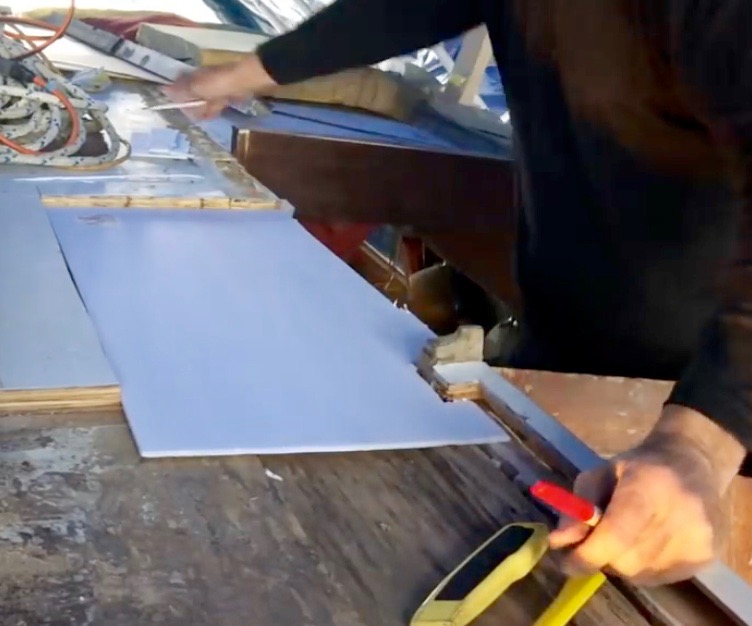
We settled on Foamboard or Posterboard. There are a ton of places you can get it, and it can even be found on Amazon. I have had good luck finding this at the dollar stores in my local area for about half the price than a craft store or Walmart.
Armed with several sheets of foam board and tape, it was off to the boat. I used tape to attach to pieces of foam board for large area template.
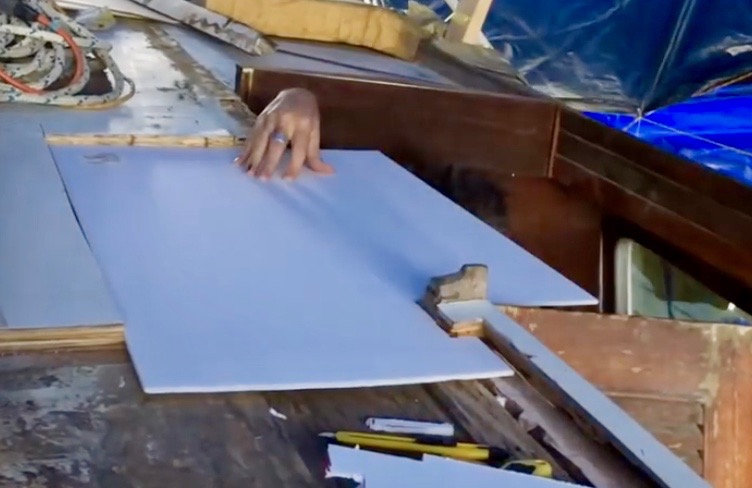
 I identified the first area to make the template right next to the companionway. The first thing I did was determined which sides of the foam board could be leveraged on the longest side of the template. When lined up, I used a utility knife to cut small portions of the foam away to get the size that fits well.
For the section next to the companionway, it was important that the core overlapped onto the compressions structure. Much like a bricklayer alters the joints, I wanted to do the same with the core. This was cut to overlap the edge of the forward bulkhead. Doing so allows me to interlock it with the next piece in a staggered form.
 The area around the companionway entrance if of particular importance to me. Because this as a point of leaking in the past, I want this to be a solid area. Rather than filling with epoxy or fairing compound, I want this stiff right to the edge.
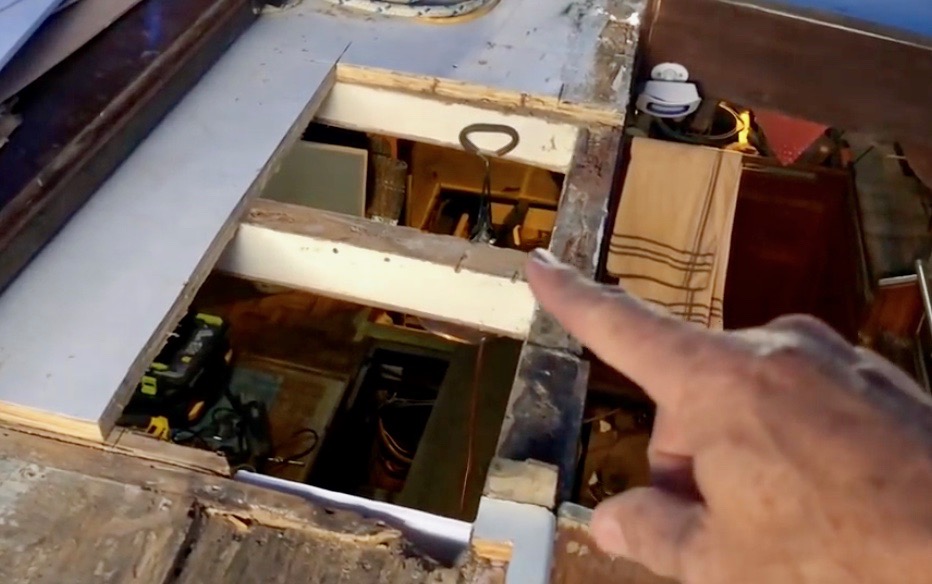
The frame of the companionway stair structure comes all the way up through the coach house. The core would need to be cut accurately to wrap around this part of the framework. You can see in this photo the cuts around it to expose the frame through the roof.
 Once the wrap around section was cut, it was time to mark the inside edge of the companionway. This may have been the easiest part of the job because I was able to go below and mark it with a pen along the edge. This cut was made with a straight edge to ensure a straight line and cut on the new core.
With that first part in place, it was time to create the second template that would span the coach house roof forward of the hatch. This is the same area that will be under the mizzen mast, and it is critical that it is sturdy and snug. In this photo, you will notice the odd shape in the upper left corner of the template. This allows the template to follow on top of the bulkhead that forms the rear head. By lining up the core to the bulkheads wherever possible, it makes it easier to attach the roof to the boat. Screws will be added to hold the core down to the frame and bulkheads while the epoxy cures.
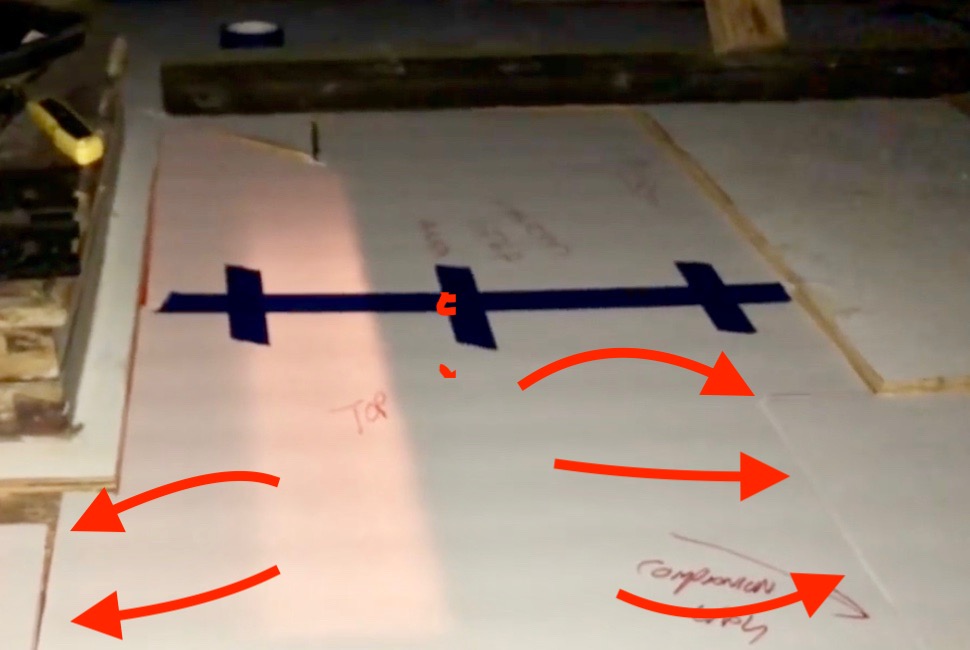 You will notice that this section of the template has tape across the middle of it. The section was more significant than the single foam board. Using tape on one side of the foam allows me to fold it in half on itself and fit it easier in the car until we cut the new core. By the arrow in the picture, you can see where the other cut sections of the core will be. I decided to do this in sections to make it easier to move, install and transport. The method to attach these will be as strong as a single piece of core. We will be fairing it with epoxy before skinning it over with fiberglass which makes me think it will be as strong as a single part.
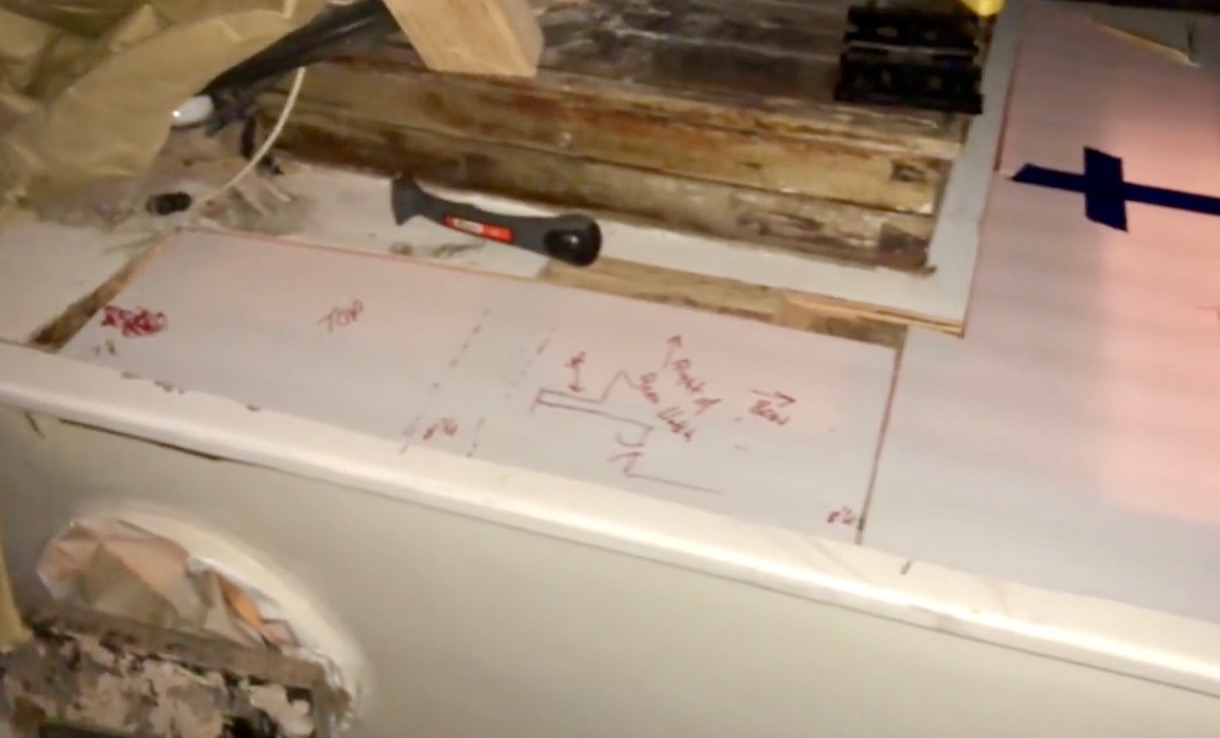
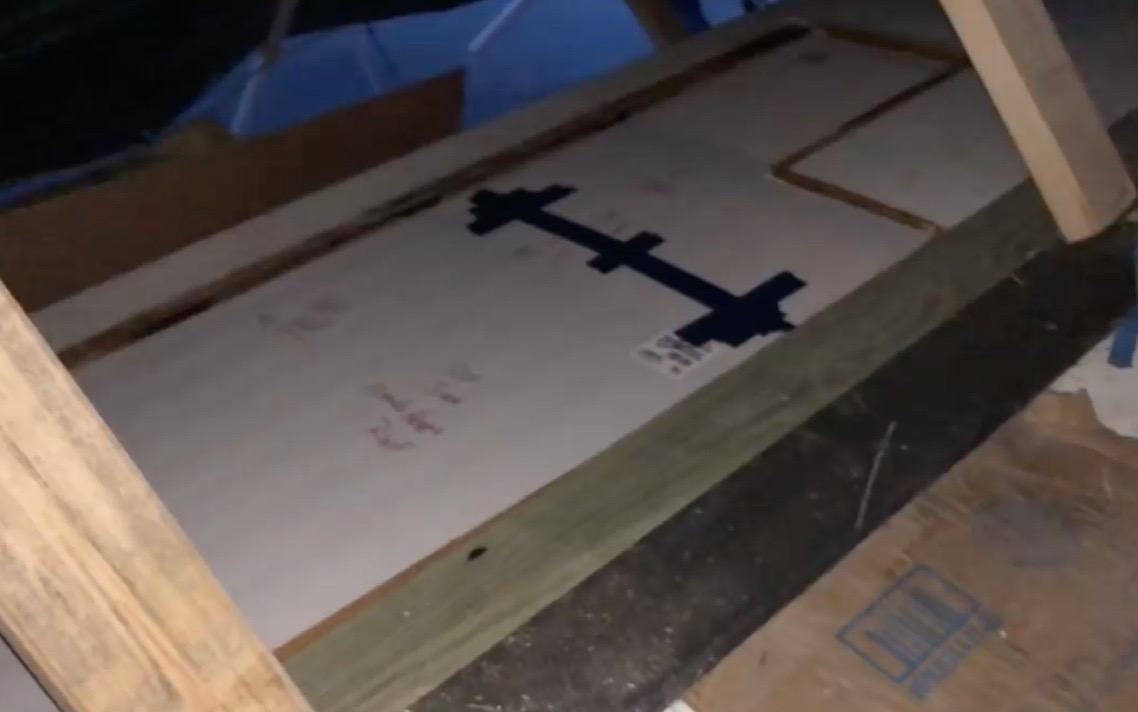
The last photo shows the section of the core that is aft of the mizzen compression structure. This is an area that we didn’t plan on replacing. As we cut into the roof, the rot and termite damage extended down to this section further than we initially thought. The good news it is getting replaced in this, and at the far aft end, we are pouring epoxy into the core. By doing so, it will allow any extra gaps in the roof near the helm station to fill.
I have a theory on this as well. In that outer edge and lip of the coach house beyond where we replaced, there may be small portions of plywood that have some dry rot in them. If there is a small amount of that remaining, the epoxy will encapsulate it.
Large area over galley that also had a template created.
Once cut off from moisture and air, the thought is that there is no longer an environment where rot can continue. Add to that the fact that any gaps from the rot that may weaken it, have been replaced with solid epoxy. Luckily there are only a few inches of the roof in this situation. I suspect had I done nothing about it, it would have been fine as well, but that isn’t in my DNA. 🙂 I had to do the repair, and preventative measures I felt were best.
In our next post, we will discuss and show pictures of how to, and not to, prepare the surface for the new core.
We also have a great video on how we did all this located here on our youtube channel. This link will take you right to it.