
In our last post, we showed how we made templates for the new core that we are to install. In this post, we will spend a bit of time discussing the preparation that we are doing before we fix it.
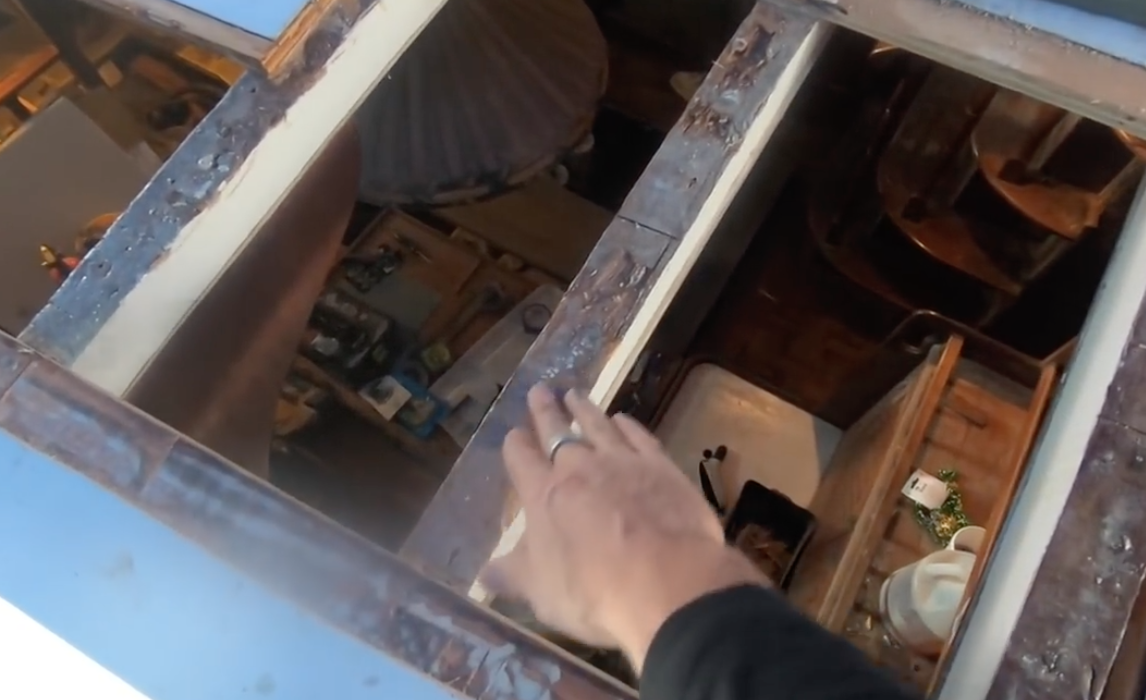 The first thing to note is that there are going to be more than one mating surface when we put the new core in. There is the apparent spot which is the tops of the beams that the core will be adhered and screwed too. But there are also the surfaces that will “butt” up against the new core. Most of these joints will be over the top of a beam or bulkhead. Notice we said most, that was a realization I had while doing the cleaning of the surfaces and we will discuss that later in this post.
Looking closely at the beams that we need to clean, you will notice they need some work.
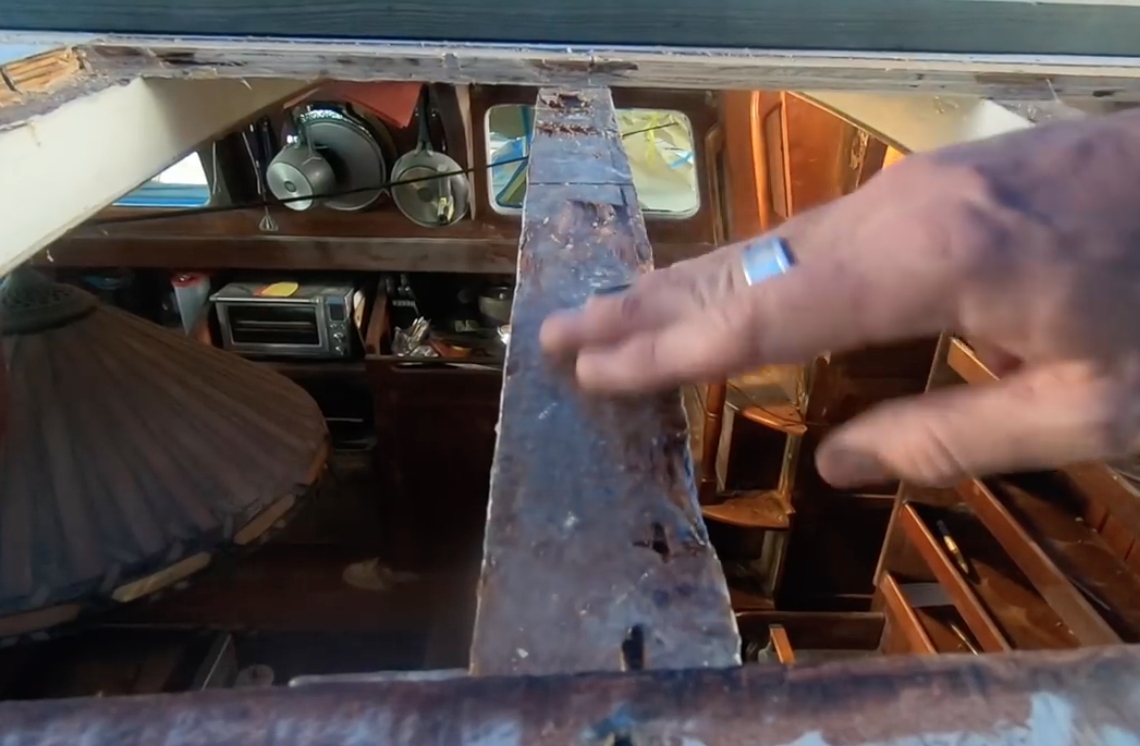 Ours were uneven at best. They had high spots that needed to be sanded down where screws or nails had removed. There were also spots where the wood had been chipped a little bit. I did this in some places when removing the old adhesive. On the photo, you will notice that it is shiny. This is because of a mistake I made, and I want to share it so you can avoid the same one. While I was removing the core, one of my boat yard neighbors popped over. He said, “I mixed up a bit of epoxy and have some left, do you need it for anything before it kicks.” I said sure, and thinking of somewhere to use it, I rolled a thin layer on top of the beams. This isn’t the problem; the problem was that I put it on before sanding it smooth. Doh! I should have passed on the epoxy, prepared the surface and then put a layer on it. I still believe and also did put epoxy down on all those surfaces once they were prepared. The thought is that the epoxy will help provide a suitable mating surface when the core it epoxied into place. It will also add an extra layer of water protection to the structure should any find it’s way into the plywood.
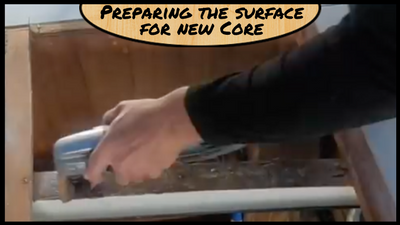
 I used my oscillating tool with a great little grinding rasp attachment. The attachment is so much better than a scraper or sandpaper. Using it makes fast time of the work. This is not a surface that needs to be sanded and varnished smooth as a showpiece, so using a rough grit is fine. It is preferred as it gives the epoxy we will be using a surface to “bite” into. I used this triangle shaped attachment as it allows me to get into corners as well as hold on its side to get the vertical mating surfaces as well.
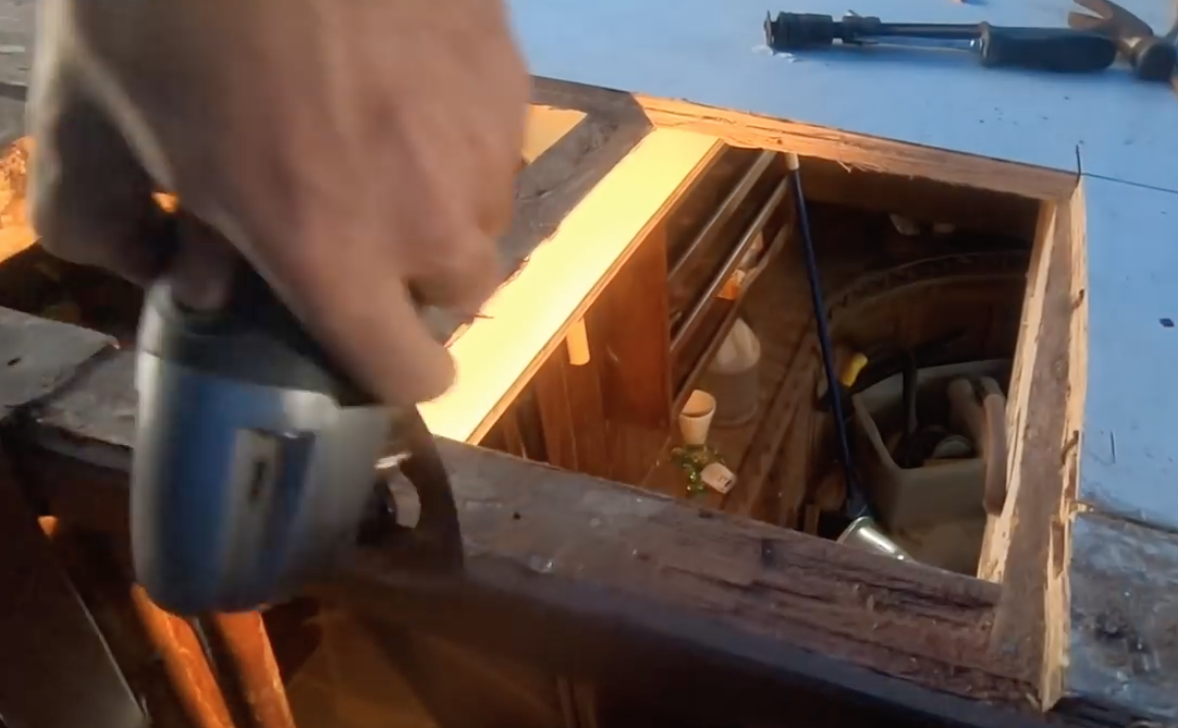
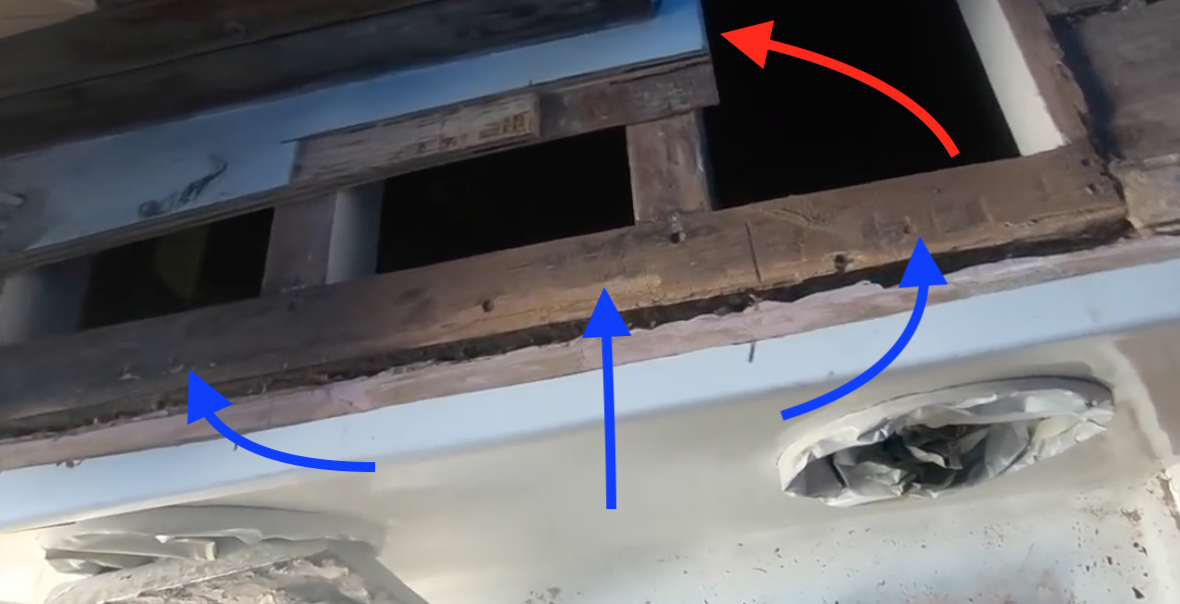
In the last photo with the arrows, you can see the prepared surface. Forgive the darkness of the photo, but it was getting late when I finished up. The blue arrows point to the cleaned and prepared surface of the beams. The red arrow is the realization I mentioned earlier about some of the mating surfaces. This spot is right in front of the hatch. I didn’t need to remove the core all the way to the hatch, so I stopped a few inches in front of it. I realized that a butt joint in this area would not be as strong as some other methods. But more on that realization in the next post.
 Thanks again for reading and if you enjoy this information, please do share it with others. There are convenient icons for doing just that. 🙂 I am interested if you have some alternate ways you may have done this project, if so, please note it in the comments below.
We also have a great video on how we did all this located here on our youtube channel. This link will take you right to it.