
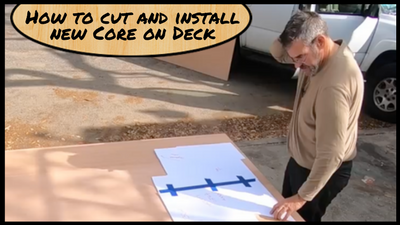
It is time to put in the new core. We have done a lot of work to get to this point, and it felt good to be taking the next step. In our last post, we prepared the surfaces for the new core. First was to get the marine grade plywood. I had to let it hang out the back of my Tahoe to get it over to the yard. Luckily it wasn’t too far away.
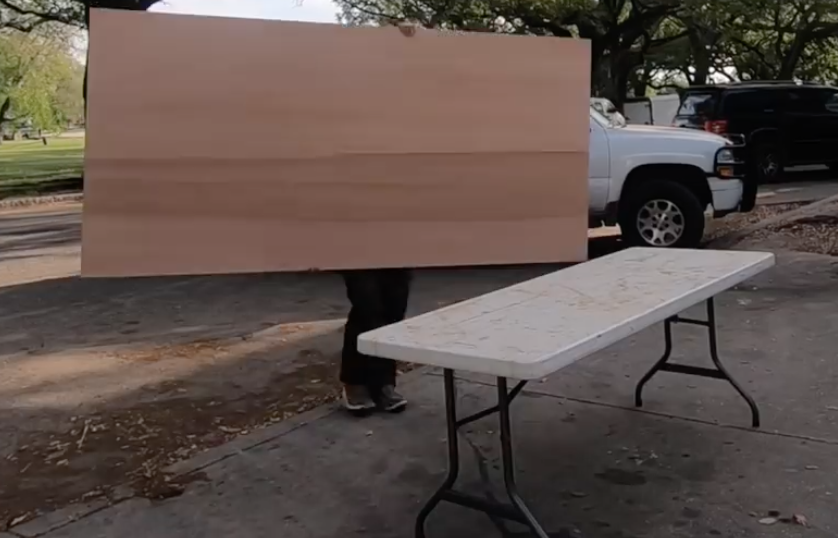 I set up a table outside the yard and ran an extension cord to it for the work we were about to do. Deb was there to lend a helping hand as well. These 4 foot by 8-foot sheets of 3/4 inch thick plywood have a little weight to them for sure.
With the plywood in place on my little work table, we were ready to get started. To go off on a tangent for a second. If you don’t have a small table like this, you may be missing out on a great addition to your boat or supplies. We have this table and one that folds in half that we keep on the boat. I use this for almost all of my projects. It is covered in epoxy, varnish and has more nicks and cuts in it from work done, but it is still strong and works great. Best tool money spent to date.
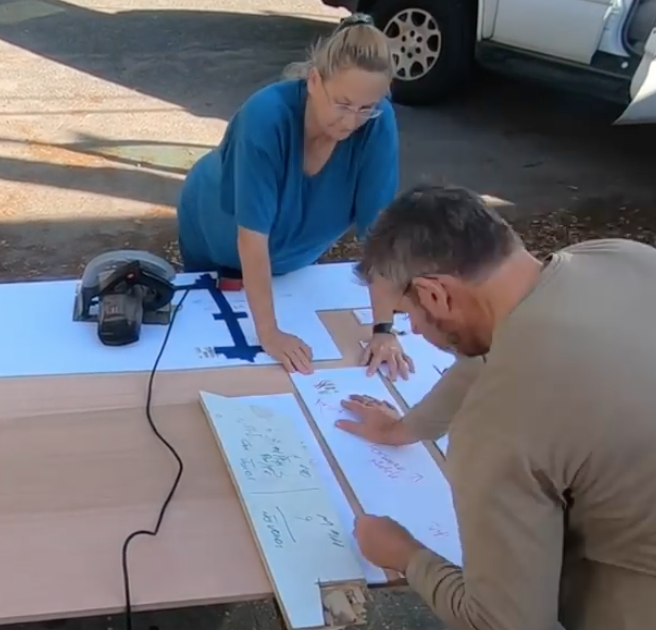 With the plywood in place, it was time to lay out all the templates. What I didn’t so, that I should have, was laid the patterns out in the store. Had I don’t that I could have gotten away with a single piece of plywood. But I didn’t so I split the templates across the two sections so that the parts left would fit in the truck. We had an hour drive home, and unlike the lumber yard run, I wouldn’t be able to let them hang out the whole time.
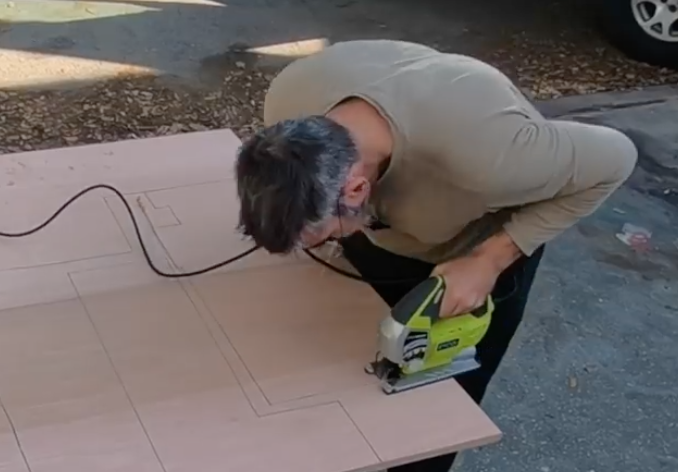
We traced each of the pieces and were sure we accounted for the additional length we needed for those rabbet joints. We double and triple checked each template to make sure they were done correctly. After we traced them, it was time to start to cut them out. We used our Ryobi jig saw. It has been a great saw and with the right blade will create excellent and clean cuts. This was no different
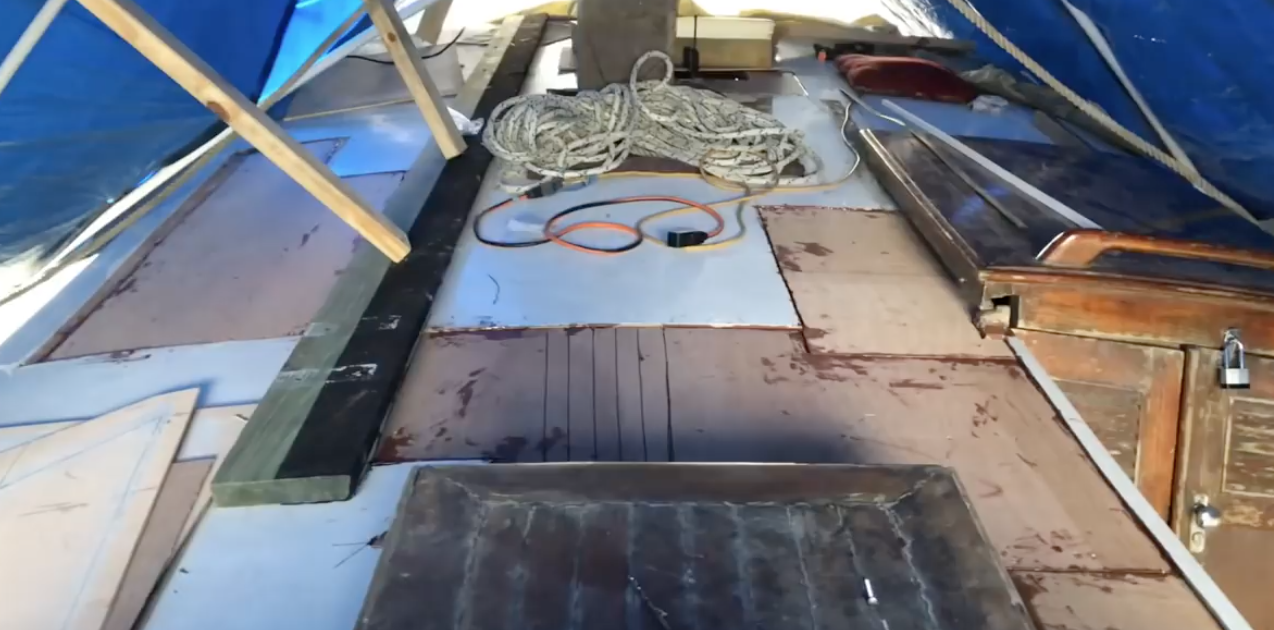
 Each piece was cut and carried to the boat for a dry fit. To see how well it worked. In the case of this first dry fit, I realized that I needed to trim a slight amount off in a section. This is the value of dry fitting, and I would rather be bigger than too small.
After getting that small section to fit along the companionway, I validated that the template for the next part still fit. This was about to be one of more significant pieces to be cut and wanted to check it one more time.
I cut this out with the jigsaw. This saw allows me to make tight turns when needed as well as a very smooth cut. There is an adjustment on this saw on how aggressive the fore and aft motion of the blade is in addition to the up and down motion. I took my time and cut all these very slowly to keep the smoothest of cuts.
After carrying it to the boat, I realized that having 3/4 inch thick material was not going to allow it to be curved. The roof of the boat curves with the sides slightly lower than the center. This makes sense for water runoff. I hadn’t considered this fact as it related to the plywood until this very moment.
 I instantly started to question my decisions leading up to this point. I thought that I should have gone with three layers of 1/4 inch plywood. This would have allowed each sheet to be curved and laminated together. OK, time to step back and think through options. I realized that I had opportunities. Instead, I could apply a series of cuts part of the way through the material that would allow it to curve. My initial intent was to make the cuts on the bottom side so that the gaps created by the saw blade could close slightly. Doing it this way would leave the roof, the top, smooth.
It was time to get a second opinion from an expert. I consulted the yard given that they were going to be fiberglassing over this when I was done. They provided some excellent insight. They suggested that I do the cuts as I stated, however, make them on the top, not the bottom. There were a couple of reasons for this. The first is that it would look better from down below where the plywood would be seen. It would also reduce the fairing that would have to be done on the ceiling. Lastly, and I didn’t think of this one, is that they would be floating resin into the exposed grooves anyway. When they wet out the surface for the glass, if the cuts were on the top, they would fill with resin. The fiberglass cloth put over it would bond it all back into a solid surface.
 Great Points. With that, I made the rest of my cuts and epoxied and screwed all the new core down. It was not time to let it cure and sand a few of the joints to see how smooth they were. Once they were all in place, I used thickened epoxy with micro balloons to fill any cracks. I used a scraper to push it between all openings and laid it on a bit thick. This allows for the grinding to be done in surface preparation to get it all smooth and ready to put glass over.
Next step is for the yard to put the glass on now. I am excited to have the core parts replaced. This was the most massive core replacement job I have done so far. It was a very different job than replacing the core on the deck of the boat where there was a bottom skin. When there was a bottom skin, it was not as essential to have joints over beams. In the deck, any resin poured around the new core filled the void between the skins to make it solid. With the coach house, consideration had to be given to not having a bottom skin of glass on the inside. This is very much a wooden boat construction method even though the hull is fiberglass.
In the next post, we will start to replace the bulkhead and repair the rot there as well. We also have a great video on how we did all this located here on our youtube channel. This link will take you right to it.