
As we continued to cut holes in the roof, we noticed something that caused us some concern. As I cut the holes to the side of the companionway, I saw the wooden core was 90% solid. It was that 10% that was nagging in the back of my head.
I considered the fact that not far from this area was a prior repair made to a bulkhead that was likely caused by rot due to water intrusion. The problem was that I didn’t know if the water had come in from the companionway slide or the mizzen step.
What to do? What to do? In the end, I considered the amount of work and effort this refit has been so far. I knew how annoyed, no how pissed off, I would be at myself if I didn’t do it right the first time.
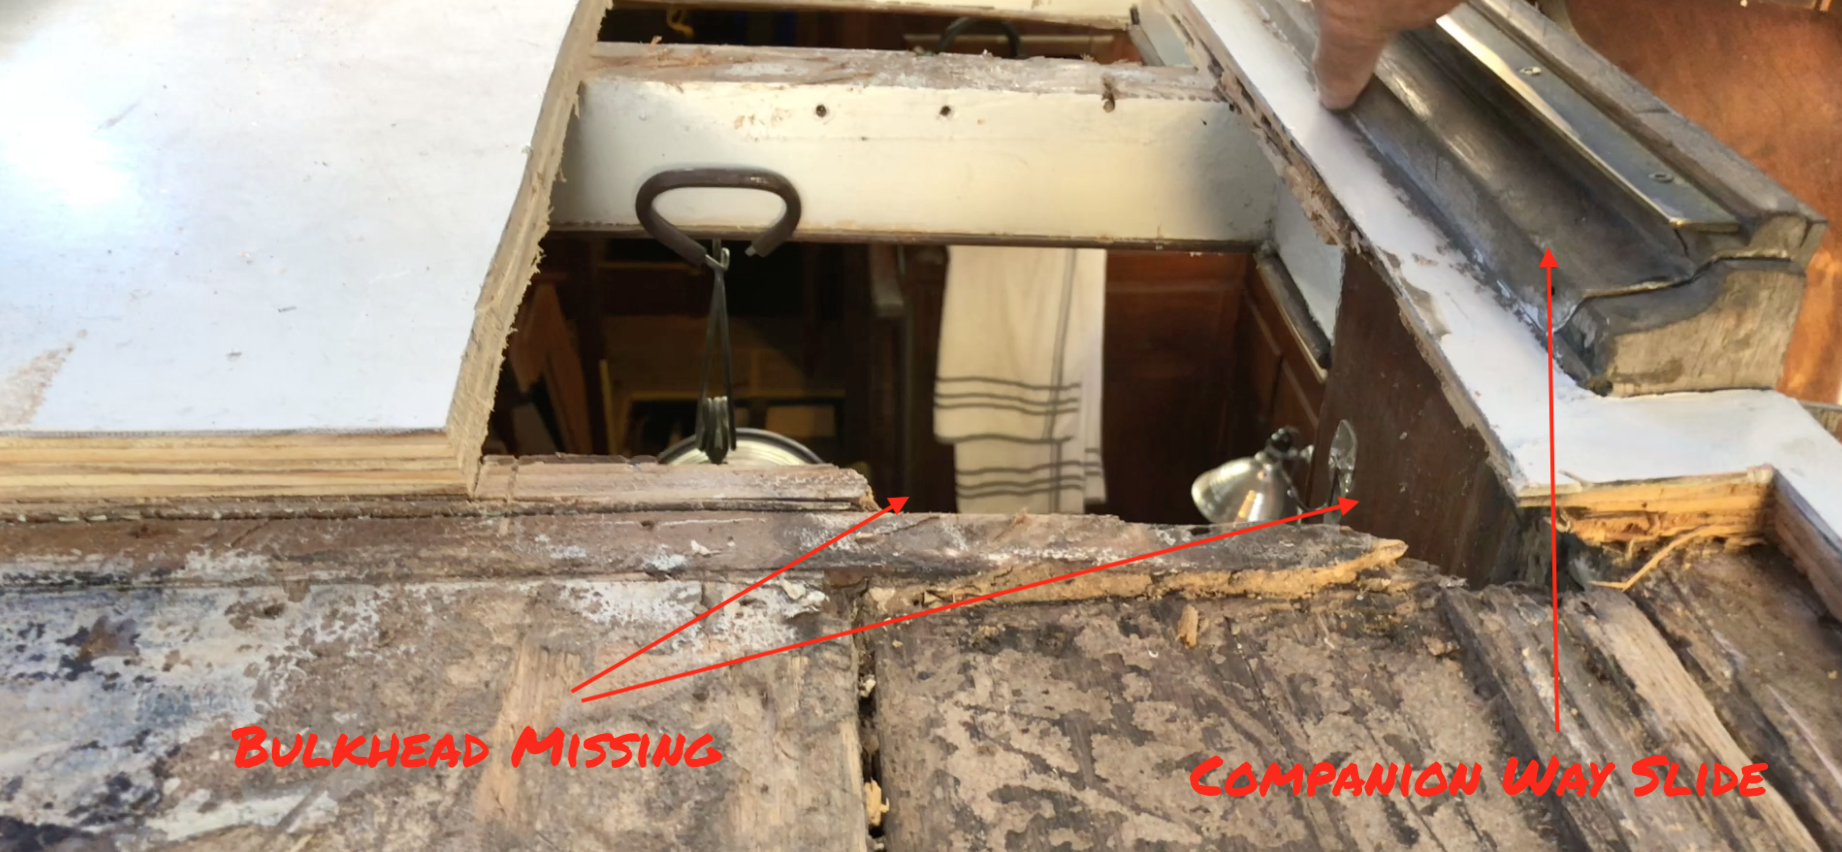
In the image with the labels, you can get an idea of where we are working. Walking down into the companionway facing forward, this is the left side of the opening. I had cut the roof about 2-3 inches to the side of the rail. I removed the trim on the inside of the companionway to expose the core, and it was solid on the inside. But, the outside near the cut I had made was the area that was showing a little sign of water intrusion.
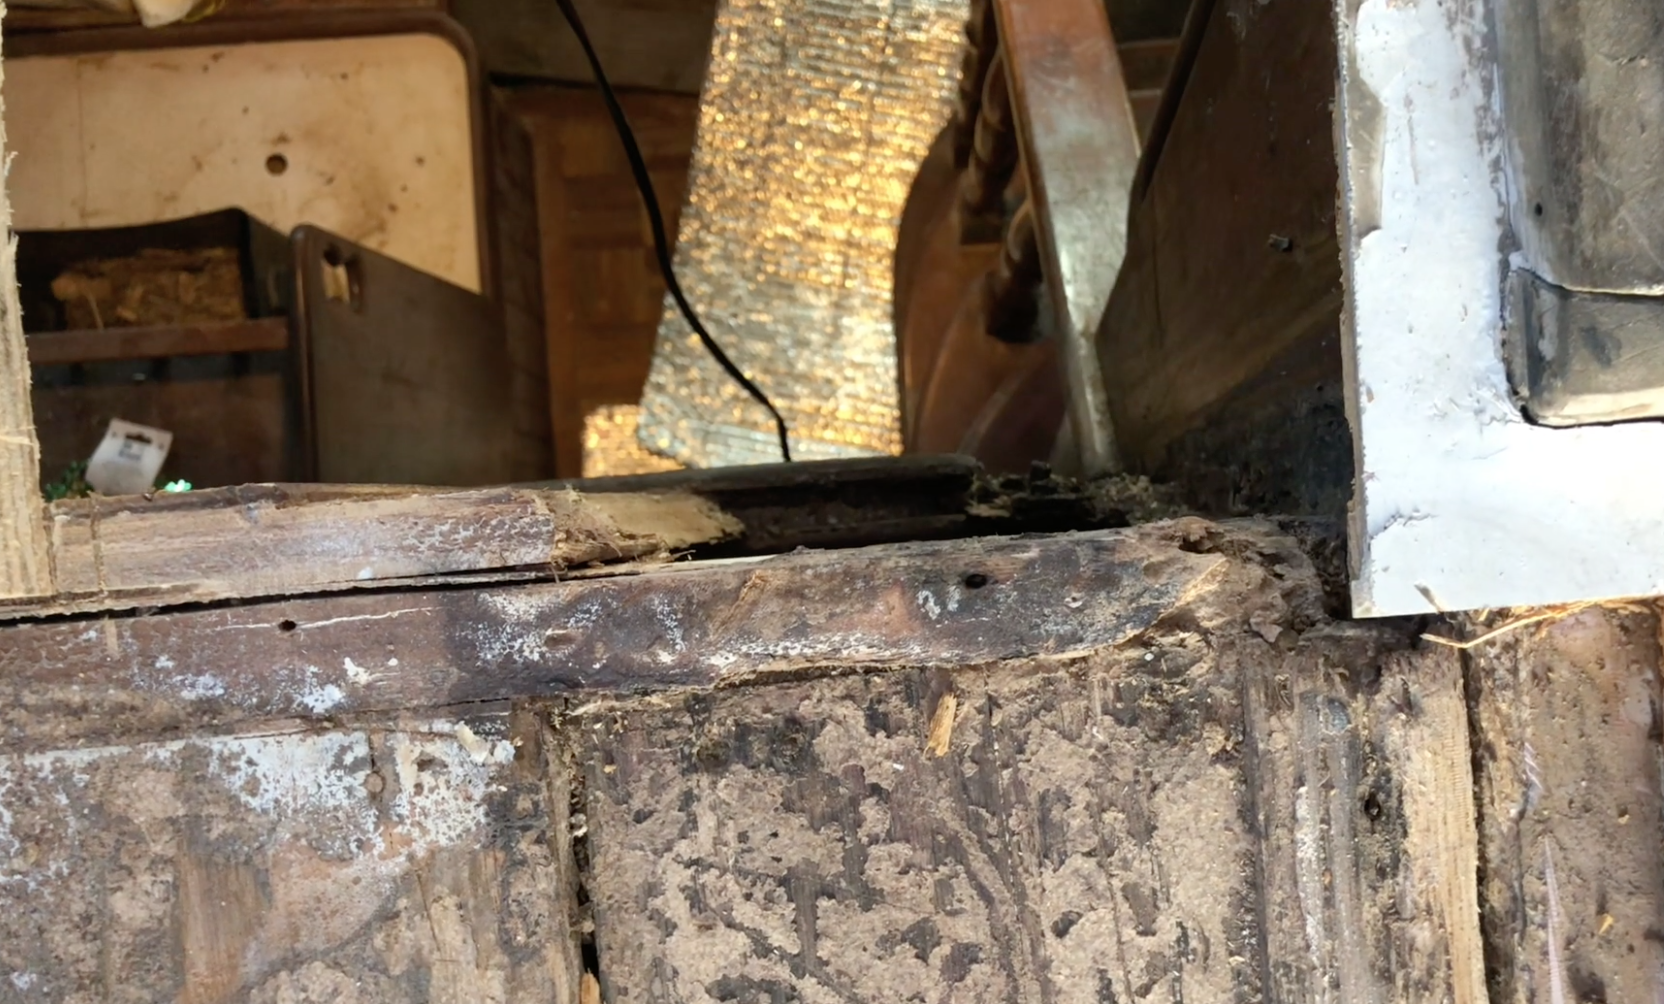 In the next photo you can see the roof core removed and the mizzen compression structure toward the lower part of the photo.
From above, you can see the bulkhead on the forward (top) left (Port) side of the picture. You can also see that the bulkhead stops and is cut at a 45-degree angle. This angled cut is easy to see when looking straight down on the bulkhead from above, which is why I took the photo this way. In an earlier post, I shared how disappointed I was when I removed the decorative teak veneer only to find this repair that had been made before we bought her. The fix was temporary, maybe even shoddy at best. The new piece of plywood that seemed riddled with termites or rot was not glued or epoxied into place. There were 2 finish nails holding it in place. I suspect that the wood was added with the sole purpose of keeping the adhering and hiding the damage.
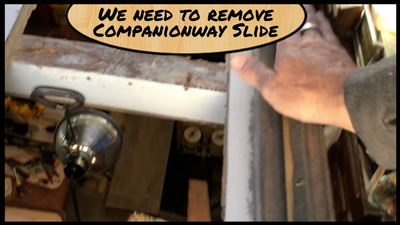
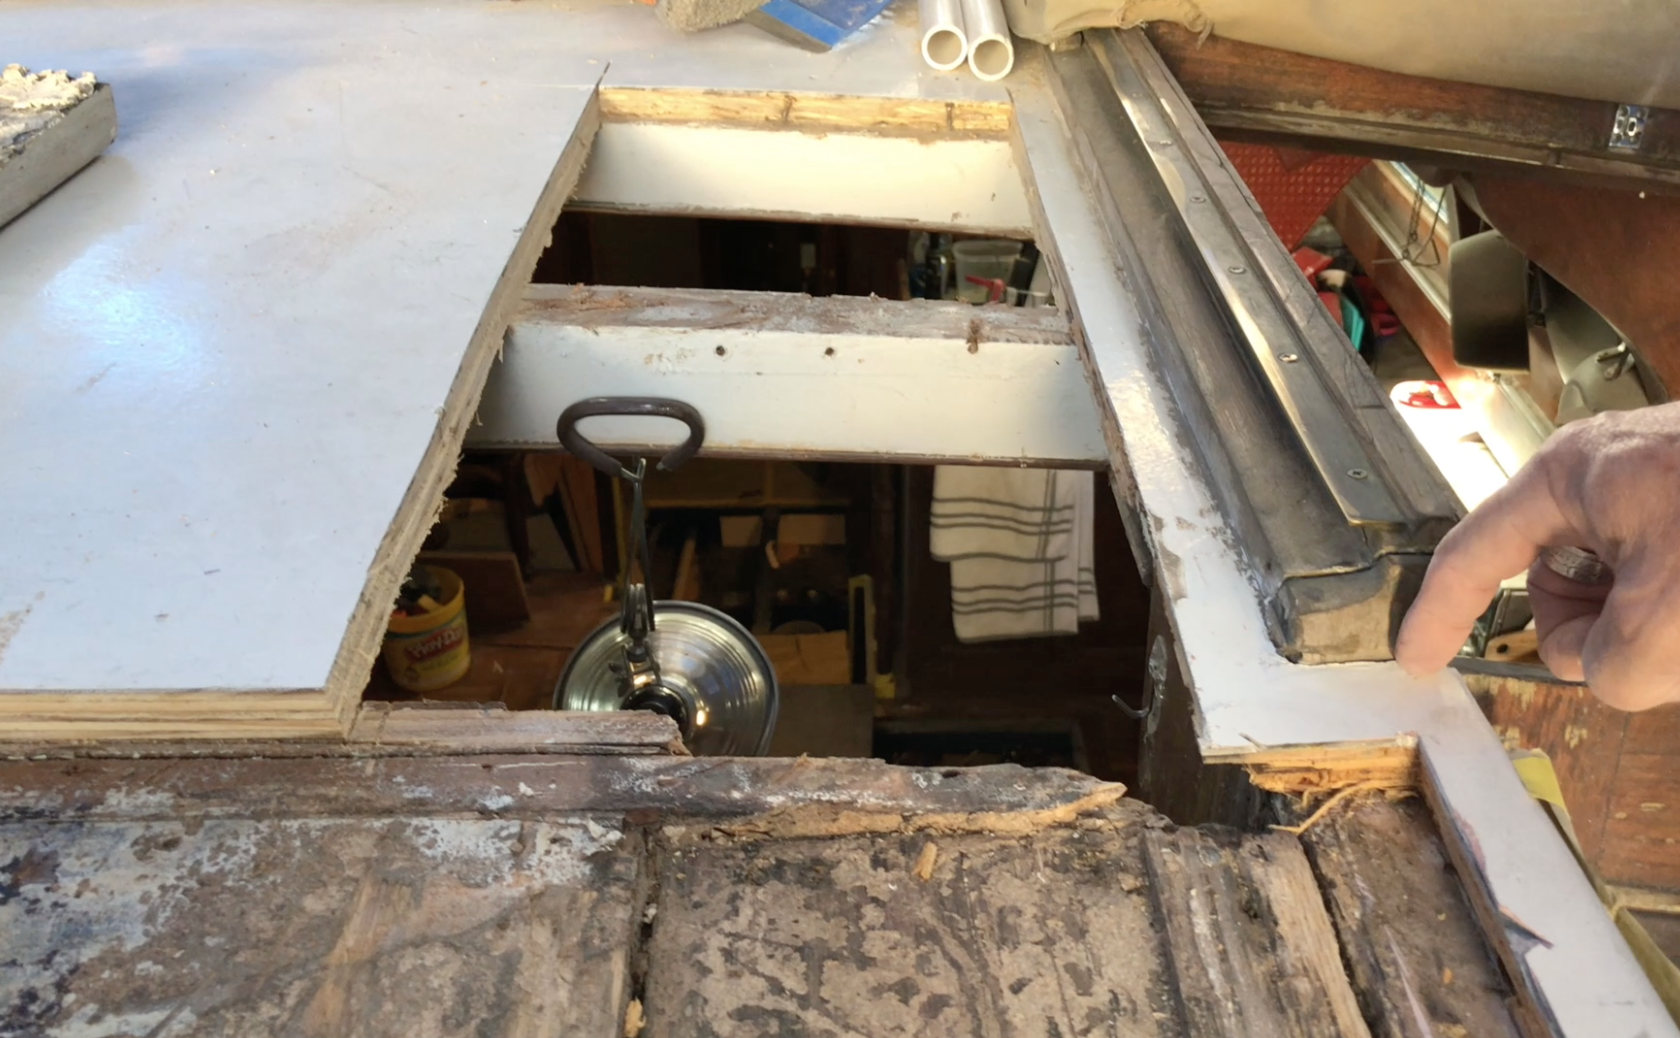 The good news is we found the issue now and we could do something about it. In this photo, you can see the previous cut I had made to the roof of the coach house. My intention now is to remove the companionway hatch. Remove the companionway slide will be tough but must be completed. Once the rail is off, I will be able to cut the core out right to the edge of the companionway and put the new core in place. Then this whole thing will be fiberglassed over, and I can put the slide back in place down the road.
But, more on that in a future post