I have been doing what seems like a lot of smaller jobs on the boat. While there is still significant refit working going on, I am in the middle of the little stuff to fill the time. One of those small projects has to do with a much larger one.
 We have liked the look and the feeling of security you get from having solid lifelines on the boat. We have never had them but having something to reach over and hold on to, feels secure. Deb and I both get nervous when the girls walk along the deck and reach for the top lifeline. While I have no doubt it would hold them, it sways and gives a little. We both worry that if the four-year-old is falling and grasp the lifeline, she may still fall as it may give an inch or two and she wouldn’t be ready for it.
So the first step in our solution was to get new stanchion bases. When we have more information to share on the solid lifelines, we will. The first step, however, was getting new bases for the stanchions. The old ones would have worked, but they bolted to the deck with a backing plate below it. The sheer math on this bothered us. 16 stanchions with four bolts for each. 64 new holes all the way through our new deck. I didn’t want to give water a new place to come through that new deck. I know it is a silly compromise, but here is our decision. We are going to get horizontally mounted stanchion bases that will bolt through the gunwales. While it is the same number of holes in the boat, they are on a vertical surface so less likely to get as much direct water exposure.
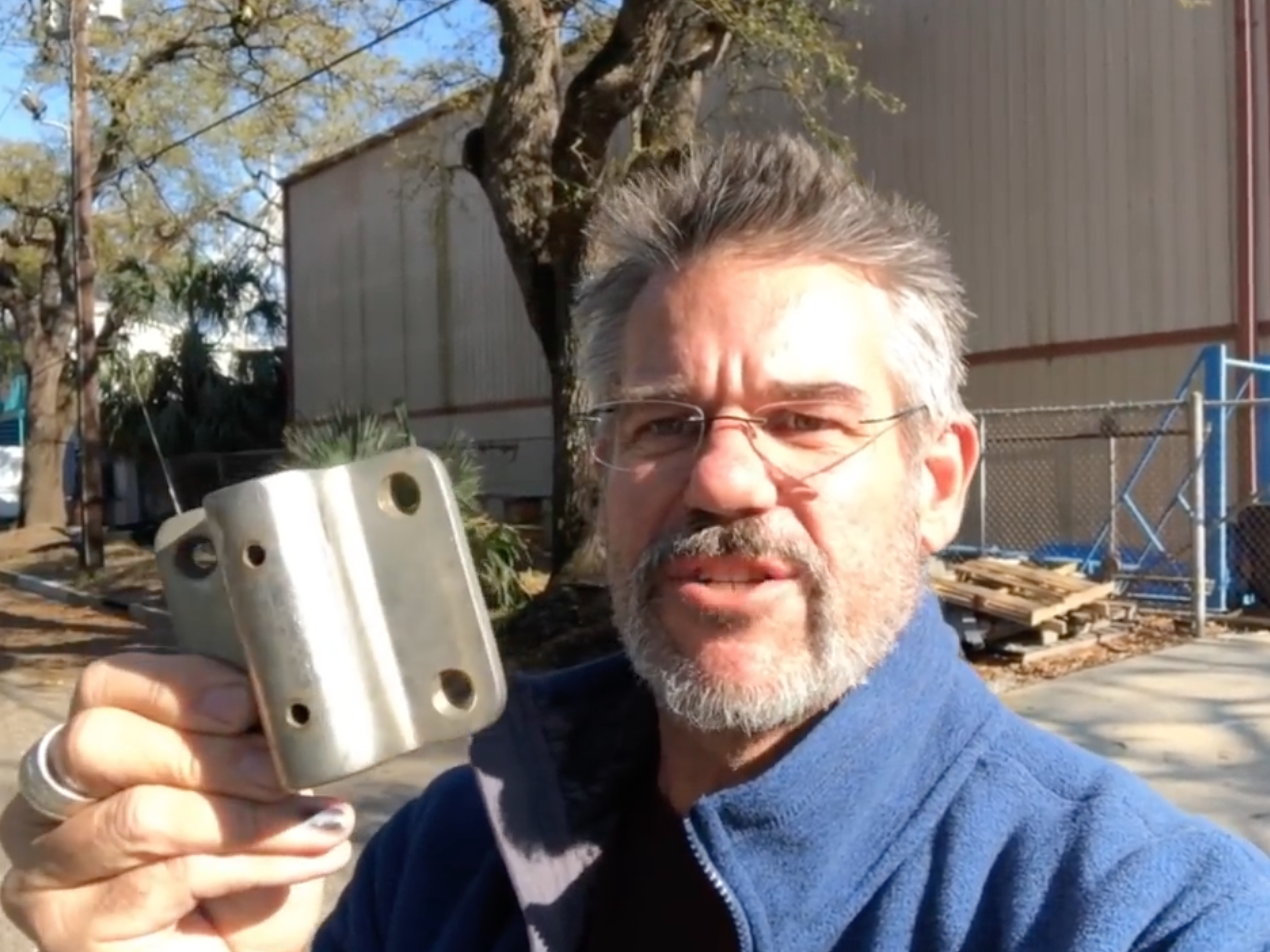
 We took a sample from the fabricator we are working with on the lifelines over to the chandlery. The purpose and we were successful was to order new bases. From these bases, the fabricator will attach the stainless rod to them. This will create two tie-down loops to each stanchion base. We will use these for snatch blocks for the roller furling line. We can also use them to tie fenders and also tie down spots for our sun and rain covers.
More on the lifelines in the future, today the task was to work on the bulkhead. While replacing the core in the roof, I ran across some spots below the rotted core that needed attention.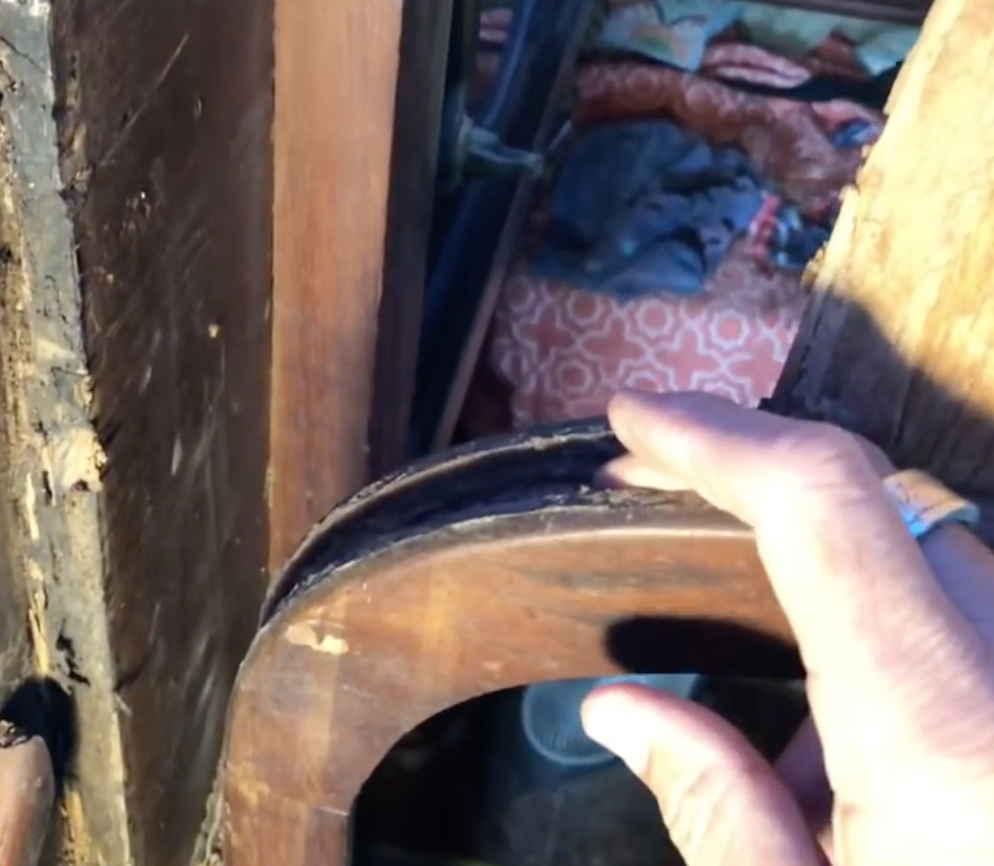
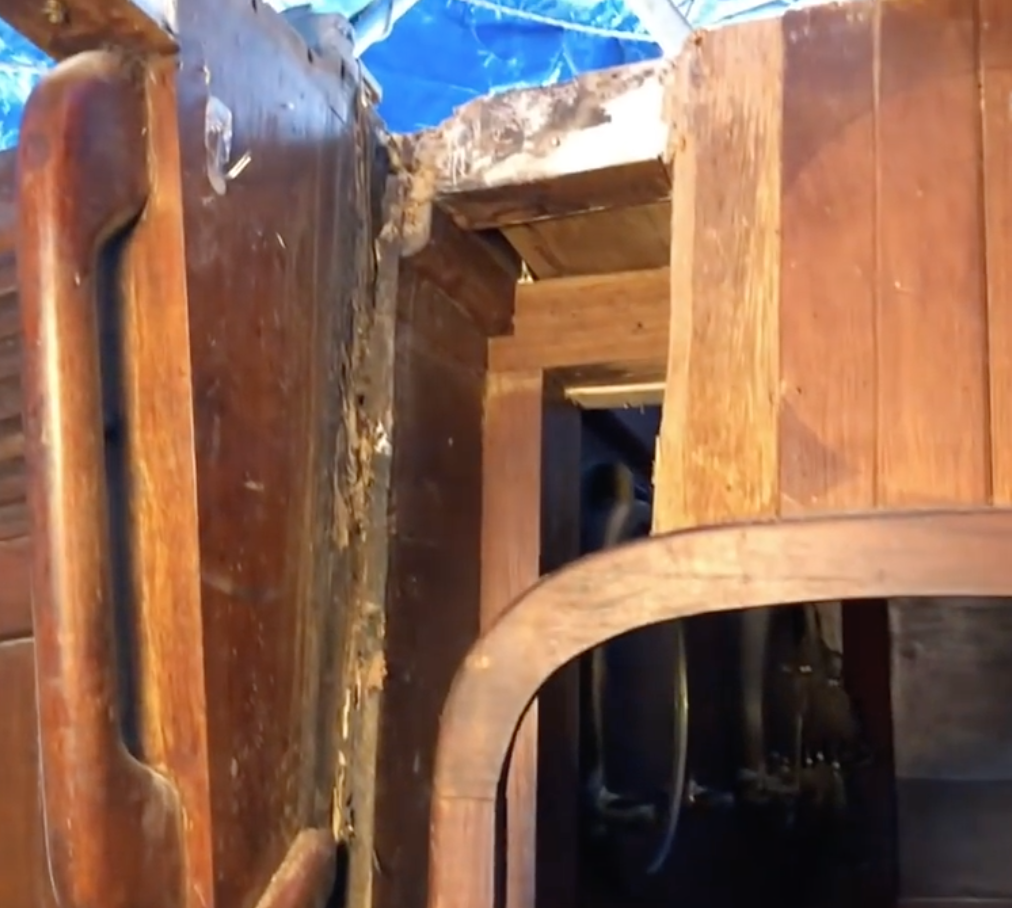
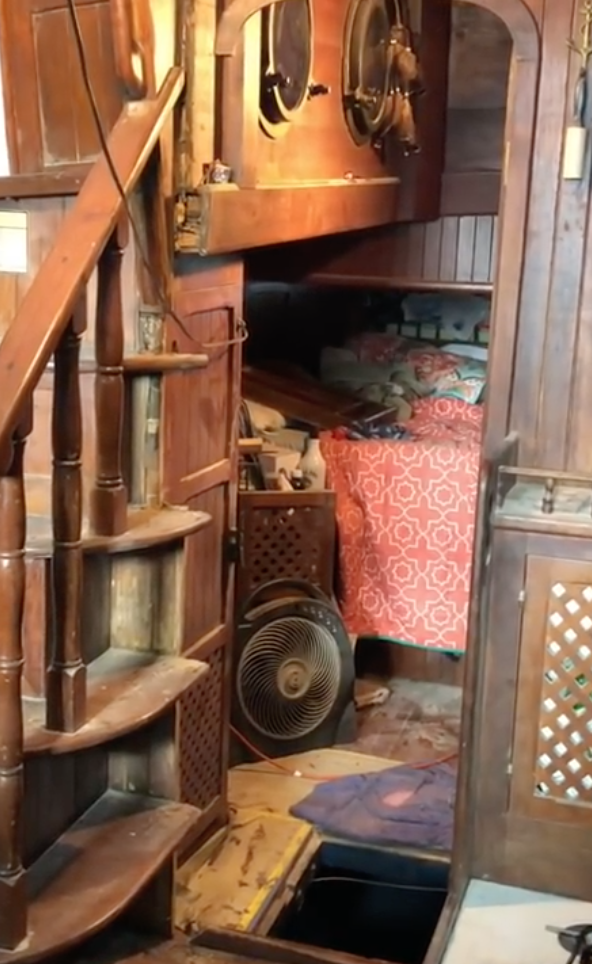
Years ago I fixed a small spot of bulkhead rot in the v-berth. Today it is around the primary companionway. In this blog post, I shared details about the unfortunate repair done on this bulkhead previously. In this photo, you can see the section above the owner’s stateroom entry door. The plywood that was in this part of the bulkhead was not screwed or epoxies in place. It had two finish nails in it. That was it, so I removed it with the intention of repairing it right.
I used my plunge cutting blade on the oscillating tool to cut the section of rotted plywood out. As you can see it fits right into the curved part of the door frame.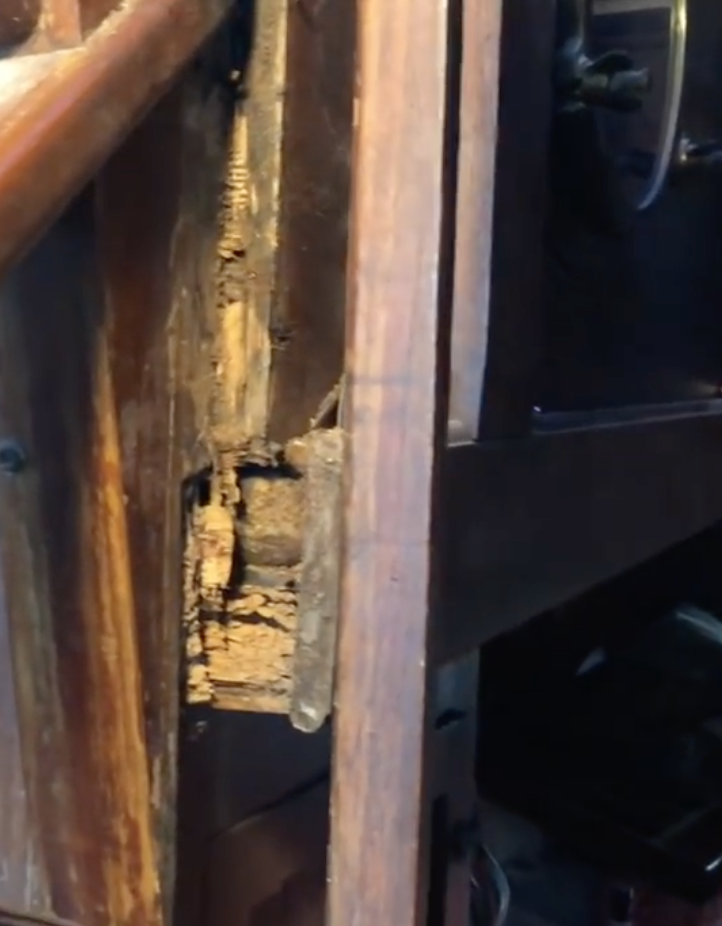
This is the door that goes to the owner’s stateroom. The photo shows how the framework of the door fits tightly onto the core. I suspected when the boat was being built; the plywood bulkhead was tabbed in, then the door opening was cut. Then the door frame was slid onto the plywood. I will be doing this a little bit backward in that I am not replacing the entire bulkhead. I will be cutting the core and tapping it down from the roof into the curved section of the frame.
As I inspected this part of the bulkhead more closely, I noticed another integral part of the mizzen compression framework. This was compression structure detailed in this post. I could see where there had been some weakening of the wooden beam from extended exposure to moisture. In this picture, you can see how there is about 1/4 of an inch of soft material on the 4-inch thick beam. Had it been a more significant % of the beam that was damaged I would have been more worried.
 The limited damage lets me know I would be able to repair what I have rather than replace it. That repair will involve epoxy and a bulkhead wall. When we do that part of the work, it will be in a future post as well.
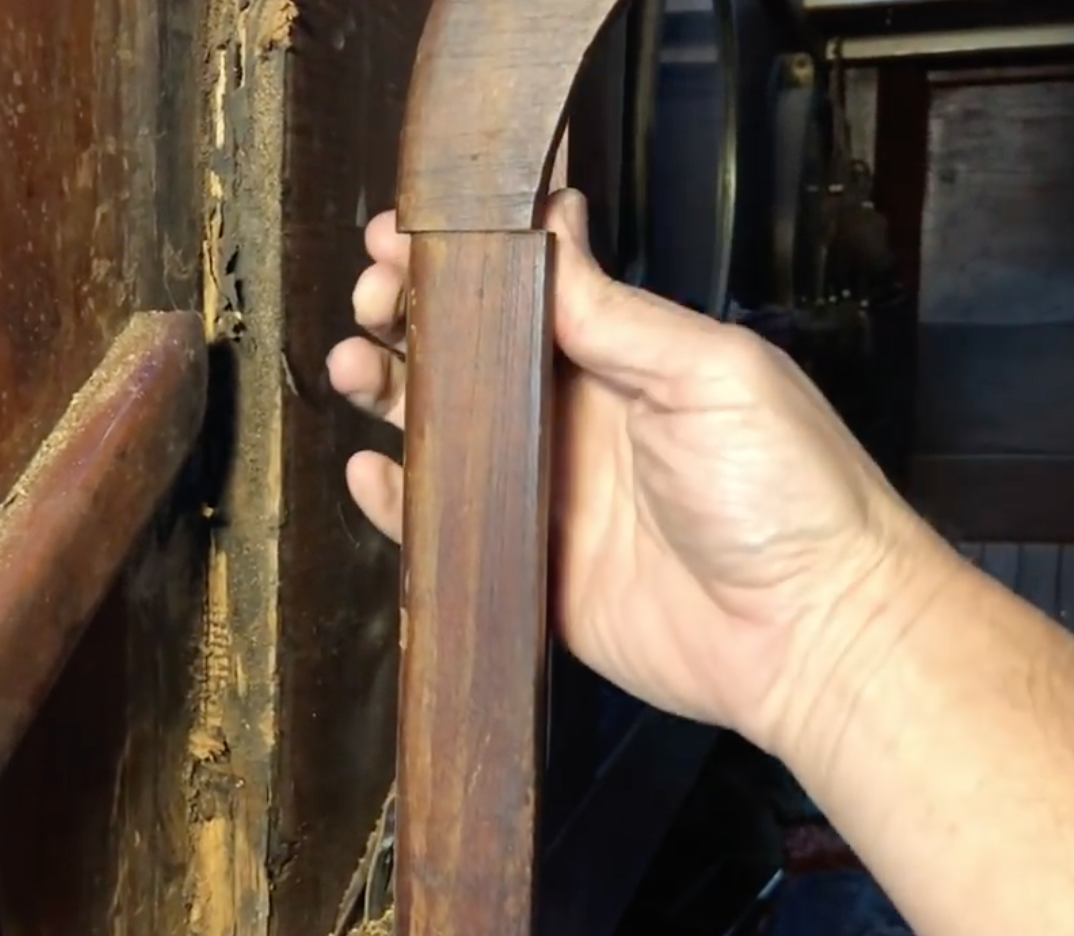
I started to consider how I was going to remove any leftover plywood from the groove of the door frame. In this picture, you can see that the side of the door frame is a separate piece than the curved top side of the frame. This was good news as it meant I might be able to remove it and make cleaning the inside of it much more manageable. With that realization, I started to inspect more of the bulkhead.
I found it was soft lower than the section I had removed and I needed to remove more of the bulkhead. Using my plunge cutter and oscillating tool, I cut it down to the floor and about 4-6 inches wide.
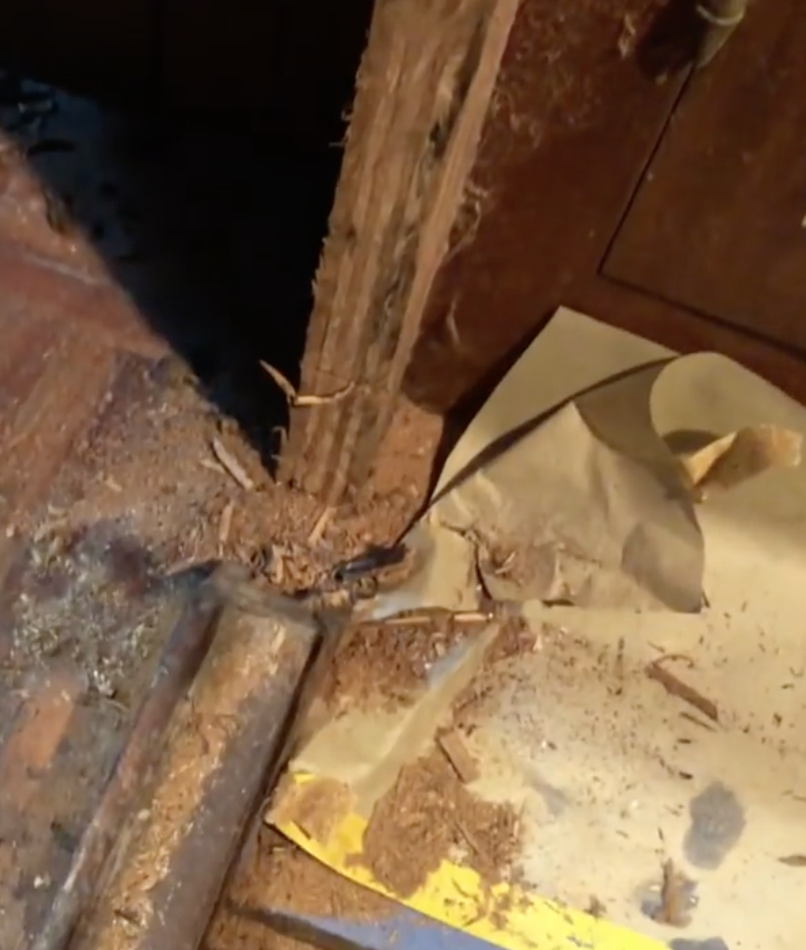 In this photo of the floor, you may not be able to make out what is in the picture. The fresh plywood edge on the right is the existing bulkhead. I cut from chest high down to the floor. I then cut across even with the floor. The reason I did it here is that the rest of the bulkhead goes all the way to the hull where it is tabbed in. That is giving the overall bulkhead strength, and this small section that I am replacing is going to help as well. The primary goal of my repair is to replace the rotted part and provide a base for the door frame.
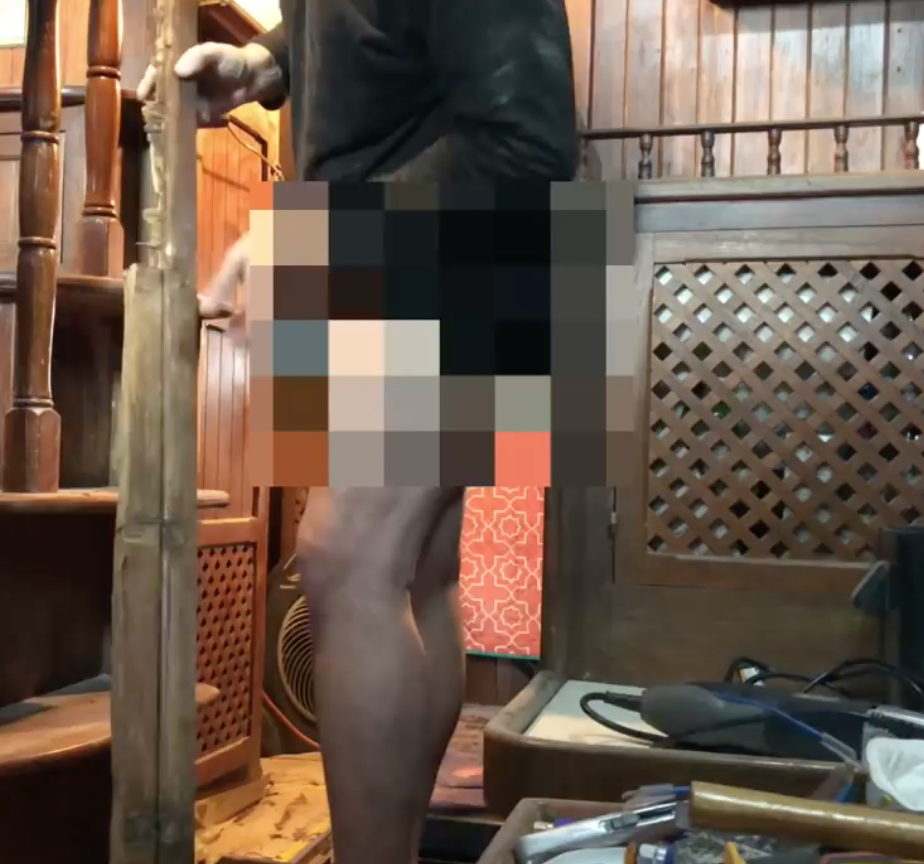
Remember before I mentioned that I was coming from work each day to get a little more work done on the boat? One of the things I didn’t do a good job of was remembering to bring a change of clothes. So what do you do when you don’t want to get your work clothes covered in sawdust? Well, you work in your pirate underpants. Yep, I did that. I cut this section of the bulkhead out and as you can see the door frame came right off with it. This was a good thing as it allowed me to put it on a bench and work on it. Yes, I blurred out my midsection so you couldn’t see me working in my skull and crossbones pattern underwear.
 I kept this piece of the bulkhead as I was going to need it to make a template for the new part that was going to be cut from marine grade plywood. Having it off also let me remove the frame from it and clean the inside of that frame groove. The boat’s owners stateroom door never closed. It was a little off kilter, and I think it was due to some sinking of the mizzen with the rotting roof. The good news is that we can and will have it fixed with this repair.
 I think the boat looks odd without that frame in place. The door is easier to get through, but it just felt different and weird to walk through the opening that big.
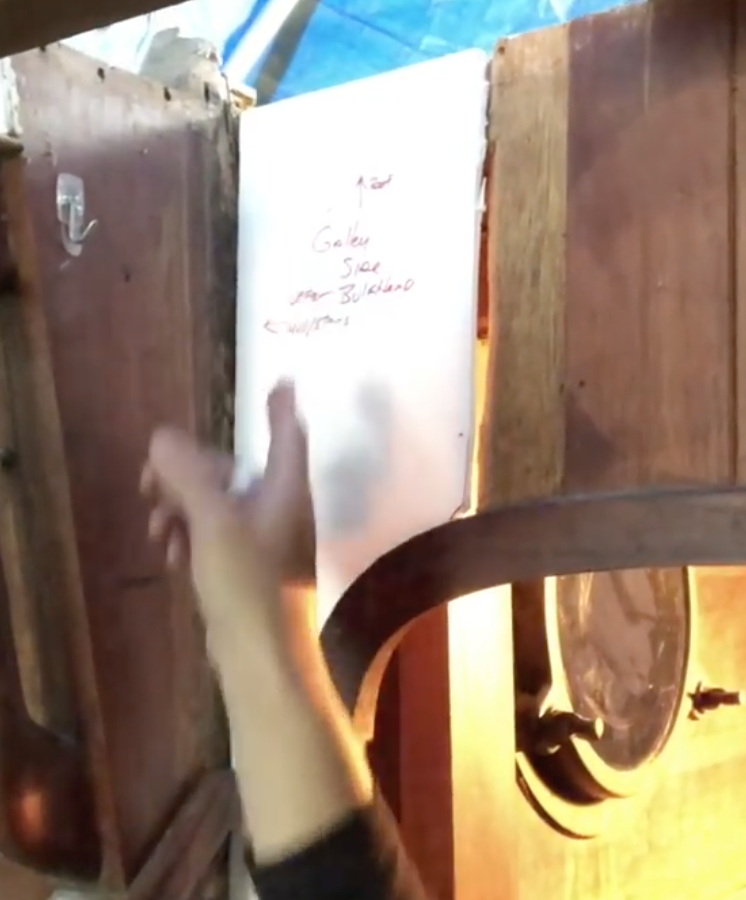
The last step for this blog post was to start that process of making templates for the section that I had cut out. I started with the top part of the curve on it, because I knew that would be the hardest one.
I used Poster board and a utility knife to cut the material. Doing it this way allowed me to continue to slide it into place and see how well it would fit the curve inside the door frame. In this picture, you can see the poster board cut and sitting in its location. What you can’t see in this photo are the measurements and details for the section to the floor. By creating a template that I know fits that curve, it will allow me to make the new bulkhead at our storage shed. This is often easier than attempting to do it on the boat.
Come back and see a future post on how we put the new bulkhead in place.