
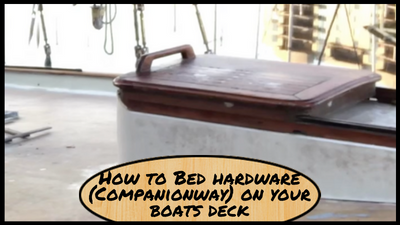
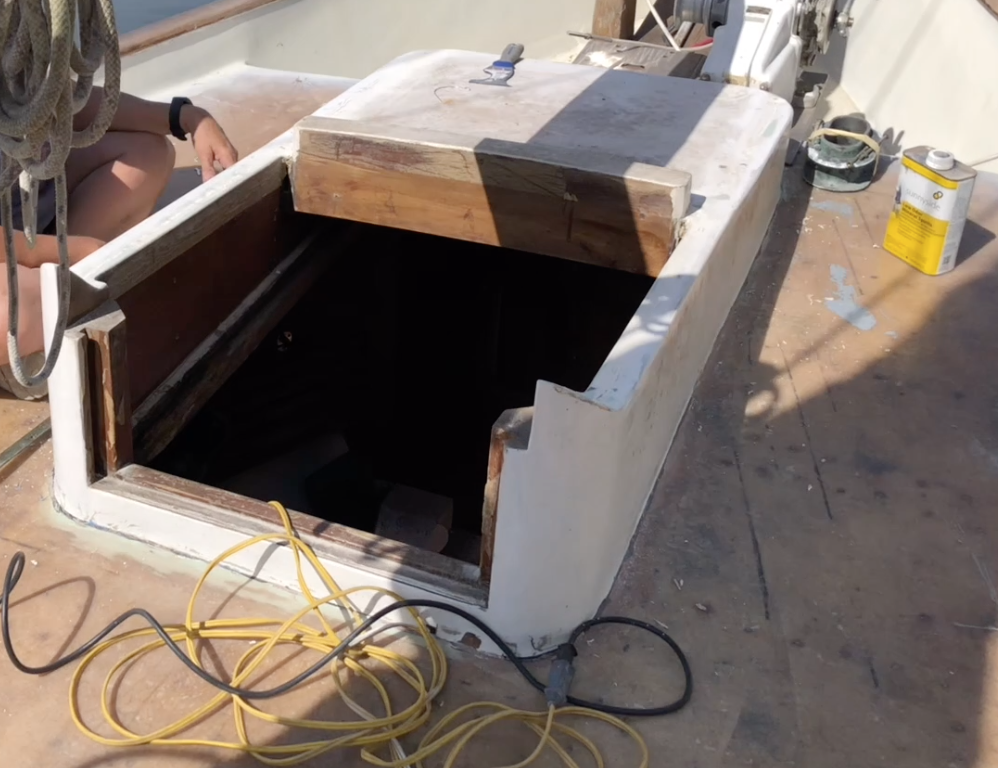
Our boat has what is known as a “dog house.” It is essentially a small coach house on the deck that allows for another entry/exit point to the boat. Some of these boats use this as a method to deploy and stow sails during sail changes. For us, it is an “emergency exit” so we have more than 1 relatively easy way out of the boat in the event of a fire.
 This dog house has a sliding companionway on it like the main entrance of the boat and goes into Chazzy’s bunk. It has been leaking for a while, and I had thought it was coming through the deck where the dog house attaches. As we had the work done on the boat and all the fiberglass work is done, I noticed it was still leaking when it rained. So, that indeed eliminated the culprit of the deck. It was time to check the bedding of the sliding hatch. I waited until an excellent storm was on its way and spent a good 30 minutes with a flashlight looking following each drop of water.
The good news was that I could see where it was coming in. It was coming from under the sliding hatch rails and running along the contour of the ceiling. For anyone that has chased down a leak on a boat, it is NEVER where you see it drip. In our case, it was several feet forward of that spot.
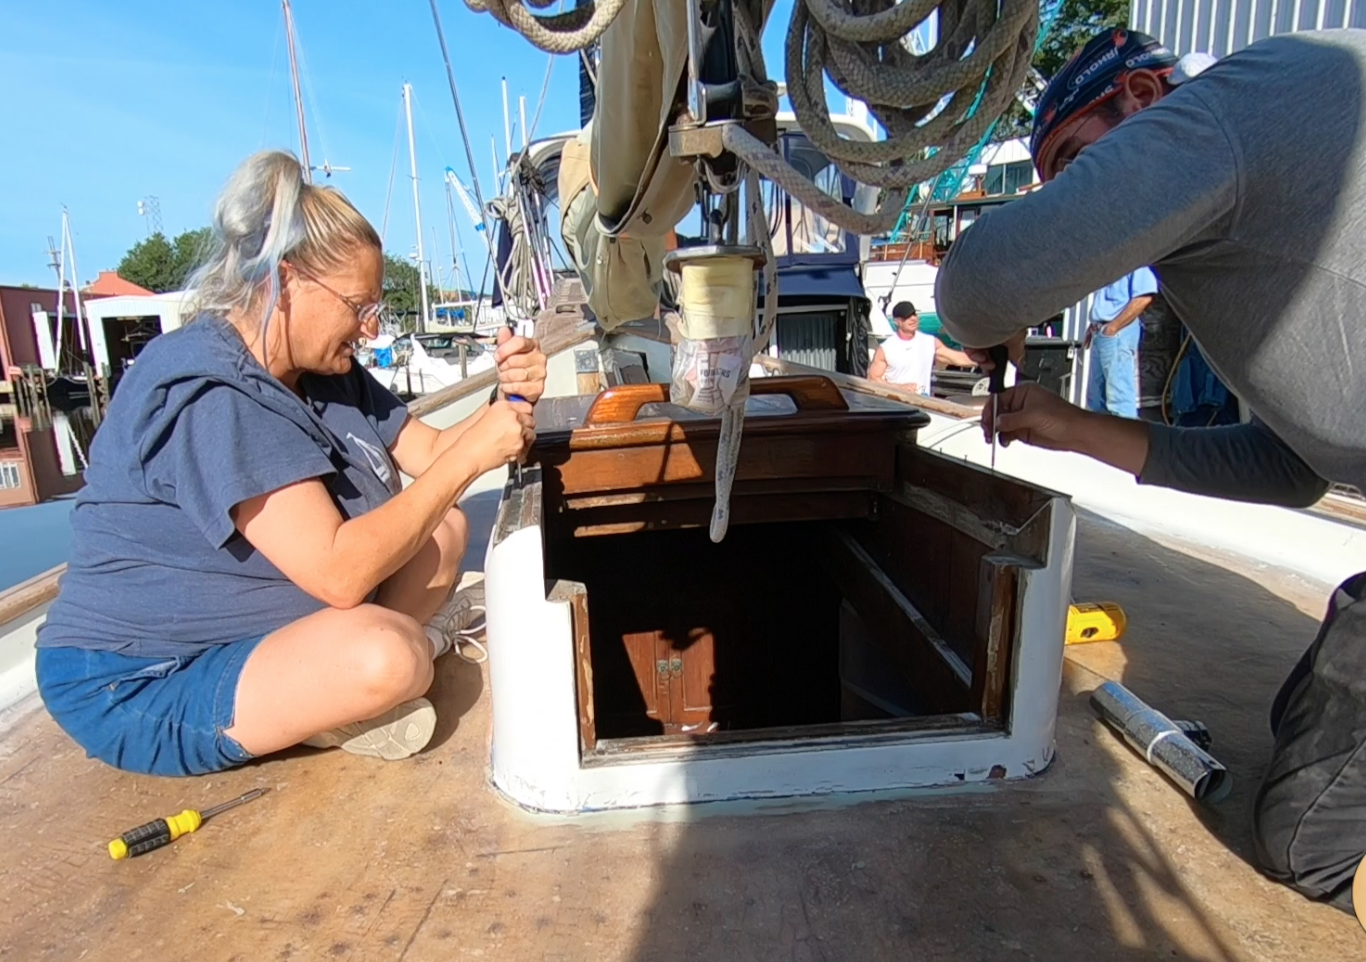
The good news is we knew where it was and now we had to remove the companionway to start this work. In a previous post, I shared details on how boats are constructed. By going through that research, I knew how to remove this companionway hatch.
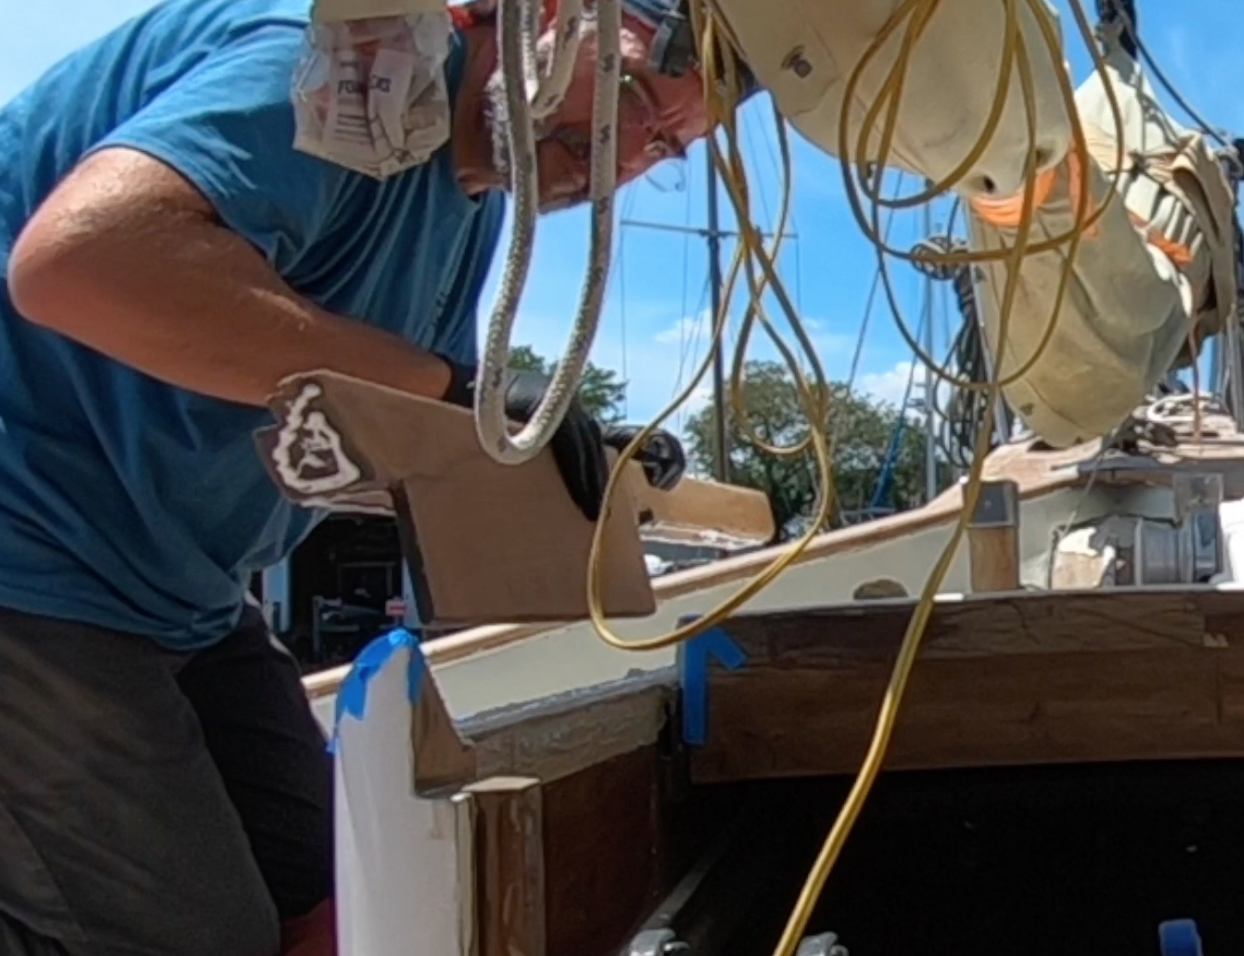
 We started by removing the screws that held the brass metal runners down. On this boat, they are on the standing teak slide rails. Once the screws were all removed, we were able to slide the rails aft and out from under the actual hatch.
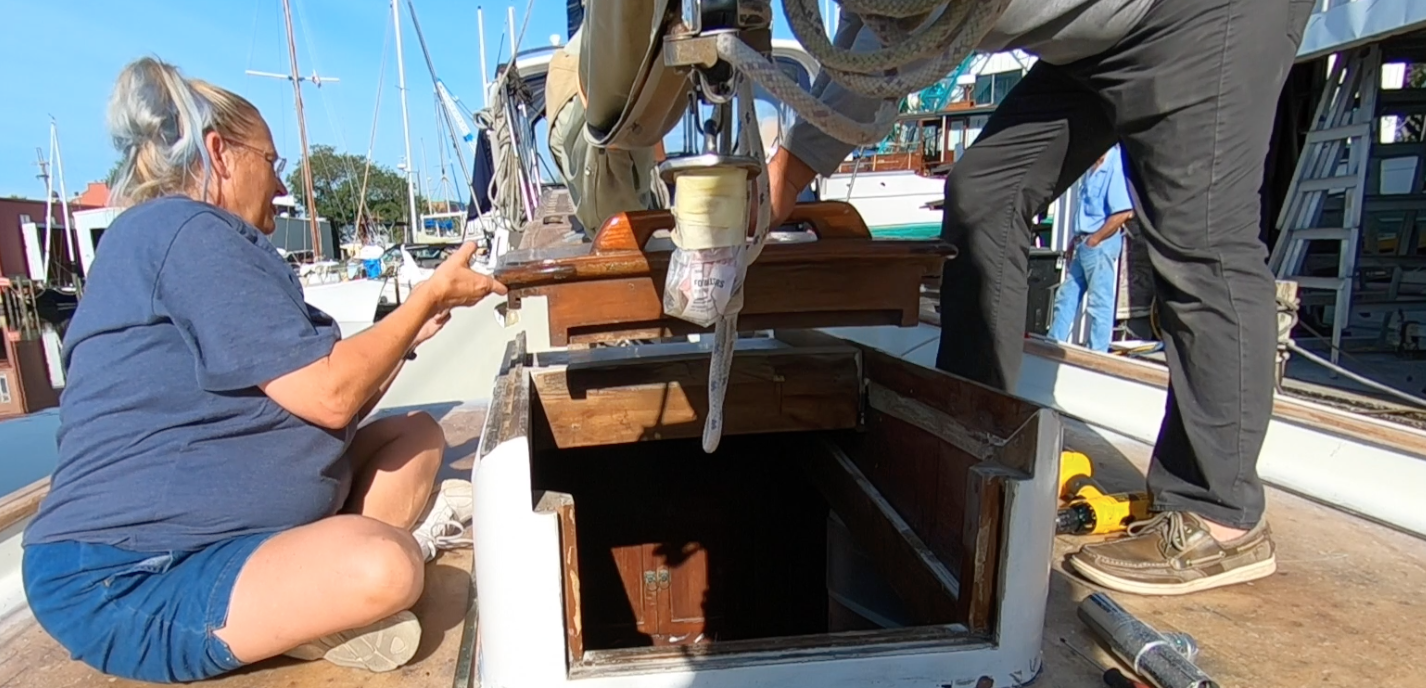
With the brass runners removed, we were able to lift the hatch straight up and off of the boat. I have found it very interesting on this boat that they were built using wooden boat building techniques. This hatch was no different. It was heavy because of the solid wood frame, plywood core, and teak decking over it. We carefully removed the hatch and set it aside for safe keeping.
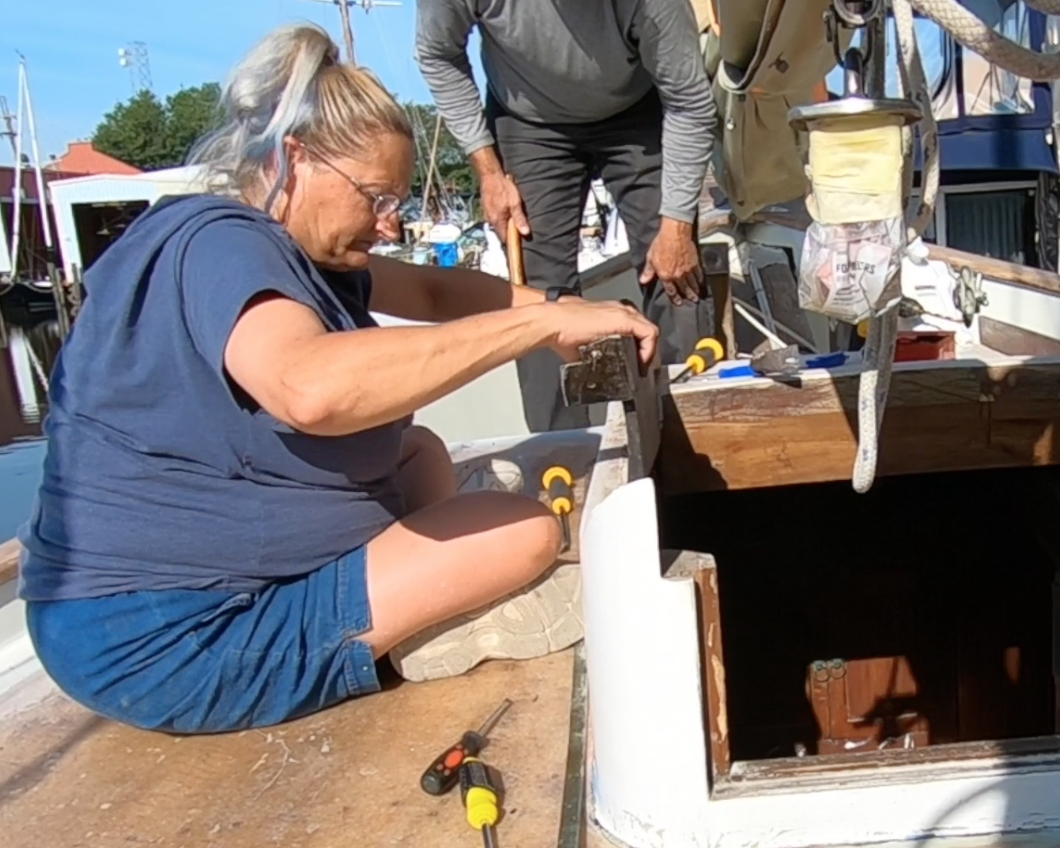
 The next step was to remove the wooden bungs that hid the screws used to attach the fixed rails to the top of the dog house. I like to use a small punch to mark the center of the bung. From there I drill out the bung with a bit slightly smaller than the bung itself. With the screws out, it was time to pry, pry and more prying. Then finally viola, off they came.
With the rails removed on both sides, we cleaned up the bedding material. We gently sanded the surface smooth and wiped everything down with acetone in preparation for new bedding.
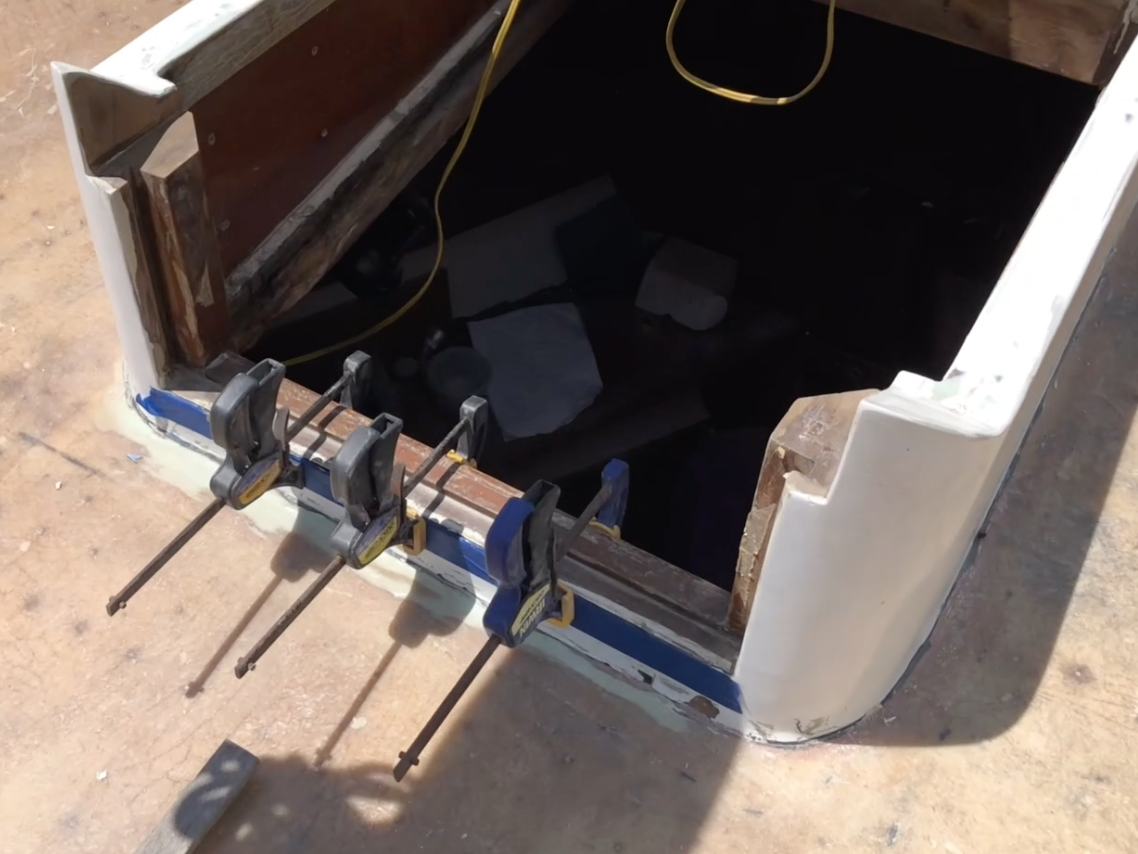 As we removed the hatch and the forward drop board, we noticed some additional repairs to be made. The fiberglass skin goes from the deck up the aft portion of the doghouse. Where it comes to the opening of the drop board, it was separating. I injected some thickened epoxy into the entire width of the gap and used clamps to hold it in place while it cured.
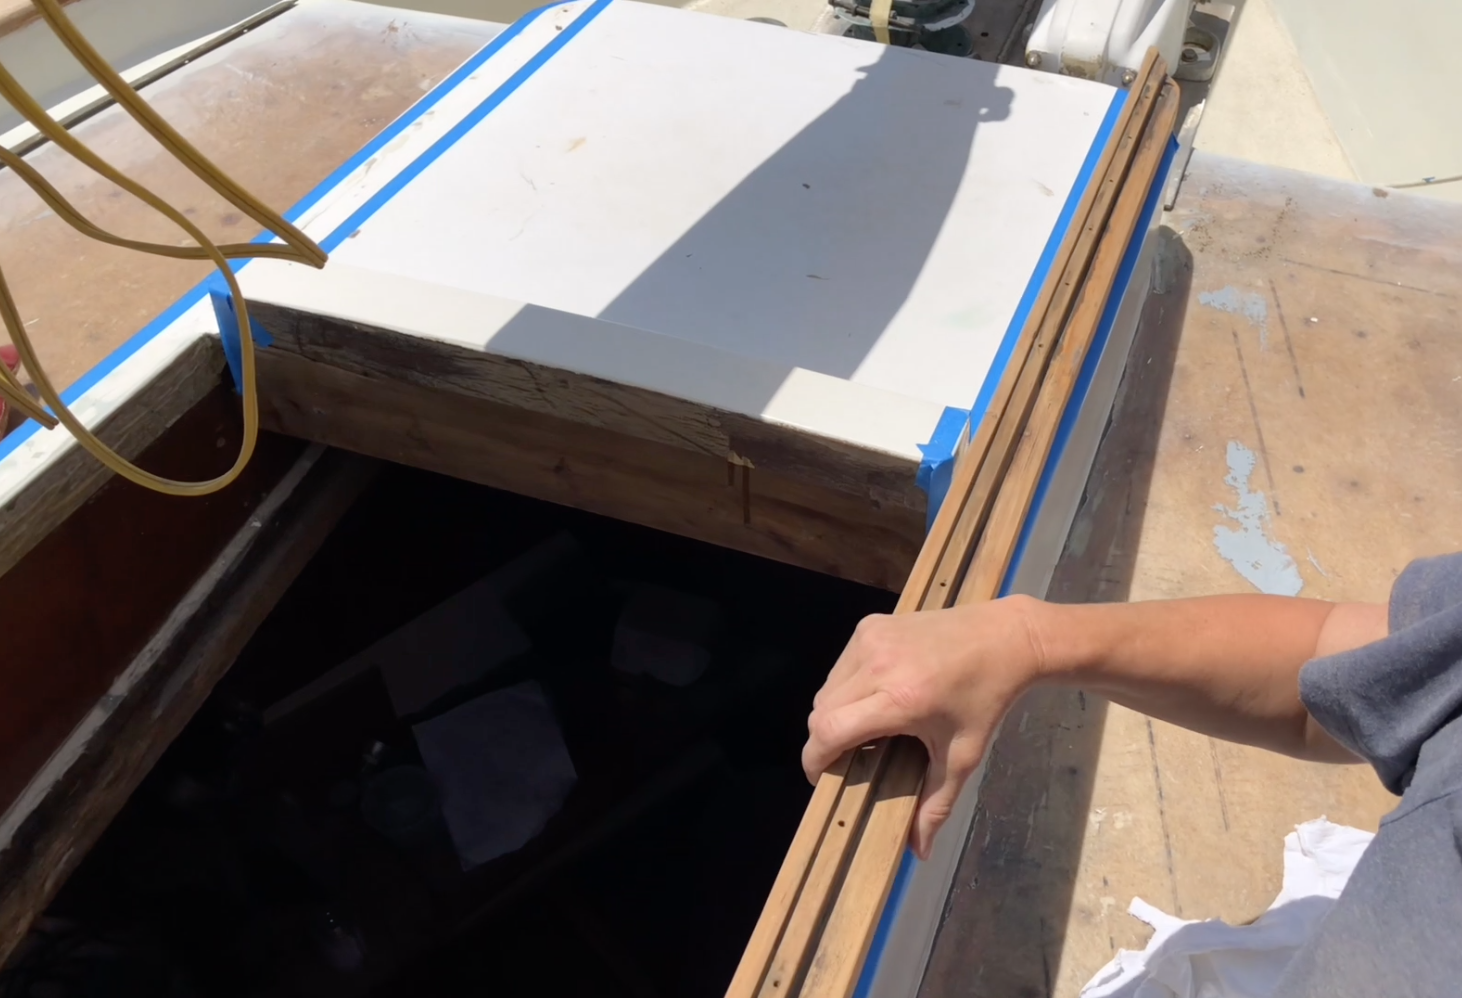 While the thickened epoxy repair was curing, it was time to dry fit the sanded and prepared rails. We placed them on the boat in the spot the needed to go and lined the edges with tape. The purpose of the tape was to make the squeeze out easier to clean up. Additionally, it left us with a good way to mark the location of the rails. We applied 3M 4200 sealant to bed these rails. This is a flexible yet VERY strong material that acts both as an adhesive as well as a sealant. I put plenty of 4200 on the bottom side of the rail, as well as the mating surface on the dog house.
I held it in place with only 2 screws while it cured, using the screws to hold pressure down into the bedding material. The shape of these rails, combined with the mating surfaces create a funnel to direct water down into the hatch if not sealed well. That is what we found with the old one, so we used more sealant than we would need to ensure that it completely and thoroughly filled the voids.
 While that was drying, we removed all the clamps from the fiberglass skin repair. We wanted to be sure that this repair had a flat spot for the drop boards to mate with. We also wanted to ensure that the fix didn’t allow future water intrusion. To do this, we used a mixture of thickened epoxy to fill the gap. To be more clear, we used 407 fairing filler with the epoxy to create a sand-able surface and faired it smooth. We blended and faired it with a rounded edge to match the rest of the boat’s curves.
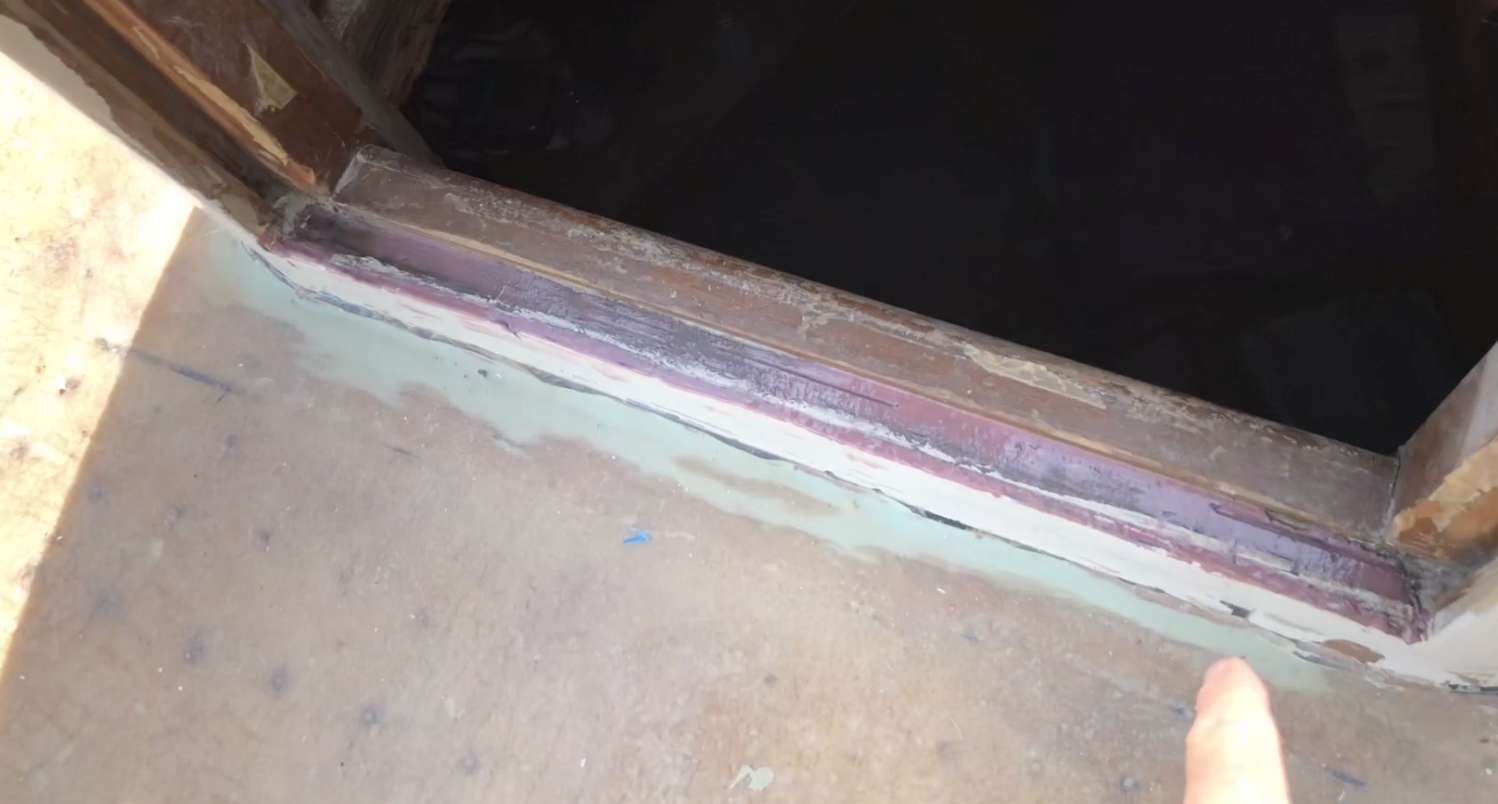
 Now it was time to attach the companionway and rails, and we once again have a nonleaking dog house. Well, almost nonleaking. I was down in the boat a few days later in the very heavy rain, and I saw a few drips coming in. I see the spot it is coming in, and I will be using a bit of extra 4200 to fill the small place I missed. And of course, it is leaking right in that area I mentioned above that creates a ‘funnel’ to direct water below.
That will be a minor patch repair we will do after the fact. The good news that is an easy one, but once you open a tube of 4200 you have to use it all or throw it away, so I am going to do this when I bed the rest of the deck hardware so I can use as much of the tube as possible on that same day. We will have another companionway slide rail, hatch frame, traveler car, dorade, etc all that need to be bedded as the boat gets painted.