
For years Deb has commented on wanting solid handrails rather than lifelines. This started on our first boat, a 30-foot laguna. When we moved up to the 43 foot Gulfstar, she raised the concern again. It was not that I didn’t share her desire, I just figured it was competing priorities for a lot of other things we would want to do.
Fast forward to DreamChaser and we again both talked about how nice it would be to have the solid handrails. The other active discussion had to do with the height of the lines. We spent some time thinking about the primary differences between this boat and our previous boats. One of the things that stood out to us is the giant expanse of a deck. What it means is you are not always within a hands reach of something to hold onto. With our previous boats, there was a walkway along the side of a coach house that went all the way to a few feet from the boat. This allowed the placement of handholds along that roof all the way up. On DreamChaser, the mostly flat and wide deck has some places where there are 10 feet by 15 feet of open deck. In a seaway, I want something substantial to hold onto if going forward. I would need to go to the Mast, maybe the inner Stay’sl or even the bow pulpit. This was the primary reason we started to give this some serious thought.
What were the things we wanted? First was a solid handrail on the top rather than a cable. The second was making it higher than it was previously. Most lifelines on boat tend to be 26-32 inches high off deck. At 6 feet tall, that height felt like the perfect height to send me ass over elbows if I hit that hard in a sea.
We stood with a piece of PVC to see what it felt like at different heights for each of us. We settled on a height of 36 inches from the surface of the deck. That puts the horizontal rail just about my hipbone. For Deb, it is even higher but allows her to comfortably lean over the rail and hold on tight to it. The one area that may be a challenge would be reaching the toe rail bending over the rail. I can barely touch it, Deb won’t be able to, but we can lean under the bar quickly enough.
 Due to the height, we also decided to put two horizontal lifelines between the deck height and top rail. With these few things determined it was not time to start laying out what it would look like so that we could get an accurate quote based on what we wanted. We decided to figure out what we wanted before we asked for a generic quote. That would have led to potential compromise or suggestions from a fabricator that may have other ideas.
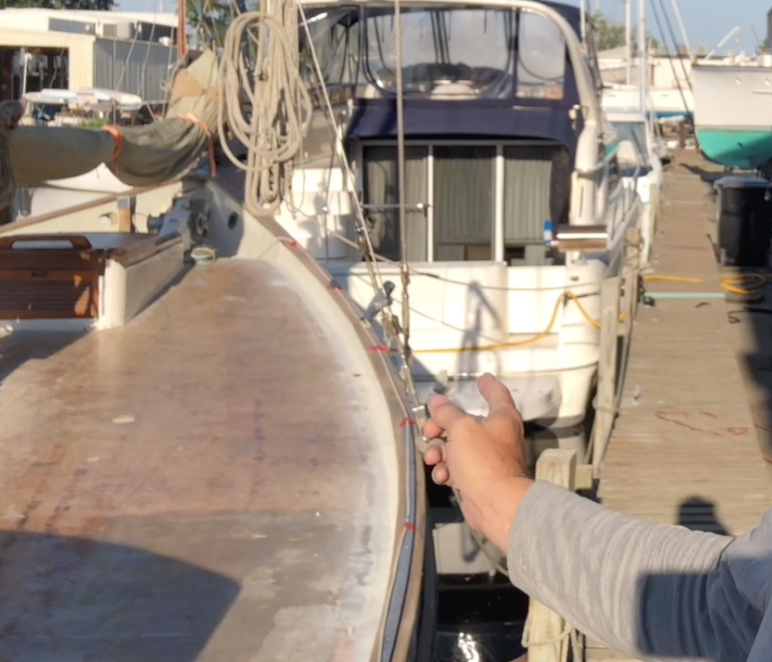
One of the first things we wanted to overcome was how we would keep the ascetics of the boat. We love her look, and these lifelines need to be neutral or improvement at least. In the picture, you can see the boathook allowing us to get a sense of where the line would lie for the rails. At our Mainstays, the uppers and lowers enter the boat at different angles. What we believe is that we would have the horizontal rail going outside of the lowers and inside the uppers. (In this photo, the uppers are the two stays right next to each other. As we walk forward on the deck, we would have to go around the lowers (and potentially let go of the rail)
 Once the section around the stays was determined it was time to decide what changes we want to make the boarding area. Our existing lifelines had 19 inches with a single cable between the opening to be closed when at sea. If you recall when we were in Florida, we found a great deal on a set of yacht steps, and we picked them up and plan to use them in the future. Those are wide, and we want to widen the entry gate area. We decided to go with 29 inches wide and making the actual gate more secure when the time comes.
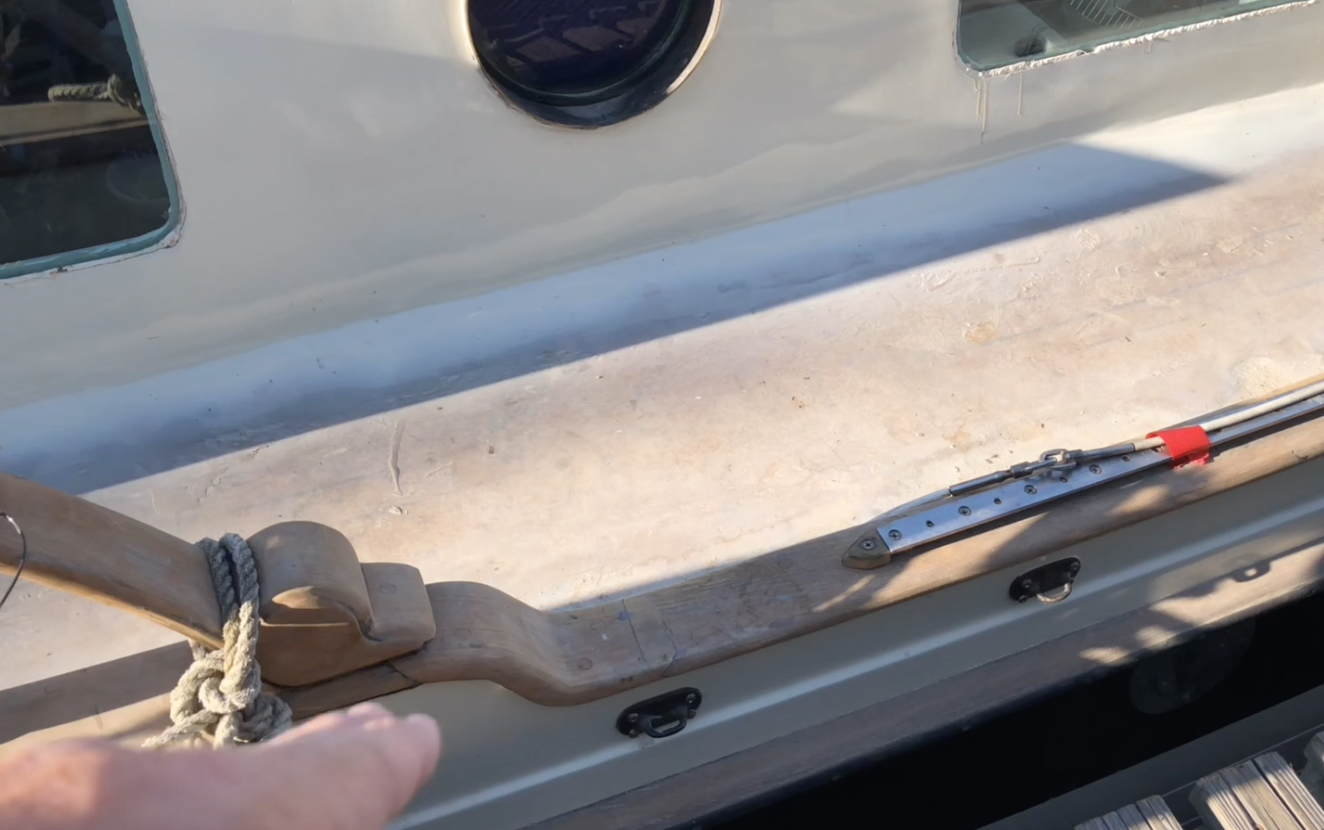
Deb and I started by measuring where we wanted the aft and forward side of the boarding gate to be. We marked the boat with tape at these 2 locations so that we could determine the spacing and number of stanchions that would be needed going forward. In this photo, you can see the old hooks for our boarding ladder. We want to keep these so that we can continue to use a ladder that extends all the way down into the water or dinghy.
 It was now time to determine the spacing of the stanchions. We started by identifying where the location was for the forward side of the boarding gate. We also needed to determine the location of the forward stanchion. For us, this is just aft of the anchor well. It was now time to measure and assess the spacing and number of stanchions. We have landed on seven stanchions per side forward of the gate. This leaves us a distance of 51 inches between each one.
 The next challenge was determining the angle of the handrail where it goes from the toe rail to the bow pulpit. This seems like it would be an easy thing to consider; however, it wasn’t. The reason was that if we followed the toe rail, the opening would be very narrow to get up onto the bow pulpit and I want that to be convenient. I hope I never HAVE to get up there in a storm or a problem, but if I do, I need to be able to without putting myself further at risk.
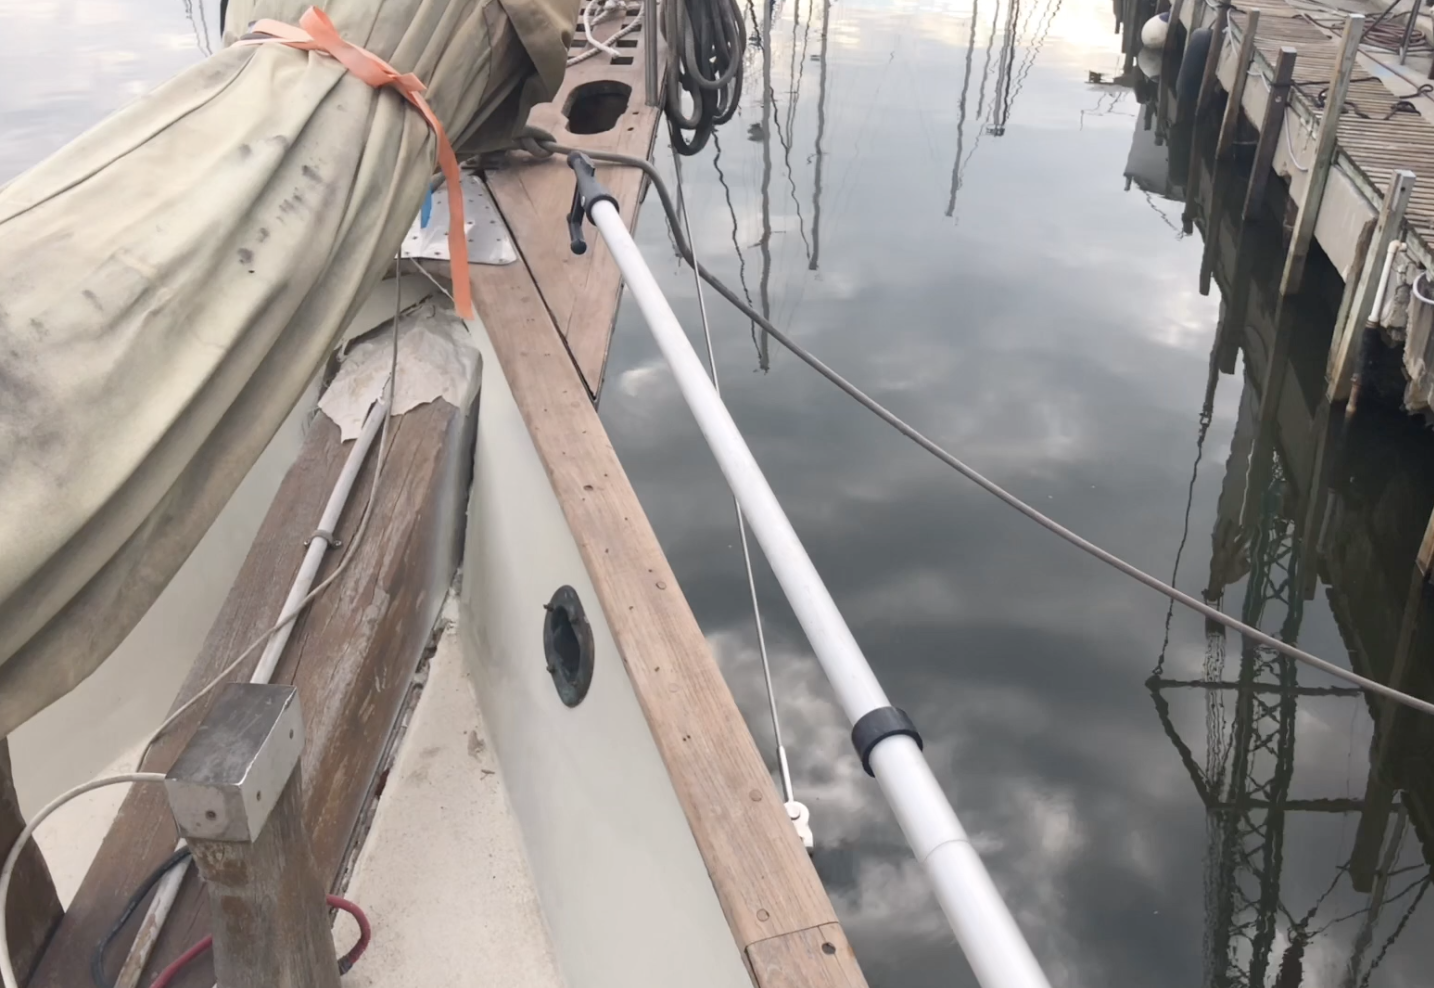
Again using the boat hook as a way to visualize the layout, we decided on an angle and curve. We will follow the toe rail along the boat to keep the loop of the lines. When we get to the anchor well, we will widen the rails right at the location of the stays that go from the side of the hull to the bowsprit. This still allows the rails to follow an existing line. This is important to keep it aesthetically pleasing. It goes give us about 12 inches to walk between the rails and the inner Stay’sl. This is enough room and feels very secure when doing so.
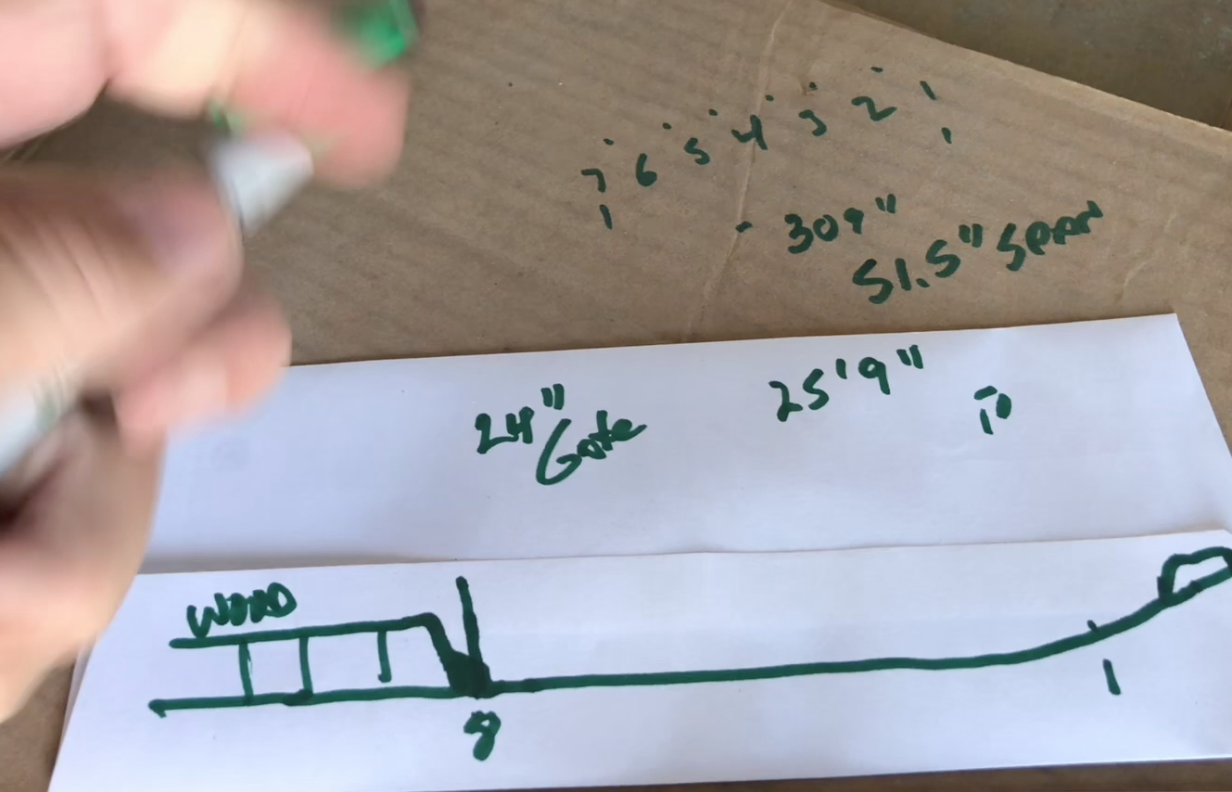
This last image gives you an idea on how we sketched this out as we measured it. The great thing is that once we had this information, we were able to seek a quote. We chose to use Nicks Stainless and Propeller shop. Nick’s shop is right at the edge of the boatyard, and with the time we have been in the yard, we have had a chance to see quite a bit of his work. He has built swim platforms, pulpits, bikinis, consoles and quite a few other things on other boats in the yard. He was subcontracted by Mayer yacht to do the work we needed on our ship such as new mast steps, adjustments to our mast and new triadic stay connections.
 Our request to Nick was to replace our lifelines from the boarding gates to the bow. We are excited about this job and the results we will see. There were a few other things that we wanted in this project and Nick has been great to work with being able to do all of them. For example, we strongly felt that we didn’t want to drill new holes in our new deck. Instead, we wanted the stanchions to be mounted through the gunwale rather than the deck. Nick even agreed to add two loops to every stanchion base that we can use for holding fenders, our sunshade or other things.