
Why make your own reusable bag


Make your own grocery bags to reduce the additional bags that are released into the world. “I am but one person, what difference can I make?” That is the question I asked myself and you may also, but that may be short sighted. You likely use 12-20 plastic store bags per week, go ahead do the math real quick. Think of every stop you make in your daily errands.
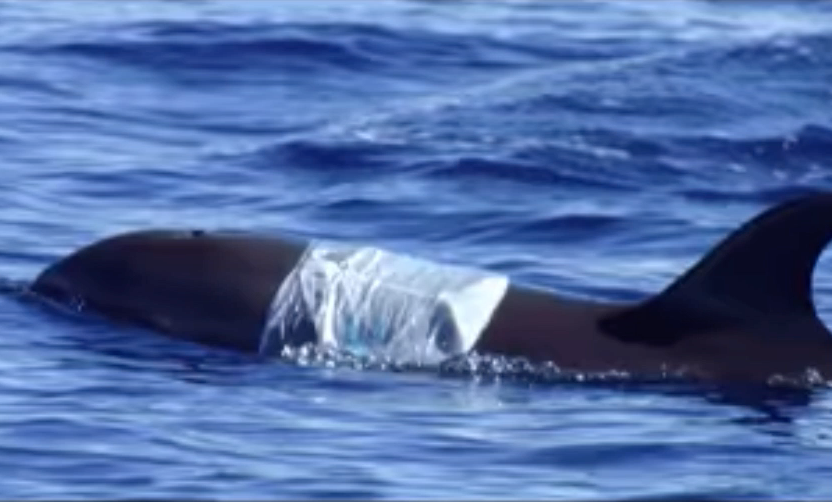
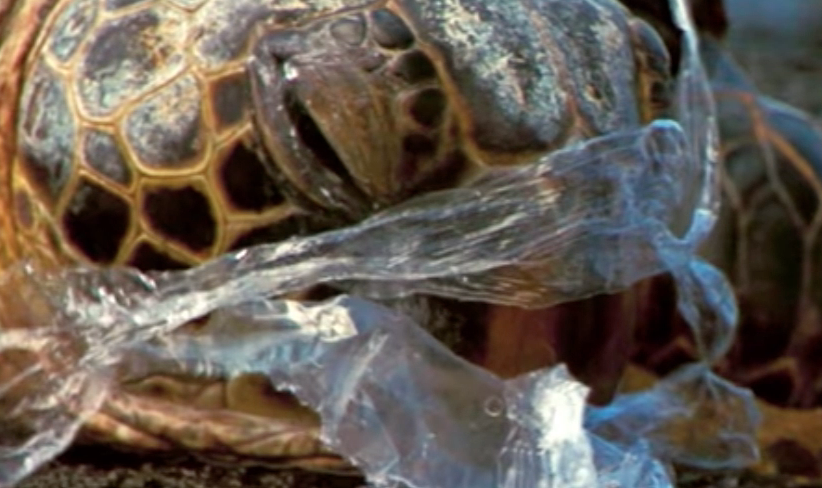
Be the Difference
You likely use 12-20 plastic store bags per week, go ahead do the math real quick. Think of every stop you make in your daily errands. If you do this you can also inspire others to do it as well. We all know that plastic is not great in landfills and our oceans, however, we use them due to their convenience. There are a lot of reasons to make, carry and use your own grocery bags, above it all, you will remind others to do the same.
How to make the reusable bag
It is surprisingly not all that hard. If you have very basic, beginner even, skills, you can handle this project easily.
Supplies needed
- 2 Pieces of recycled material (21 inches by 20 inches)
- old sail, old curtain, old bedspread, etc
- 2 straps (1-2 inches wide and 36 inches long)
- Sewing machine and thread
- scissors
- Optional
- Pins, basting tape, soapstone for marking lines, etc based on your knowledge level of previous experience. These are not required.
Cut the material
The first thing you will need to do is cut 2 rectangle pieces of material at 21 by 20 inches. Next, you will cut the straps to the correct length as well The easy way to do this is to buy cotton webbing for them. For the more
Make your own Handles (Optional)
If you would like to have your handles match the same material as your bag, you can
How to fold and sew
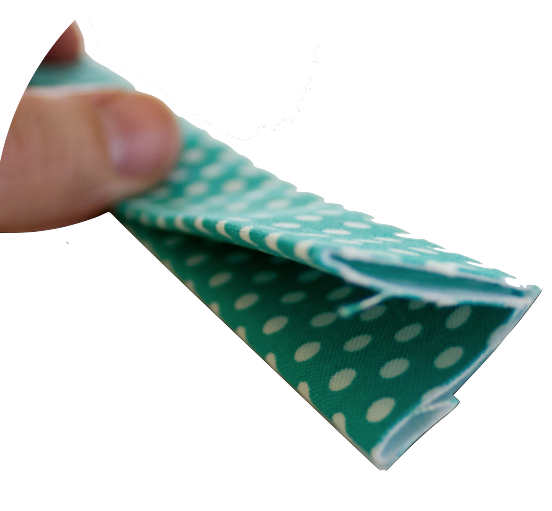
With the printed or finish side down, fold a 1 inch wide hem the length of the material. This will place the long edge down the center of the work. Fol the opposite side toward the center as well, then fold the entire thing in half. This will leave you with 4 layers for thickness. Sew this along both of the outer edges with a straight stitch.
Layout of the reusable bag
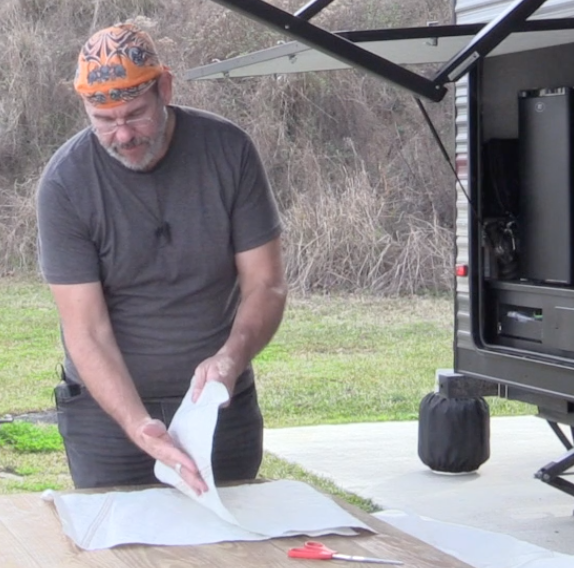
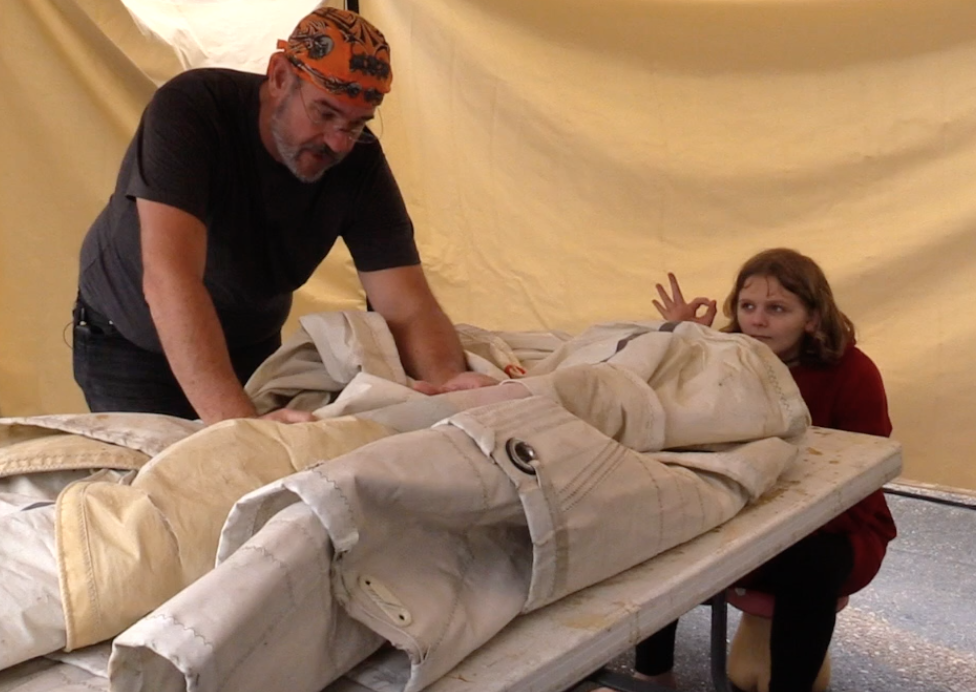
Place your 2 large panels with the printed or finished side together so they are touching. We are going to be sewing the bag inside out. Be sure to consider the orientation of the finished look. In our case we are using old sails, so we chose where we wanted the old stitchings or marking to be. If you are using an old bedspread, you will want to consider the pattern and look when it is finished.
Preparing to sew the reusable bag
To make things easy to sew, pinning the panels together on the corners and along what will be the bottom side of the bag makes it easier to sew. If you do not have pins there is a product called basting tape that makes this easy as well. It is double sided tape for people who sew. You can also do without it if you are careful. Because we are using an old sail, we are not pinning ours, to avoid visible holes in the final product.
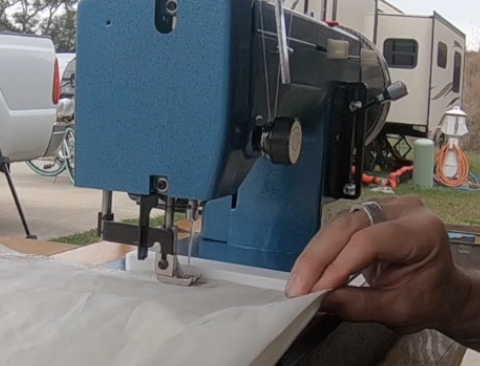
Make your first stitch
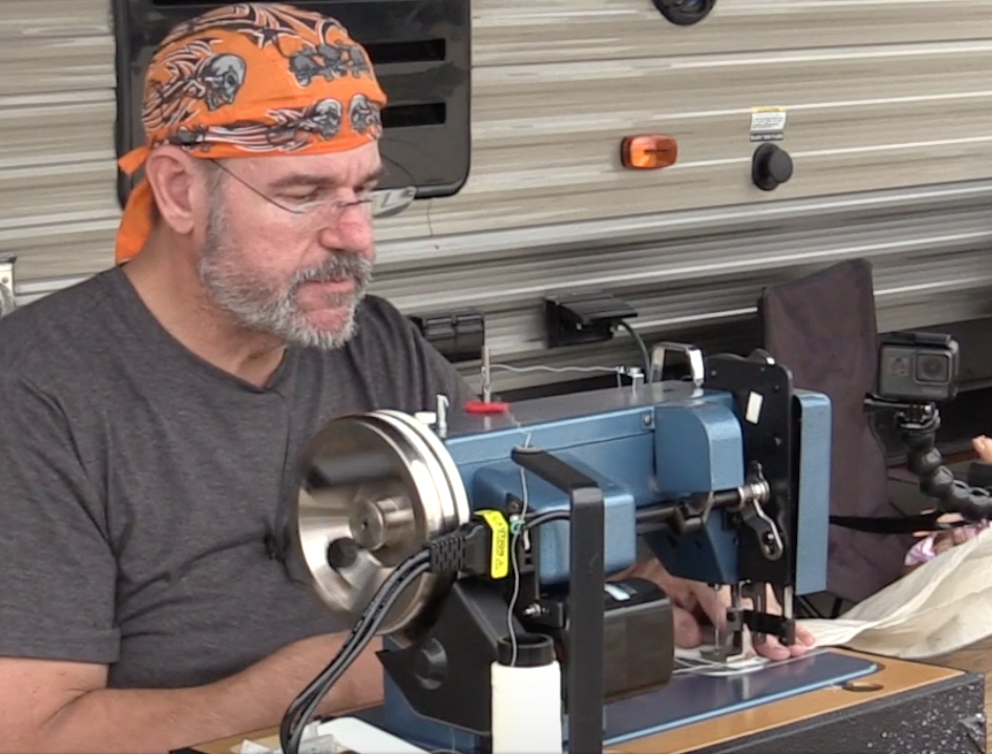
It is time to go to the sewing machine and sew along the bottom edge of the bag. You will want to sew about 1/2 inch from the edge of your material. When sewing, don’t forget to start just inside the edge of the material. Sew 3-4 stitches forward, then reverse the machine 3-4 stitches and then go forward again across the material. When you get to the end, do the same thing, reverse the machine for 3-4 stitches then go forward to the edge. This locks the stitch in place.
The Upper Edge of the Bag
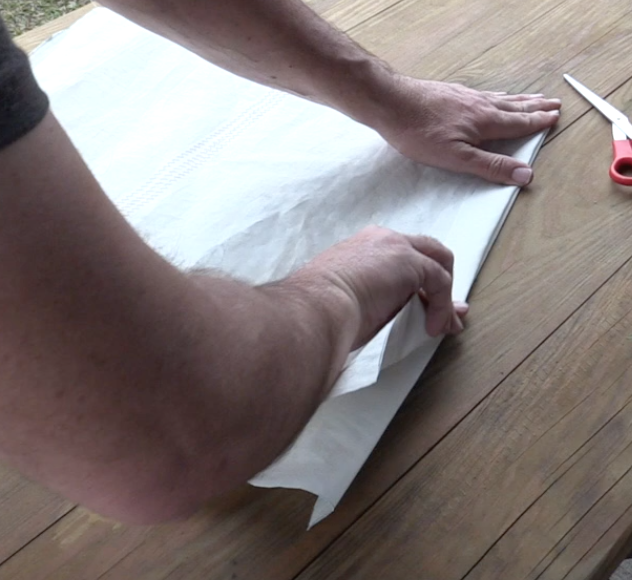
With the bottom edge sewn, it is now time to prepare the top edge. On the opposite side of the bag from your just sewn edge, fold a 1″ hem. You will do this by folding the top edge over and toward the bottom edge just 1″ When you do this, you will want to flip over the entire bag and do the same on the opposite side. Remember the bag is still ‘inside out’ so when you sew up the sides, you will be starting to form the inner top lip. The purpose of this top hem is to give the top of the bag a finished look.
Forming a crease
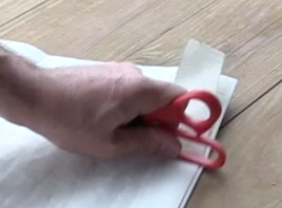
You will want to be sure that the two folded top edges line up with one another. These will form the upper edges of your bag and if they are not lined up, the finished bag will not have an even top. I have also found that you can pin these down after folding them to hold them in place while sewing. You can also use basting tape. Many people will just use an iron to flatten the edge which works just fine as well. Give that we have Dacron sail cloth, I am not using an iron or pins. Instead i just used the blunt side of the scissor handles to form a crease at the edge. This worked well for me, however, I had to ensure that I lined up the material as I fed it into the machine.
Sew the sides of the reusable bag
You are now ready to sew the sides of the bag. Start at the bottom where your first stitch was. The reason you want to start at the bottom is to provide yourself the ability to make any final adjustments you may need as you approach the top of the bag. Don’t forget to reverse your stitches at the start and end of each run. As you work your way from the bottom of the bag toward the top, be careful your folds at the top hem are lined up. This is a very important step, therefore you will want to sew slow and stop a few inches from the top to check everything. I have found that as I get toward the top, I have had to adjust the way the material was about to feed into the machine. At this stage, you are going to be sewing trough 4 layers of your material.
When you have sewn one side, flip it over and sew up the other side of the bag. It is now time to Turn the bag in the correct way. Here is where you have a choice on where to sew the handles. They can be sewn on the inside of the bag or the outside. We chose to do them on the outside of the bag, but this is completely up to you.
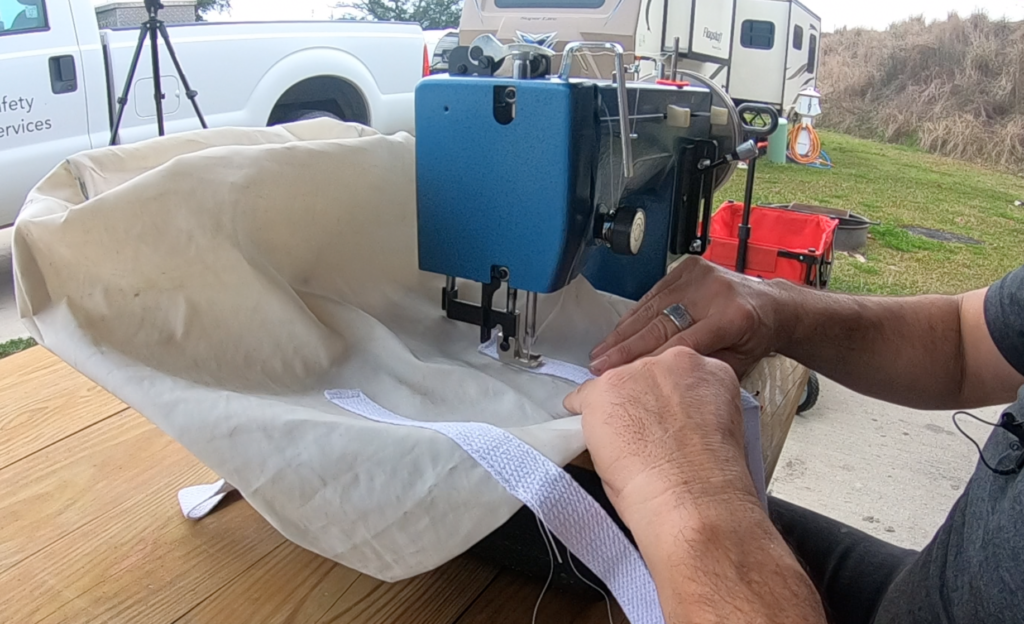
Sew the handles onto the bag
From here you will sew along the upper hem of what forms the top of the bag, at the opening. This can be a little tricky to place the bag in the sewing machine and sew around the entire circumference of the bag. While I love my
Once the upper hem is sewn it is now time to sew the handles onto the bag. The best way to do this is to make sure that you have about 18 inches of handle length, at minimum, from where the handle leaves one top of the bag to the other side of the bag. 18″ of length will make it comfortable for hanging on your shoulder or holding at your side. If you intend to always carry it on your shoulder you may want to go a bit longer. If you want to carry it at your side (not over your shoulder, 12″ would be a good length.
I pinned the handles in place at the top of the bag and then took to the
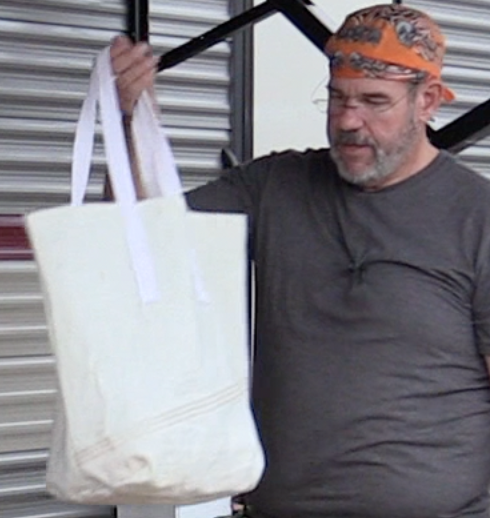
The Final Product
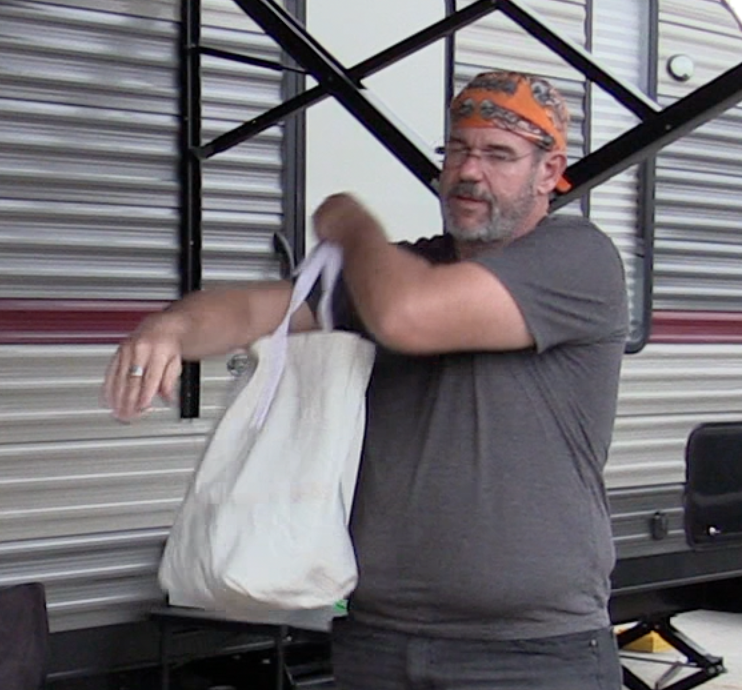
Once you sew the straps on, trim all of the ends of the thread and you now have your bag. This is a great way to save on plastics in the ocean. As you can see these bags can be varied slightly to make larger bags, smaller carry bags for shore to boat excursions. You can even make them without handles and sew on a flap for cockpit coming bags. If you found this blog post helpful, I would be grateful if you would share it with others on Social Media. That helps others as well and I would be thankful for that.
Happy Sewing Everyone.