Identify Fiberglass Repairs
We had a leak around our mast and figured we had to make fiberglass repairs. It was believed the original leak was due to the through bolting of the belaying pin rack. We removed it and during the refit and had the deck fiberglassed to cover the holes that were through bolted. Deb and I thought the problem was fixed but after a good rain, it still leaked through the holes that were in the lower skin of fiberglass
What we noticed is that the water was running down the deck and hitting the mast collar, which would allow it to go below the top layer of fiberglass on the deck and go out the point of least resistance which was the existing hold below from the previous through bolting.
From
Making the Fiberglass Repair

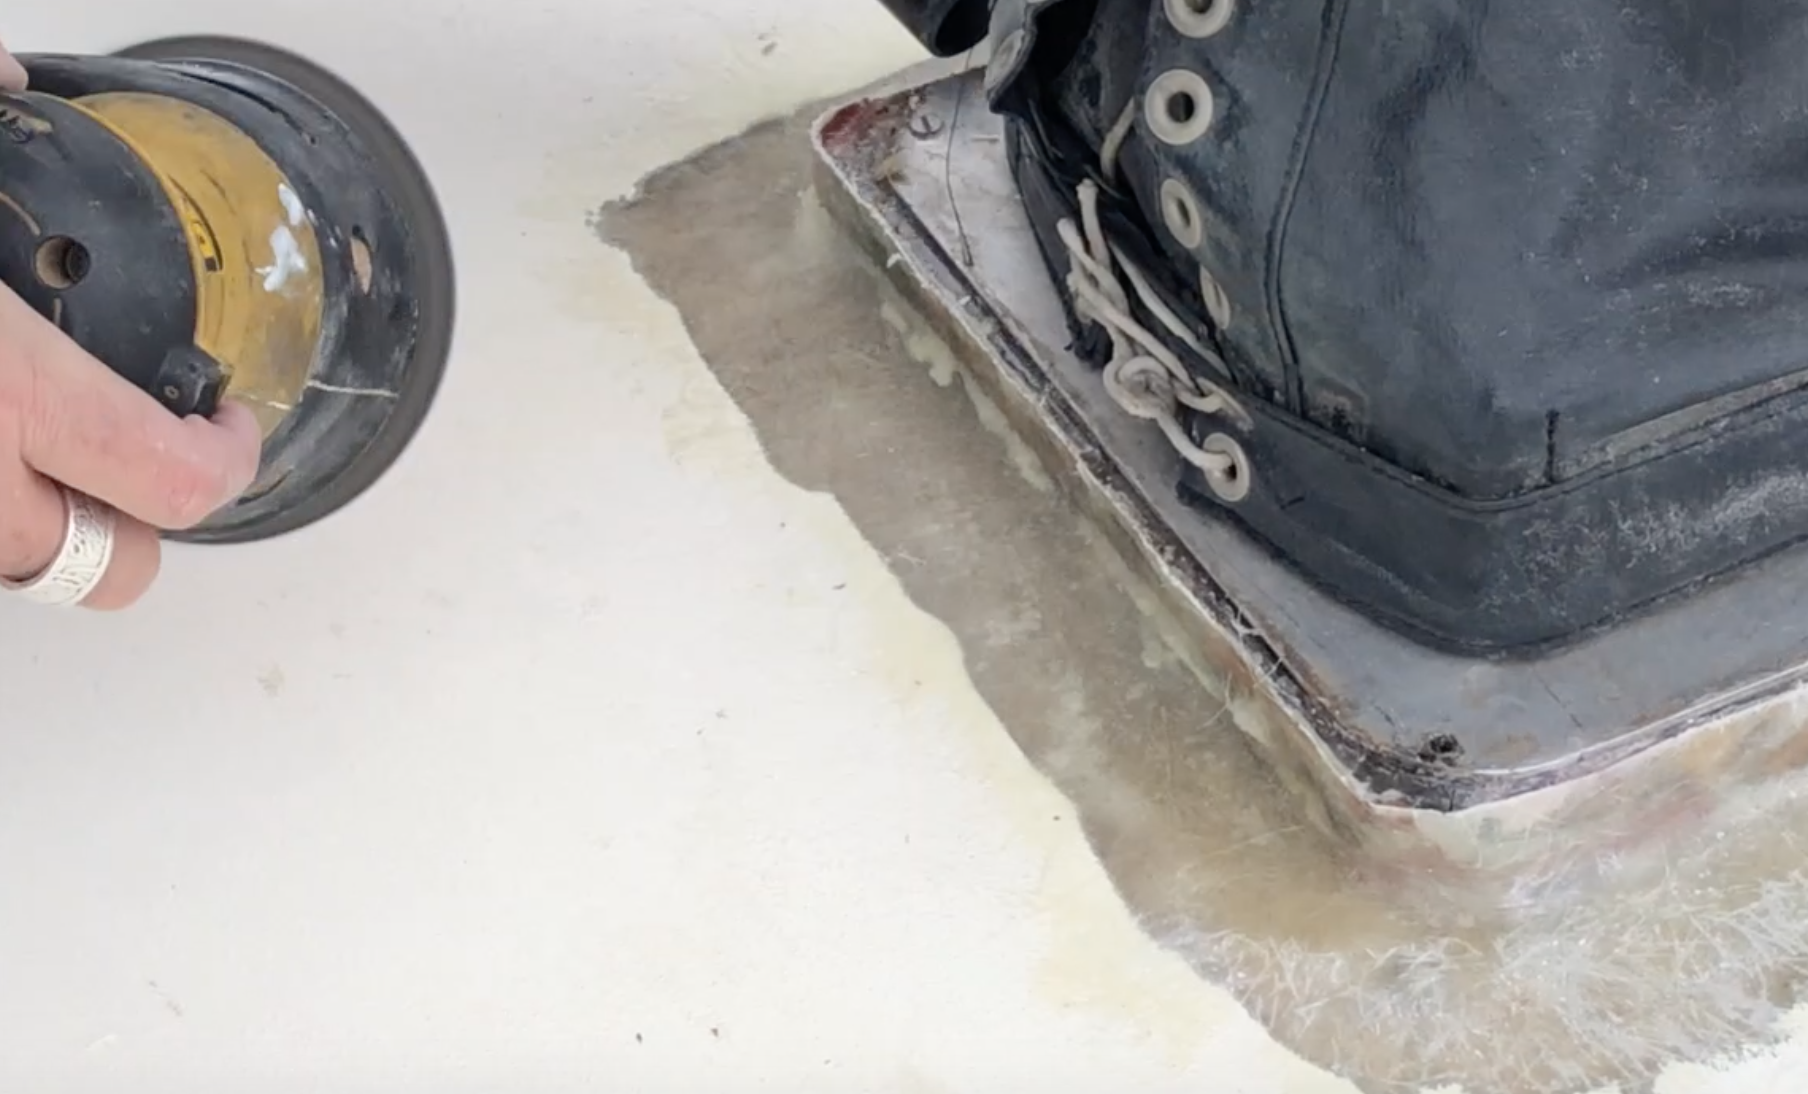
This week we complete the fiberglass work around the mast. In last weeks episode. we showed what the repair was, identified the steps to prep for the job, filled some of the wood with thickened epoxy and created the shape needed to lay the new glass from the deck up onto the mast step.
Finishing the Fiberglass Repair
When cured, we also showed how to clean up the jagged edges from a raw fiberglass layup. This is a practical how-to for any do it yourself on a boat. We all have some tasks that we can likely tackle on our own with a bit of persistence and patience. See the step by step guide process here and in the first video (Part 1 is located Here )
Additional Insulation testing

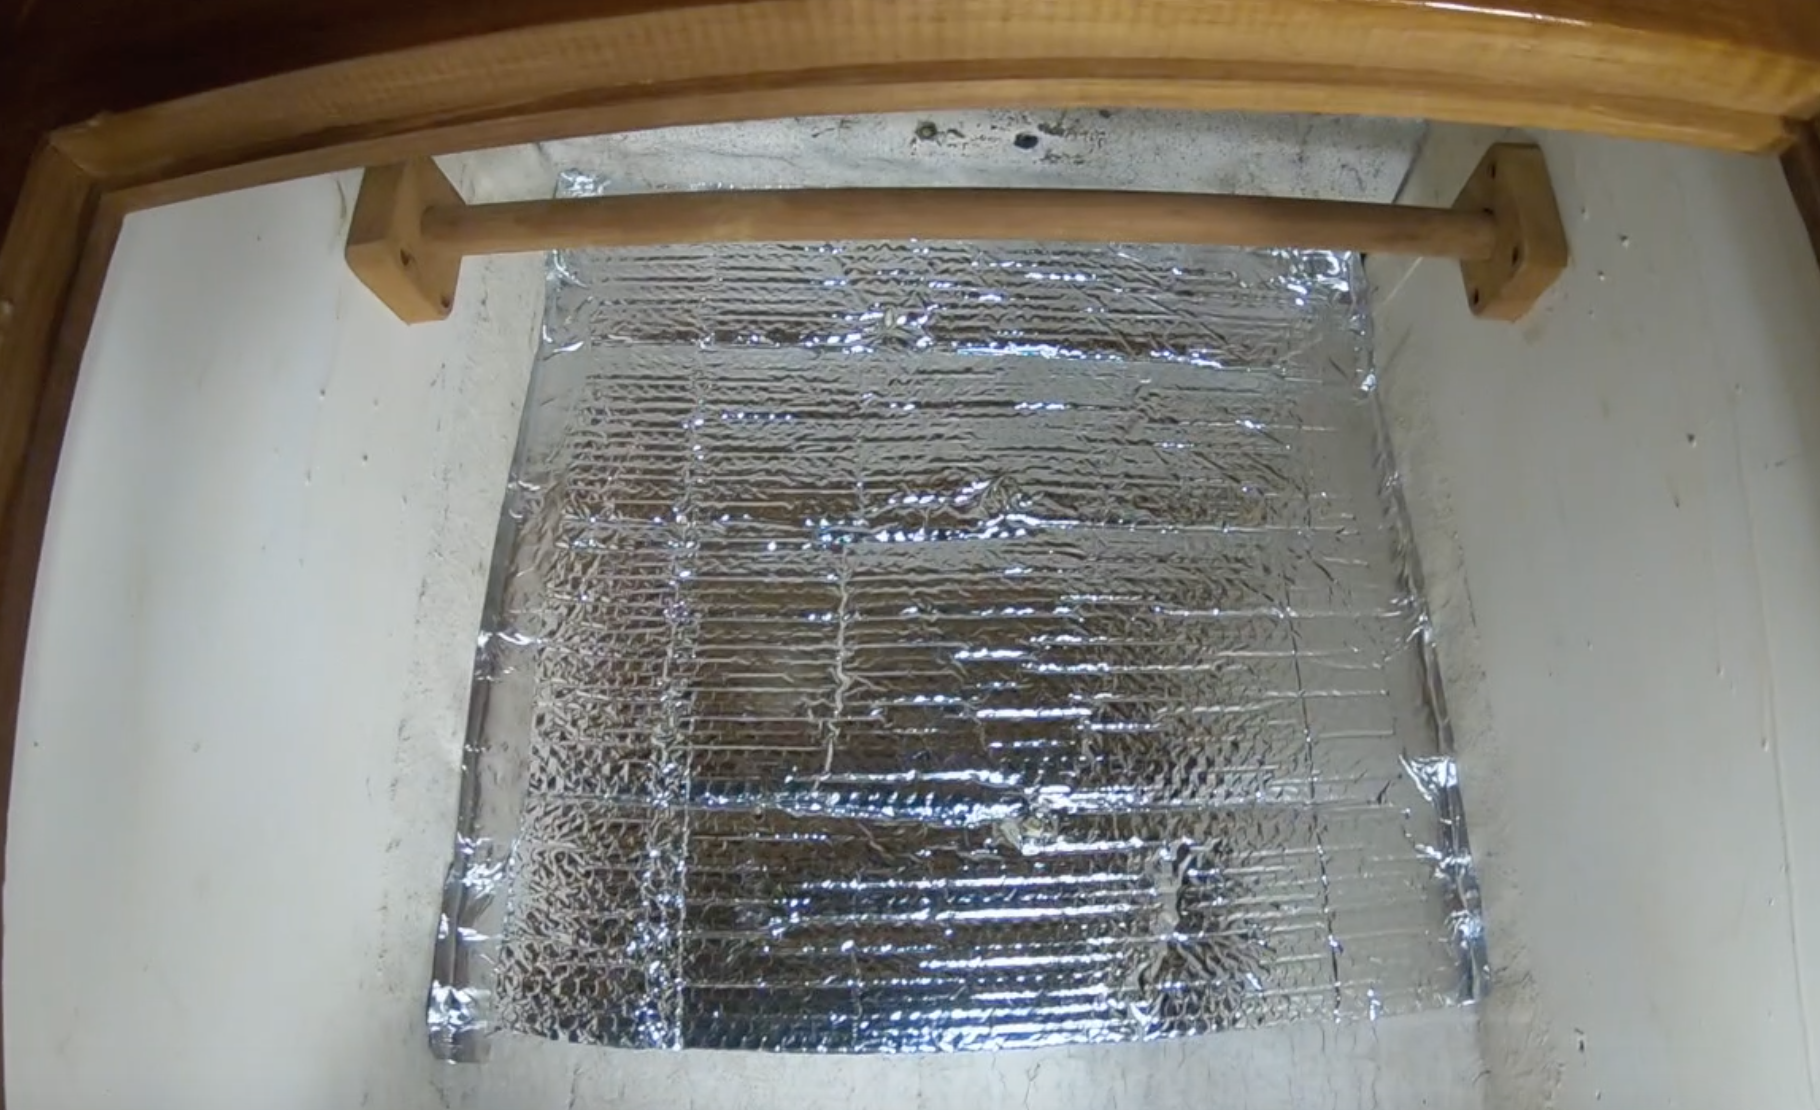
In addition to the deck work, we check to see how well the repair is keeping it dry down below (yay!!). We also show how we are testing insulation options for the condensation issue when living aboard in colder weather.
Lastly, we show a ceiling (overhead) option we are considering for the staterooms and interior.
Keywords: How to Fiberglass, How to Epoxy, Epoxy or Poly, Leaking around the mast, Insulating the hull, how to reduce condensation on a boat, how to replace the ceiling in a boat.
Free Stuff
Please share this video with others; we would love to continue to grow our community. 🙂
Tools and supplies
Tools and supplies we use regularly can be found here:
- Jet Band Saw
- Sanding Tape 120 Grit – 1 inch wide
- Sanding Tape for Spindles (220 Grit)
- Small Sanding Cord for Spindles (150 Grit)
- Screwdriver with nut ends
- Pry Bar Set
- Oscillating Multi-tool (about $35)
- The Best small wood cutting blades
- Great “plunge cutter”
- ABSOLUTE Best metal cutting blade (for cutting bolts, etc.)
- Safety Glasses
- xActo Blade Knife
- Ryobi Variable Speed Jigsaw
Video and Camera Equiptment we use
Video equipment used is: Canon Vixia G40
Our Lifestyle Cruising and living aboard.
See how we go about living aboard and sailing with kids (Grandkids 4 and 12 years of age). We are in the middle of a huge sailboat refit. Our Boat is designed by Bill Garden and built in Taiwan. See how to become a liveaboard whether you stay in a marina or are a cruiser. #boatlife #saillife #SVDreamchaser
Subscribe !! Click this link IF you are not already subscribed.
Support us!! on Patreon if you want to help show your love for the content
Lets Connect !!
Facebook – http://www.facebook.com/svdreamchaser
Twitter – http://www.twitter.com/svdreamchaser
Tumbler – http://svdreamchaser.tumbler.com
