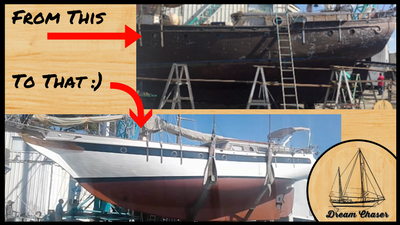
It has been a busy few weeks of work at the boatyard. The yard has been working as have we. We talked to the yard about getting the decks and coach house fiberglassed. We want strength and waterproofing from leaks. I was afraid of this question as I suspect the cost was going to be very high and it is, BUT, if this gets rid of the leaks and gives us a quantum leap forward on the work we have been doing or need to do, we thought it was worth it.
Each small project we have wanted to do below was stimied by the fact that it always came back to “yeah but when it rains real hard, or water comes over the deck, it leaks right there.” We needed to get that deck and coach house fixed before we wanted to invest in some of the larger and even smaller projects below.
A simple example was one of the storage areas in the Galley that needed to have shelves built in it, and we can organize it for food storage. But, when there was a driving rain from the side, it leaked in there. Every time.
With the quote and the decision to move forward on the decks, it was time to think about how we minimize cost on this job. One of those ways was for us to do some of the prep work. There are all kinds of things we could and should do, but the order of the day was starting to clear the deck of obstructions that would get in the way of the yard to do the work.
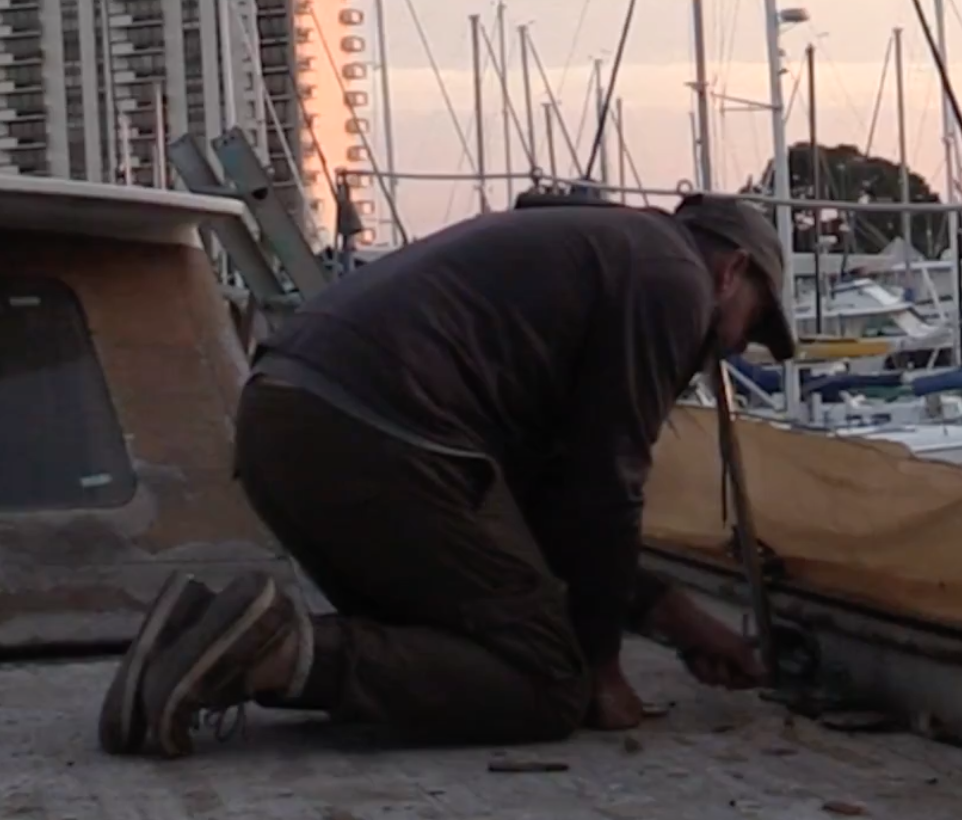
The first item would be removing the stanchions and other deck hardware. We started doing just that.
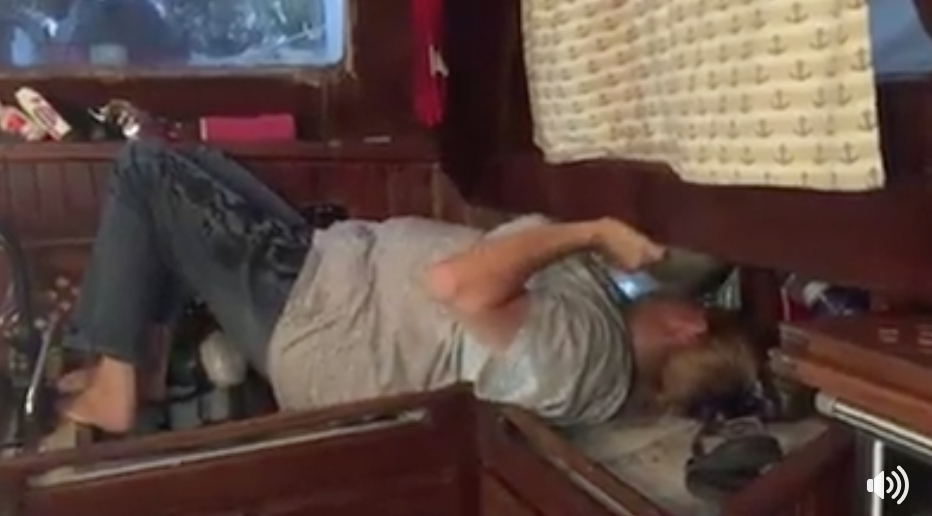
From up top I was removing the stanchions from their bases and stacking them all up in the anchor well. The bases on our boat are made of bronze and are through bolted to a 1 to 1 and a half inch thick teak block top of the deck, then through the deck. On the bottom side they are have large round washers as backing plates and nuts holding them in place. Most have a lot of black goopy sealant as well that had oozed down around the nuts. Deb took the work on the inside working on removing the nuts and backing plates while I worked up top. I happened to come down the companionway to see Deb laying on the counter (across the sink) with her head in the galley cupboard. But she was able to get to them 🙂 She is dedicated for sure. lol
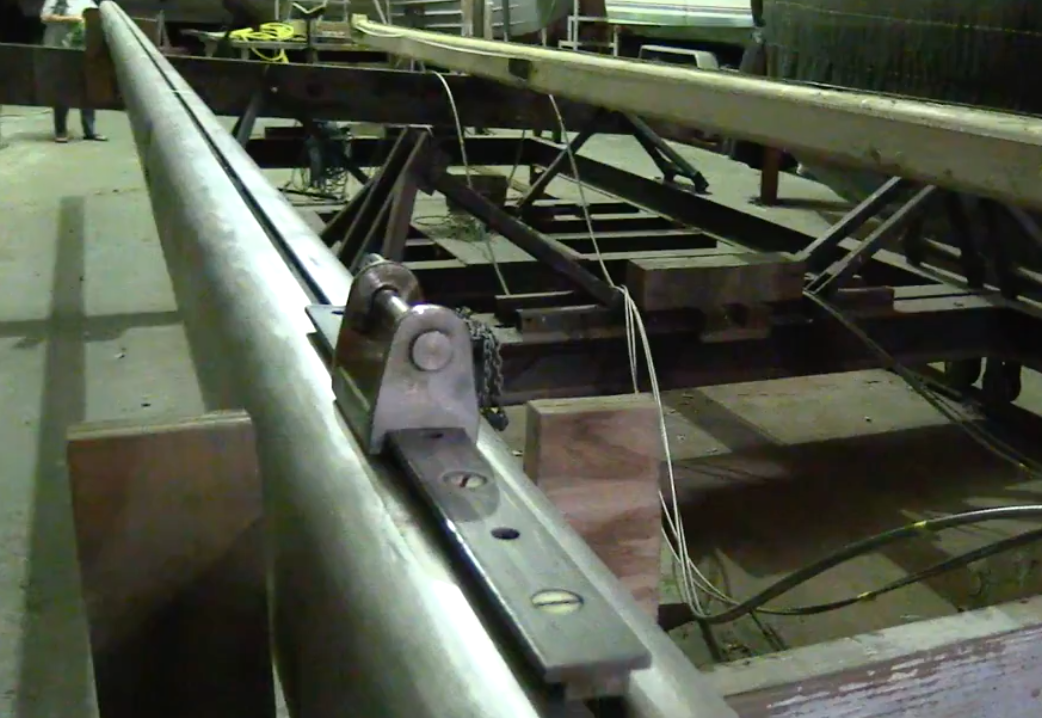 While we were working on deck preparation the yard workers were continuing the work on the new aluminum mast modifications. As I mentioned in the last blog post we had to make several modifications to the mast going from wooden to aluminum. One of them had to with the sail track and the way that the gooseneck for the boom was mounted. The old mast was large and rather square on the edges, so a wide mounted track for the gooseneck worked great. The outside bolts on that track (about 2 inches apart) were fine for the large square mast, but the aluminum one needed to be bolted in the thickest part of the mast AND needed to be thinner. In this photo you can see the new gooseneck track mounted to the mast.
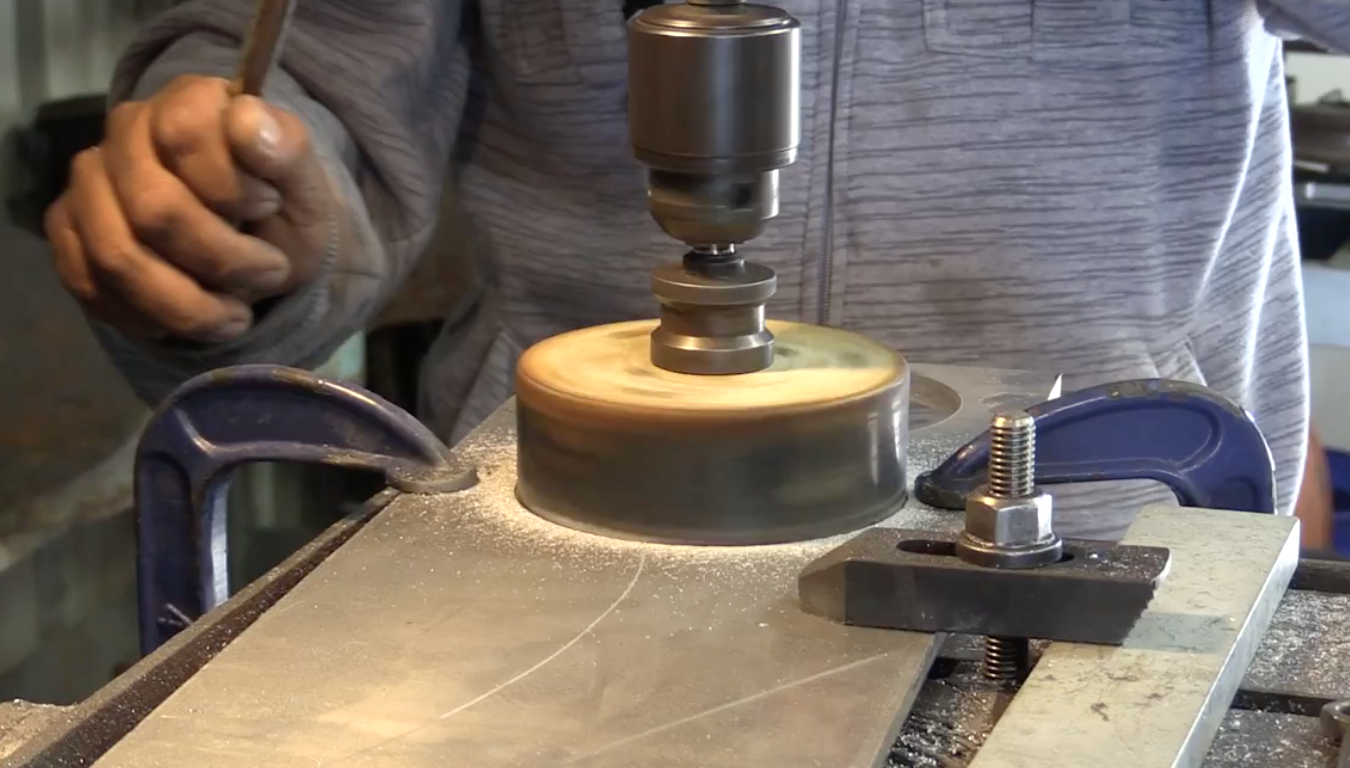 In addition to the new track, we also were going to need a way to mount the winches to the mast. The old mast was much easier; they were just lag bolted right into the wood. But on an aluminum mast, you need a large flat surface to tap the bolt holes for the winches. There is a fabrication shop right next to the yard that does this kind of work, and the yard sub contracted that work to Nicks Stainless and Aluminum. In this photo, you can see them cutting a thick piece of aluminum to have welded to the sides of the mast at the winch locations. The plate gives them a flat surface to be mounted. They did a great job of welding this together; it looks terrific.
One of the things we wanted to do last year was shop around for better rates on boat insurance. I think we are paying way too much through BoatUS. We get good service but also have not had a claim in the ten years or so we have been insured through them with three different boats. We currently pay over $7,500 a year for insurance for both the Formosa and the Gulfstar. In my shopping around, I found that most all insurance companies will want a new survey (the one we have is 3 years old at this point). We took advantage of the boat being out of the water and had the surveyor that did the purchase survey come out and start the survey for the out of water portions of the ship. He will come back when the work is all complete and finish it up for a comprehensive insurance and valuation survey.
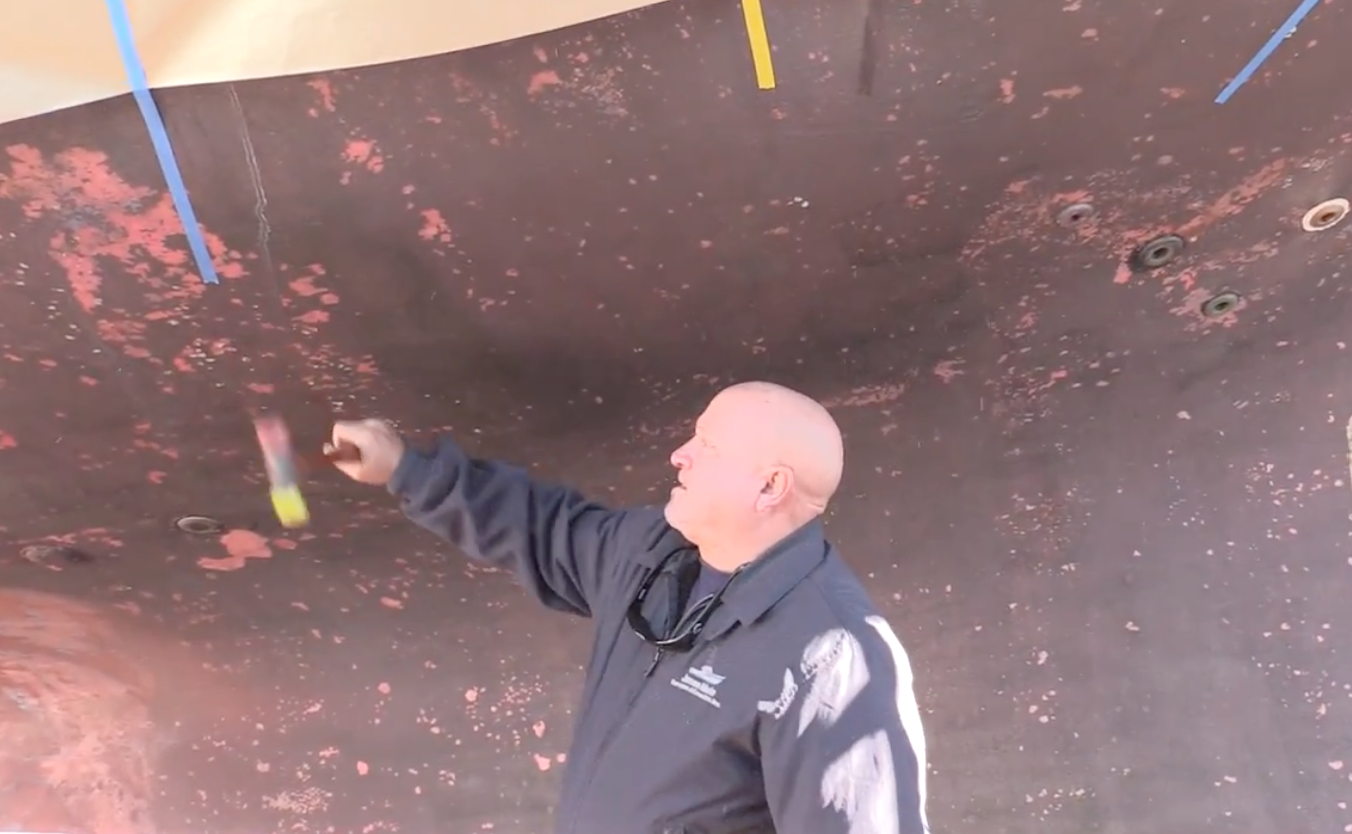 He checked the prop and propellor shaft, cutlass bearings and other below the water items. In this photo you can see him “sounding the hull” which is when they tap the hull listening for delamination in the fiberglass structure or any voids. The good news is that it still sounds solid.
The day the surveyor was there (on a Sunday), the yard was prepping for the first coat of bottom paint. As he left, they were finishing up on the sanding of the hull and getting rid of many previous coats of bottom paint. They did not sand it all the way down to
 They did not sand it all the way down to the bare glass or the barrier coat but did go several layers of paint deep to obtain a smooth bonding surface for the new bottom paint. The yard suggested red when we initially were planning on doing black bottom color. They reasoned that the black bottom paint would not show a contrast between the lower boot stripe that was also to be a gloss black and the newly painted bottom. So we went with their recommendation. What do you think, We love the red and are glad they suggested it. You get the first glimpse of the new paint colors. In all previous photos you saw it being painted white, but the final colors will be white with a black transom, wide black stripe from rub rail to bottom of ports and a black boot stripe. We think it will give it that classic boat looks rather than the new white plastic wedge look.
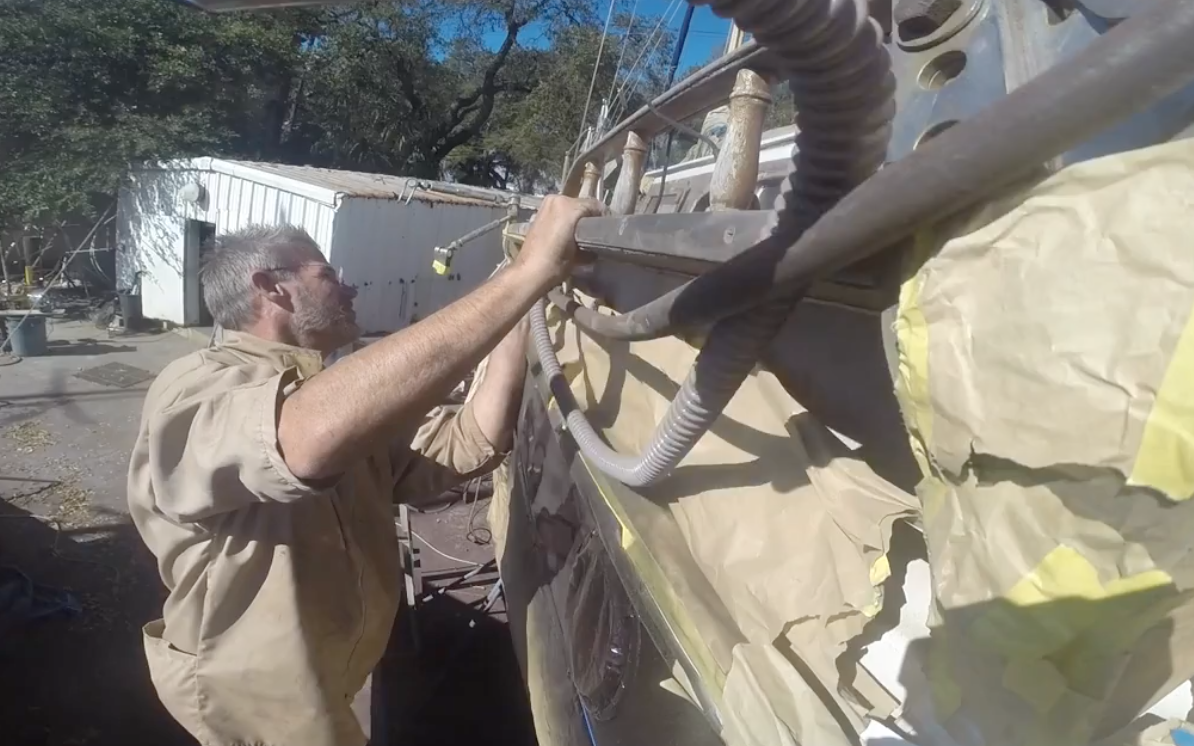 I continued my work on the sanding Deb, and I had started earlier in the week. I knew they were planning on splashing the boat and wanted to finish getting the sanding done while I still could use scaffolding around the boat. I have done that sanding from the dinghy in the water, and it is rough on all the muscle groups after a while, not to mention I can’t reach the toe rail from the water forward of the main stays. This is even when standing on top of the seats in the dinghy and reaching over my head. It was a lot of work and took a full 2 and a half days to sand all the teak down to bare wood, but it will give us an excellent surface for getting all the brightwork done and making the teak look lovely.
The debate is always going to be how much to varnish since the sun just eats it up and most people end up removing the teak or letting it go gray, and all natural. Right now I want it to look great, so I am going to get all the teak work bright and varnished and you can ask me again in 3 years if I regret my decision. It is the reason that I am not going on with Epoxy and varnish over it. If I ever change my mind, that epoxy is HARD to get off the wood. Varnish isn’t easy, but it is much easier than epoxy to remove.
 It is the reason that I am not going on with Epoxy and varnish over it. If I ever change my mind, that epoxy is HARD to get off the wood. Varnish isn’t easy, but it is much easier than epoxy to remove.
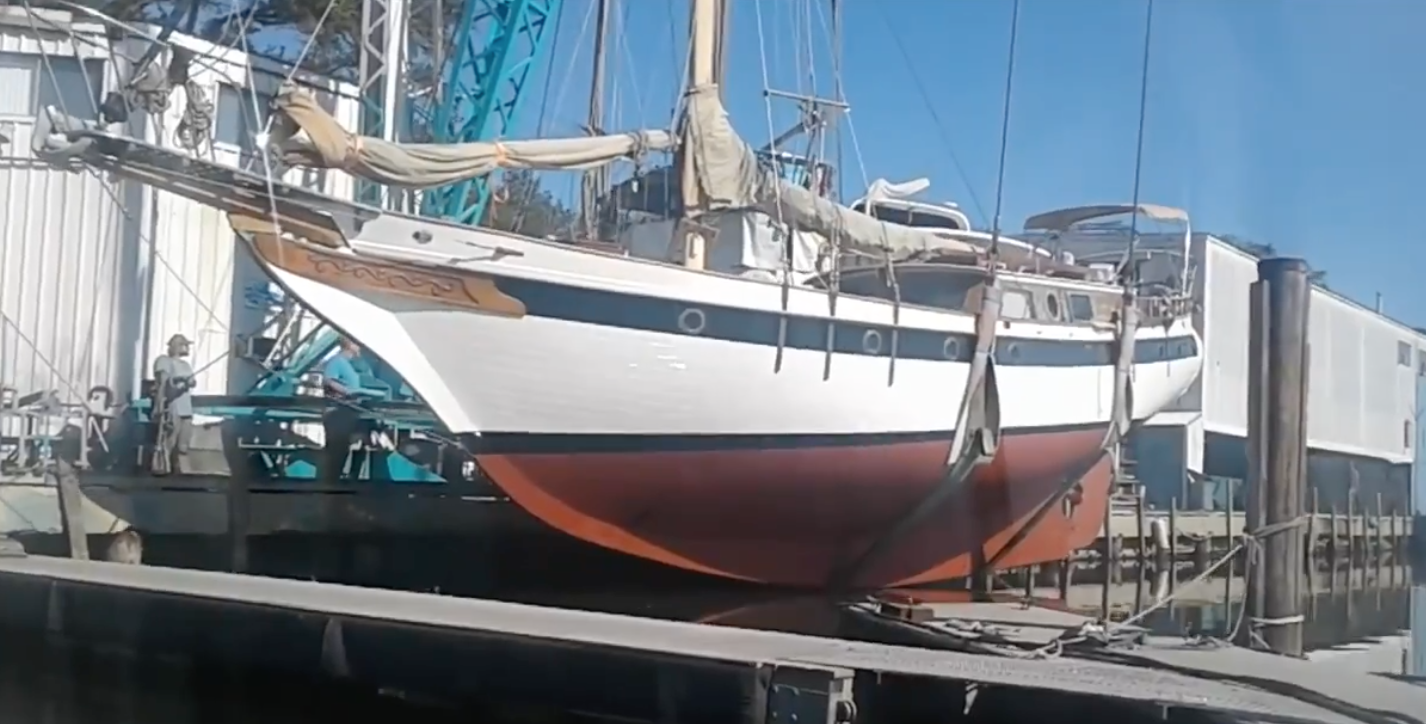
Then we had Splashdown !!! Now that she looks so beautiful, it is now time to tie it up next to the shop and they are about to put a tarp cover over the entire boat and start working on the deck.
See the video that goes into a lot more detail and shows the work being done at the link below. If you enjoy these blog posts, please like and share them and don’t forget to follow us on the social web. You can click here to subscribe to our youtube channel where we post weekly episodes as well.
[embedyt] https://www.youtube.com/watch?v=9ukHRUcknyI[/embedyt]
