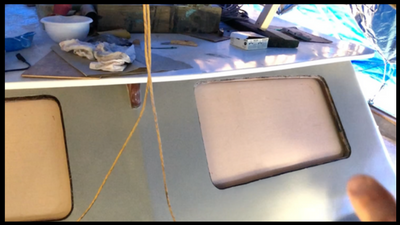
With the new fiberglass skin going on the Coachhouse it is essential that we consider the edges of the openings and how well they will receive new ports. On most boats, all “windows” or as they are called on vessels, Ports, are typically purchased as framed units. In other words, they are manufactured to include a frame of some sort that the lens is mounted in and come with all the parts to through bolt or screw them to the boat and cover up the screws with some decorative ring.
 In our case, we have ample fixed ports (windows that don’t open) on the front and sides of the coach house. We could have skinned over the entire surface and added hatches from companies like Lewmar, but we like to be able to have a 270-degree view outside the boat from the galley and upper salon.
That meant that we were going to put the ports back into the boat in a similar fashion to the way the yard built it 40 years ago.
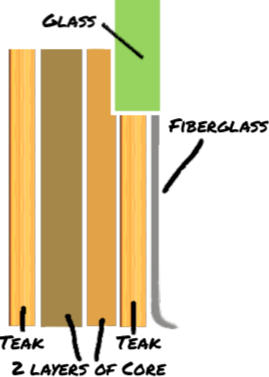
The coach house is a wooden structure built on a fiberglass hull. It is two layers of plywood bonded together and “skinned” with long horizontal 1/2″ teak boards. This is what gave it the beautiful teak look both inside and out. What we have now done is added another layer to the house on the outside. In the diagram, it is depicted as a gray fiberglass line. The curved edge on the bottom is where the skin of the coach house wall blends and forms directly into the actual deck of the boat. It was important that we understood this construction to be able to make decisions on how to put this back together. For the ports, we are going to run a rabbeted lip or edge all the way around the opening that the glass will recess into.
The method descirbed is very similar to the way the original construction was, but when the coach house was fiberglassed, I requested the yard, just glass all the way up to the openings, but not form the glass into each opening. My reasoning behind this was to reduce some of the yard labor and also to allow me for bedding the ports like the diagram above shows with the green shaded box representing the glass in this mix. The plan is to bed it with a proper bedding material that is both made of sealant as well as adhesion. When we install the glass, I will provide all the findings of my research regarding the correct and best material to use for this job. It is an important decision for sure. I wrote a post on sealant types a while ago, which can be found in our “ReBedding Hatch Glass” blog post and Video on the “Correct Sealant to Choose for Hatches.”
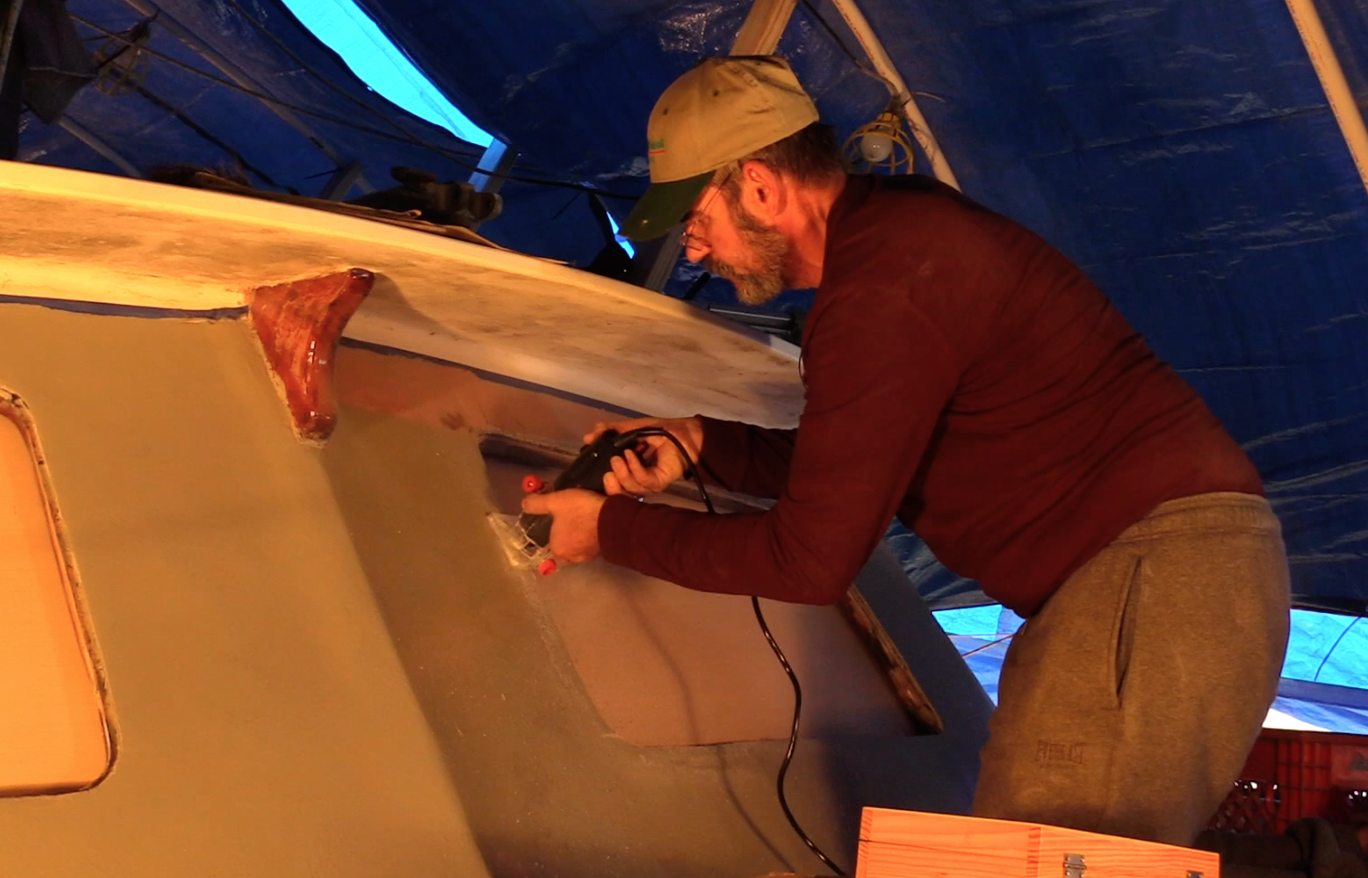
 I trimmed the openings with a router and a “trim Bit.” A trim bit is designed for trimming Formica and veneers even with the surface below it. There are two varieties of these. There is a cheaper model that doesn’t have a ball bearing but a blunt edge that rides along the guide surface, which in our case was the original wider lip from where the glass sat previously. There is also a slightly more expensive variety that I typically prefer to buy. The router bit has a ball bearing on it and can cut a wider cut rather than the cheaper version which is limited to about a 1/4″ thickness or so. I ended up having to use the cheaper variety because the ball bearing on the end of the better router bit made it too tall and didn’t allow the cutting blades to make contact with the fiberglass edge to be trimmed.
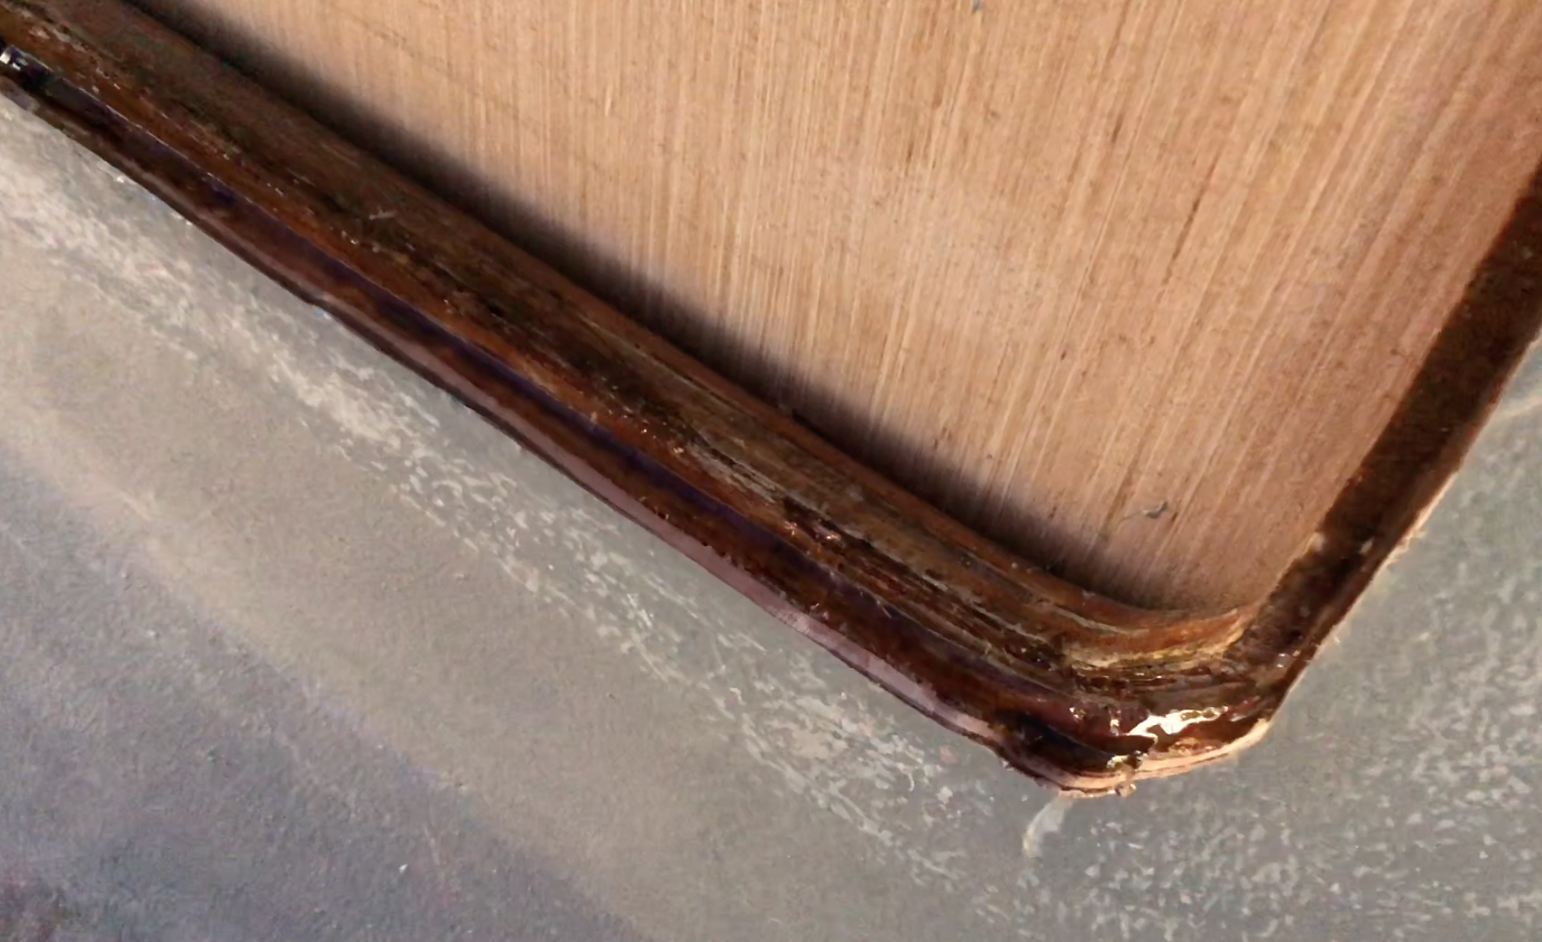
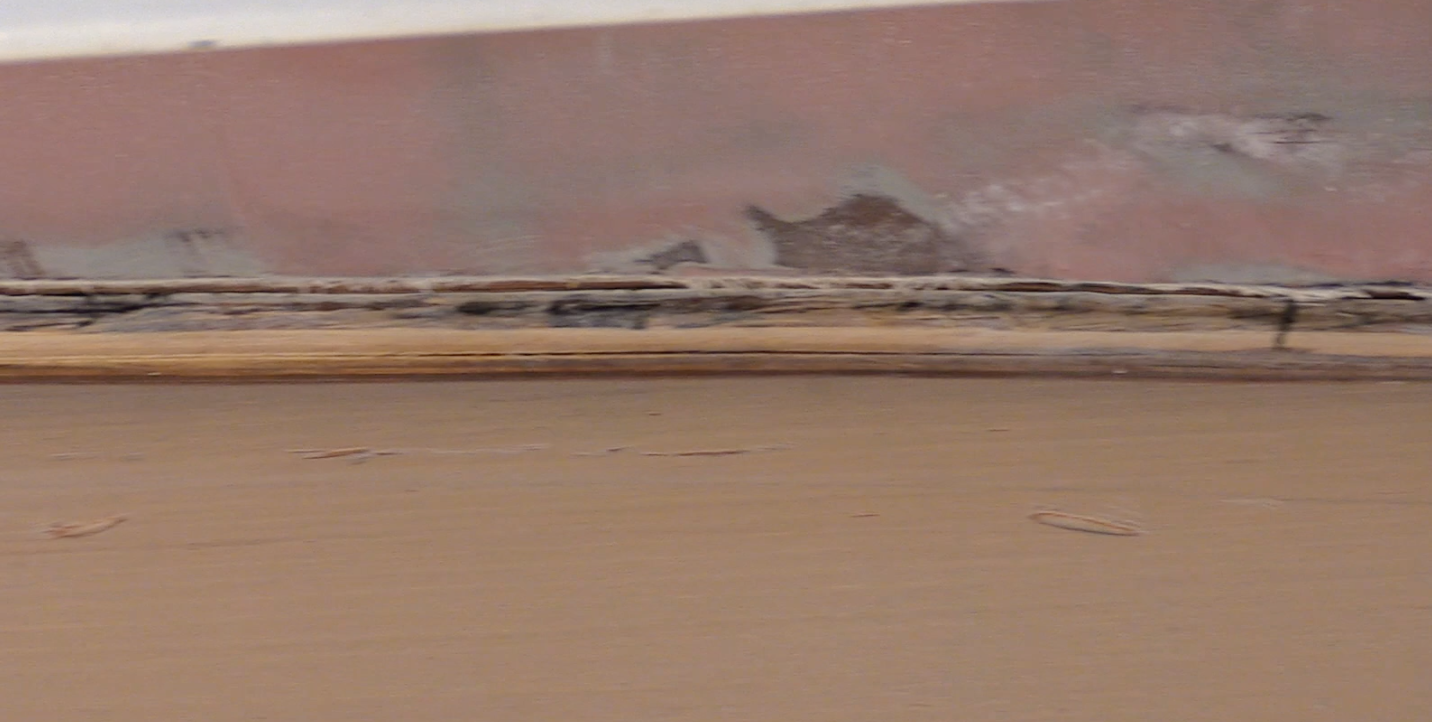
After running the trim bit around the opening multiple times, I then needed to make the openings just a hair larger to accommodate the new glass we had cut for all the fixed ports. I did this with a “Rabbeting bit” that has a ball bearing to ride on the inner, higher lip and cut deeper into the outer lip. Once cut and cleaned up, I wanted to bond the glass to the inner wooden surface so that any future leaks would not penetrate the core and cause rot behind the new fiberglass skin. The next post will show how to repair that rot when it exists but to avoid that after having fixed these, Epoxy was my friend. In the photo above, you can see the shiny edge of the wooden lip. That is from multiple layers of epoxy painted onto the surface to completely encapsulate the core layers below it. This also gives me a strong surface that is solid and moisture proof to bed the glass to.
I still have two more ports to trim, but the good news is that four are complete of the 6. Progress Continues.

