
With our discoveries in the coach house roof (here and here and here) we decided we would shift our focus to something different to continue progress forward while we contemplated our options.
 We had our meeting scheduled with Michael from Mayer Yacht Services to talk about our options for the rot already, so we had some time to start on other work.
We decided to go ahead and get the port openings ready for the glass to be installed. For the last month or so, I have had all of the glass out of the boat’s house. I had all new safety glass cut for the boat. Safety glass is laminated sheets of glass, and they are bonded to a skin in the center. The skin and bonding will keep the window intact if it were to break or get hit with something. Tempered glass, on the other hand, is what you have in your car. When it breaks it shatters into a million little pieces. It is stronger, but a broken port of tempered glass leaves a 3-foot hole in the boat where safety glass would stay in place and would keep the elements out (or at least most of them)
I had the glass company use the old ports I removed as templates and when I first picked them up was very disappointed in the match of the new glass to the old. They were sloppily cut and didn’t match the exact shape. They were close but as far off as an inch in some cases. I left them there and requested them to either fix or recut them. I was worried, but pleasantly surprised when I went back a week later and they were all cut and ground smooth on the edges and matched the same shapes.
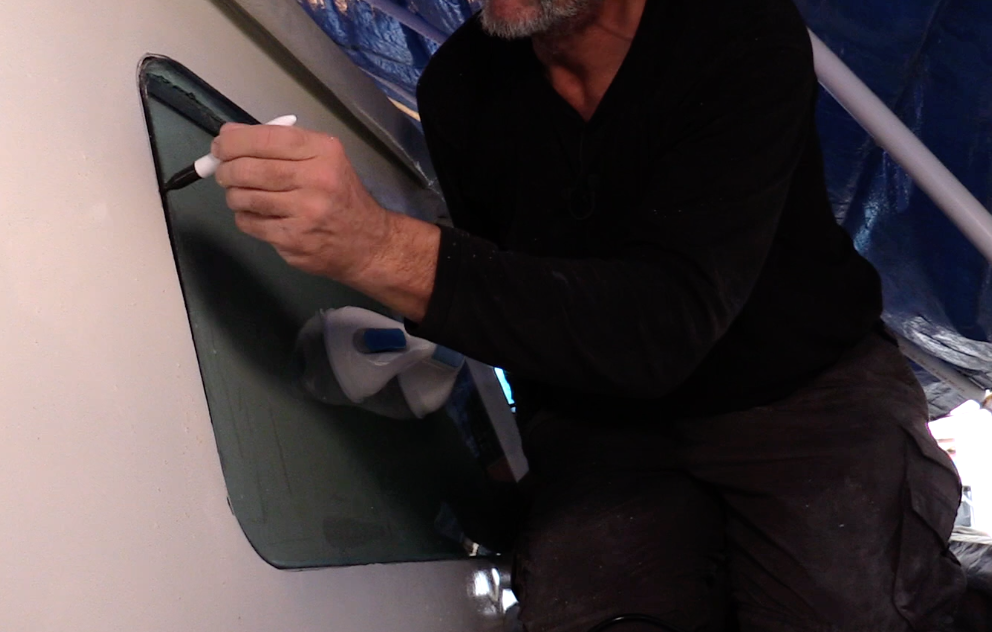
I held the ports in place of the openings and used a dry erase marker to mark the places where the opening would need to be trimmed a little further. If you read our blog and watched our video on re-bedding hatch glass, you know that you want the glass to essentially float in a cloud of sealant/adhesive rather than sit on any hard surfaces that can cause it to crack or leak.
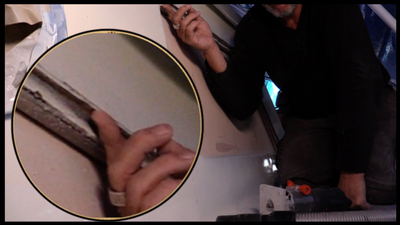
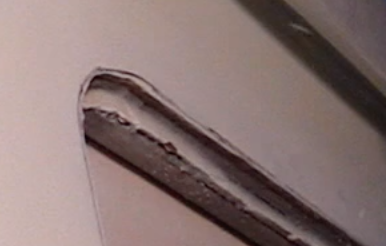 With the line marked it was easy to see where the outer fiberglass skin and inner wood core needed to be trimmed to. This photo also shows a good close up of the way the ports are mounted and constructed. The glass sits on the inner (smaller) edge and then has a sealant along the back side of the glass as well as around the outer edge to provide cushion up, down, fore and aft.
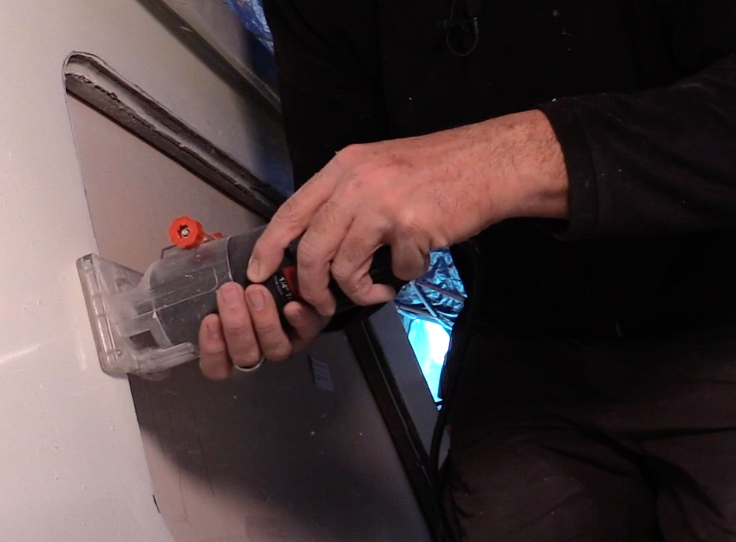
I have a good router mounted on a table that I use for a lot of other work we do on the boat, but for this, it needed to be lightweight and easy to move around. I bought a cheap one since I didn’t assume I was going to be using it forever. I used a small trim router and set the depth of a straight cutting bit to the depth of the inner ridge. I wanted about a 1/16th or 1/8″ gap around the glass, and I didn’t have any router bits that would work well for this so had to go at it free hand.
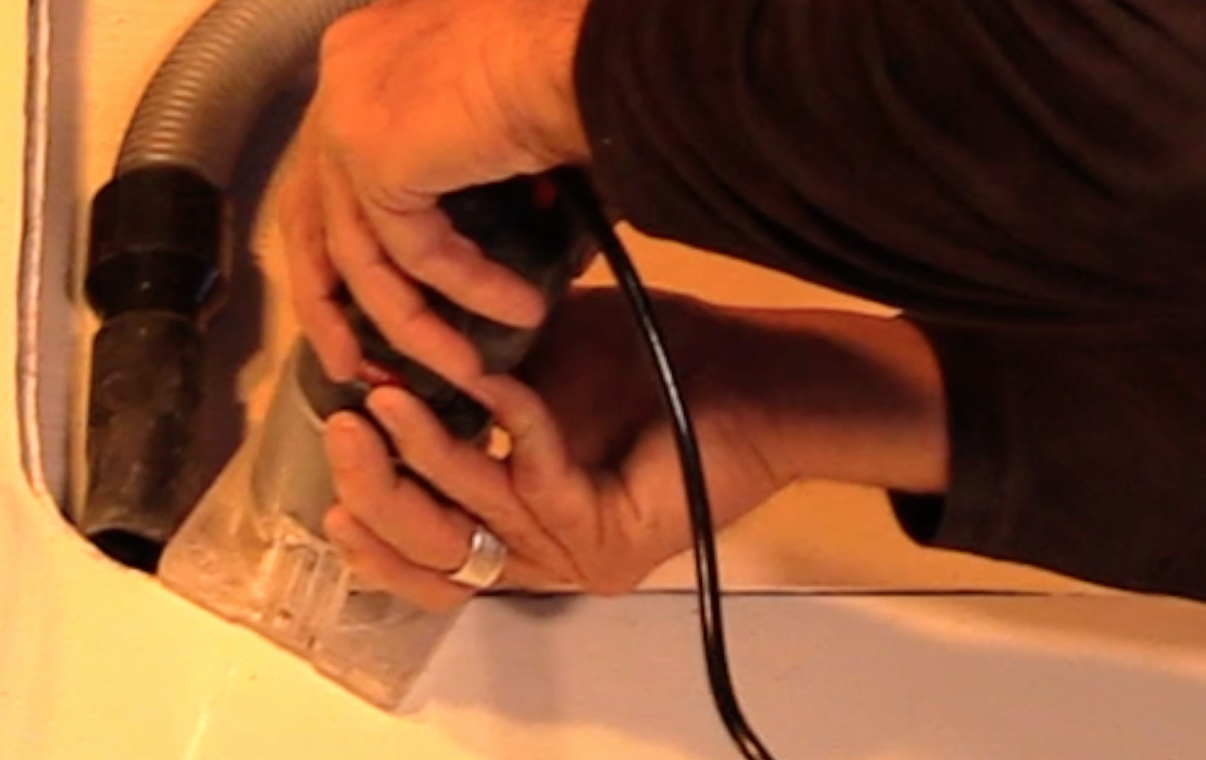 It was nerve-wracking doing that because the router has a tendency to want to dig in and take a bigger bite than I may have wanted. I found two tricks that made this a little easier.
The first was that I ran the router in the direction the router would want to pull, as opposed to the other way. This is counter to everything you will have learned or been trained about using a router, but for this application, it allowed the bit not to want to “Dig” in and required that I put outbound pressure against the surface to be cut. I also found that taking multiple passes with the router to shave off a very tiny amount each time worked much better than attempting to cut right to the line in the first pass.
I also found that it was best to cut and then retest the dry fit of the glass. I repeated that 3-4 times per port to be sure that I didn’t take too much or if there were minor adjustments to be made, they were possible to do in small chunks rather than fixing “big” mistakes. By putting the shop vacuum right near the router, I was also able to keep some of the small fiberglass dust and crumb from going everywhere.
 After cutting and trimming the openings, I also wanted to avoid a problem where a leaking port may allow water to get down between the outer fiberglass and the inner skin. This is part of what we had an issue with previously, which is why we had to repair the core in the coach house wall.
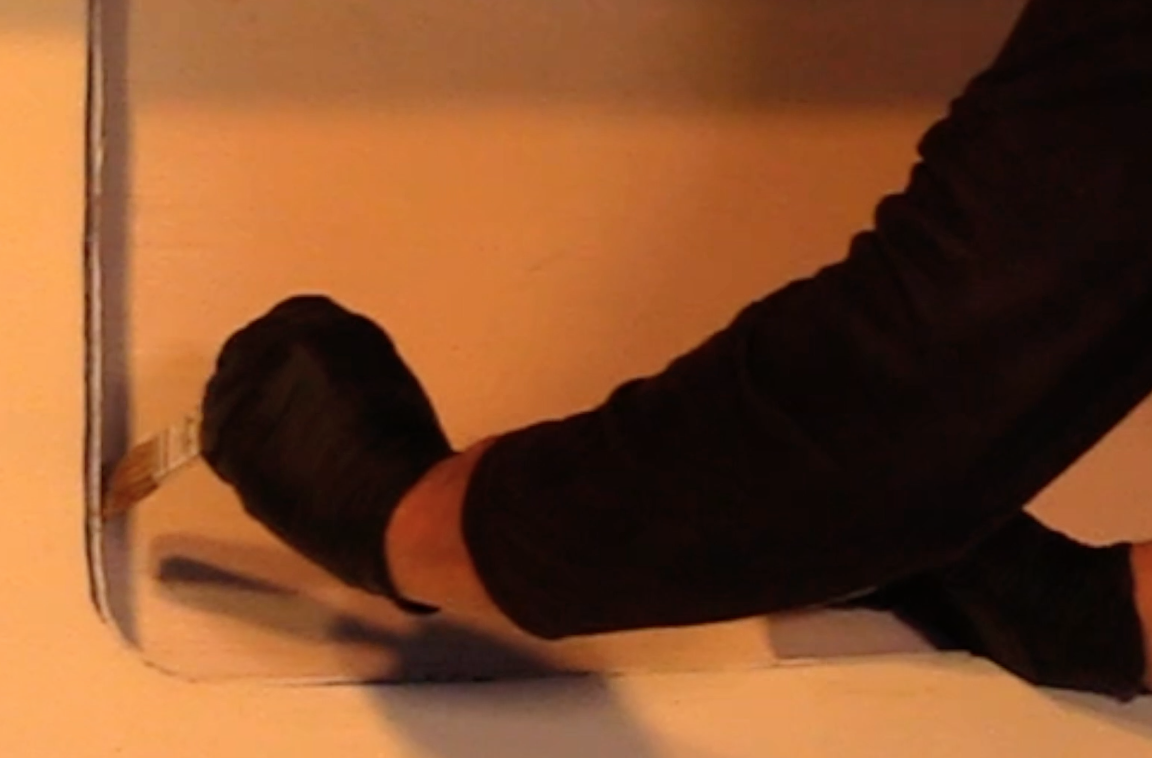
To combat this problem, I sealed the inner edge from the outer fiberglass skin to the inside of the port frame with epoxy. I mixed West Systems 105 Resin and 205 Hardener and just mixed out one pump of each and painted it on with a small 1″ chip brush. These are the same brushes I use for so many jobs and even varnish layers on the boat. They are cheap and disposable which makes it easy to use them and just get a new one for the next coat. By sealing it this way, I have created a plastic barrier over the exposed core that the glass will seat into. I checked to be sure that the sealant/adhesive I am going to use to bed the windows will stick to epoxy as well as wood and glass. It works for all of them. The ports are now ready for the glass to be bedded in place. I am still contemplating the best way to do this.