
A few weeks ago, we found some rot and a sub-par repair to one of the bulkheads. We inexplicably found this. When I removed the core to the side of the mizzen step and near the companionway, I had found something loose. Finding this had me dig in a little further and noticed what I was seeing was the top of the bulkhead (looking down on it) and it was moving. I went below and removed the teak facade and found a previous repair. I use the word ‘repair’ loosely as it appeared that a new piece of plywood was put in place the facade in place. Dejected I realized that the bulkhead was rotted in places and the repair had only masked the problem rather than address it. You can read about it in more detail in our post titled, “Cut the Fiberglass and take a closer look at the core.”
After finding that below, I decided to drill exploratory holes up into the ceiling near it. What I found was that the plywood seemed soft. I marked an area to expose, and as you can see in the title photo, I removed the top skin to see the core. It looked pretty good from above, but what we have found is that it is hard to see the center, but that is where the issues often are found.
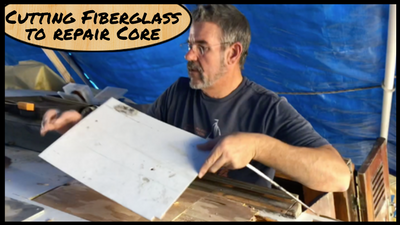
 It was time to do something that we have done many times already on the boat. That was cut a hole in the roof and remove the core. You can read how to cut the fiberglass as well as the Core in previous blog posts tagged “Cutting Fiberglass.” You can also check see the video series on our youtube channel.
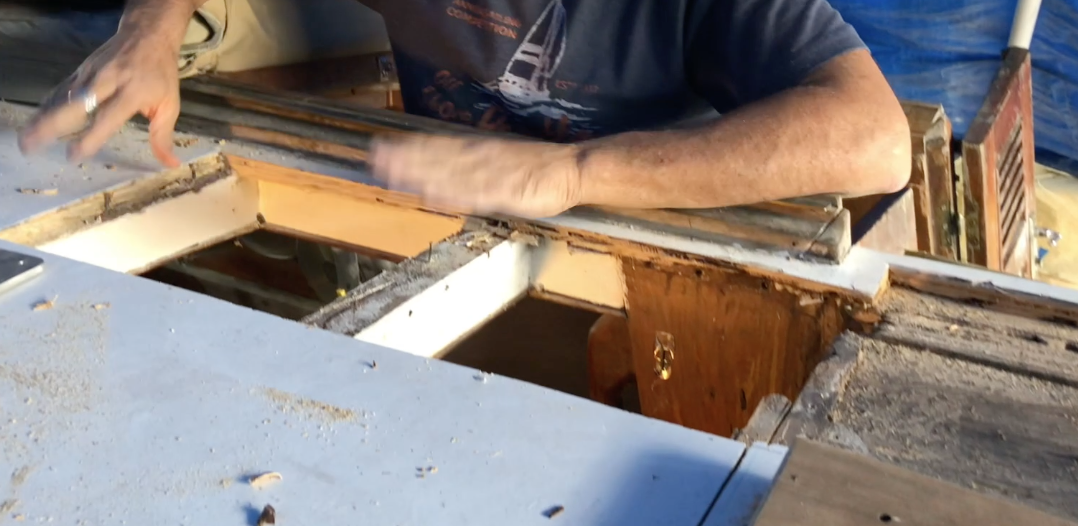
With the depth of the blade set to cut through the core completely, I removed it from the same spot that had the skin removed. You will notice in this picture that the core had come out in one piece a little easier than previous openings. We were learning, Yay!
 Once we removed the core, it was time to remove nails that may have been in place as well. It is important to note that we always attempt to cut the edge of the plywood core in a logical place. The best place to do it is on top of a beam. You can see in this photo, the forward end of this opening, aligns to a beam. This allows the new core to be installed with an adhesive and screws to hold it in place.
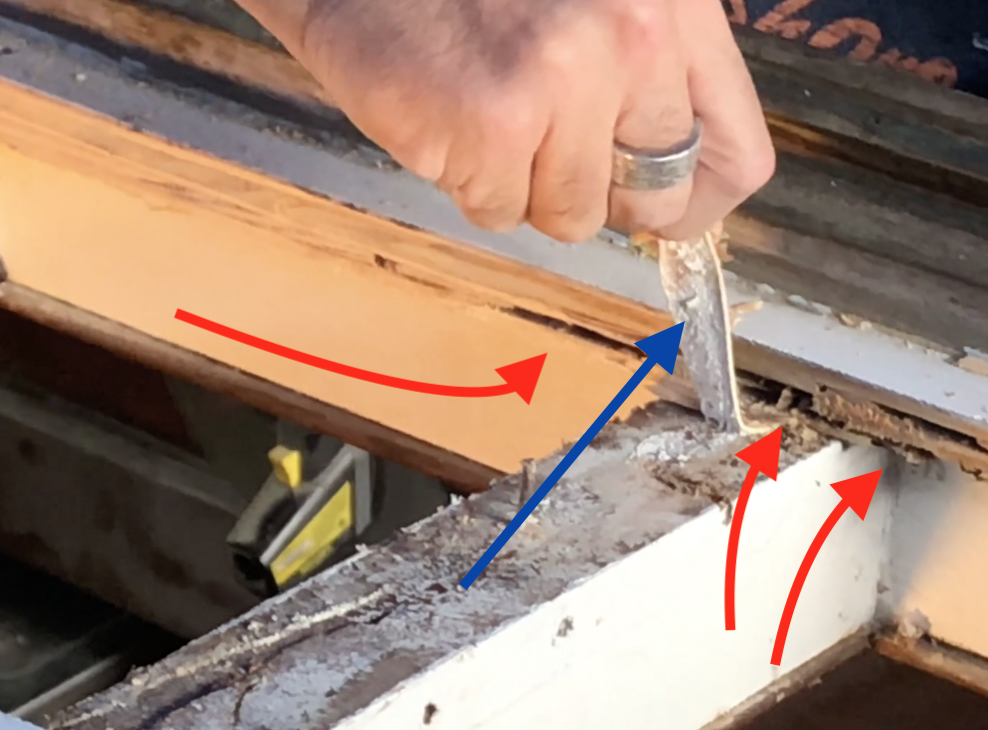 Much like before, the adhesive that held the core to the beams was a fantastic material. In this photo, the blue arrow points to the adhesive. You can see that I am stretching it a good inch or two. It was very sticky, and I had to pry the core off of it with pry bars every couple of inches applying consistent upward pressure. Eventually, it would break loose, but it was not easy. Once the core was out, it was no longer “sticky,” but it was stretchy showing the strength of this stuff. I am still curious what it is and if it was from the original build in Taiwan or something that was done after. If it is 40-year-old material, it is even more amazing than I initially thought.
You can also see in this photo the red arrows. You can consider these foreshadowing because this is pointing to a problem that needs more work.
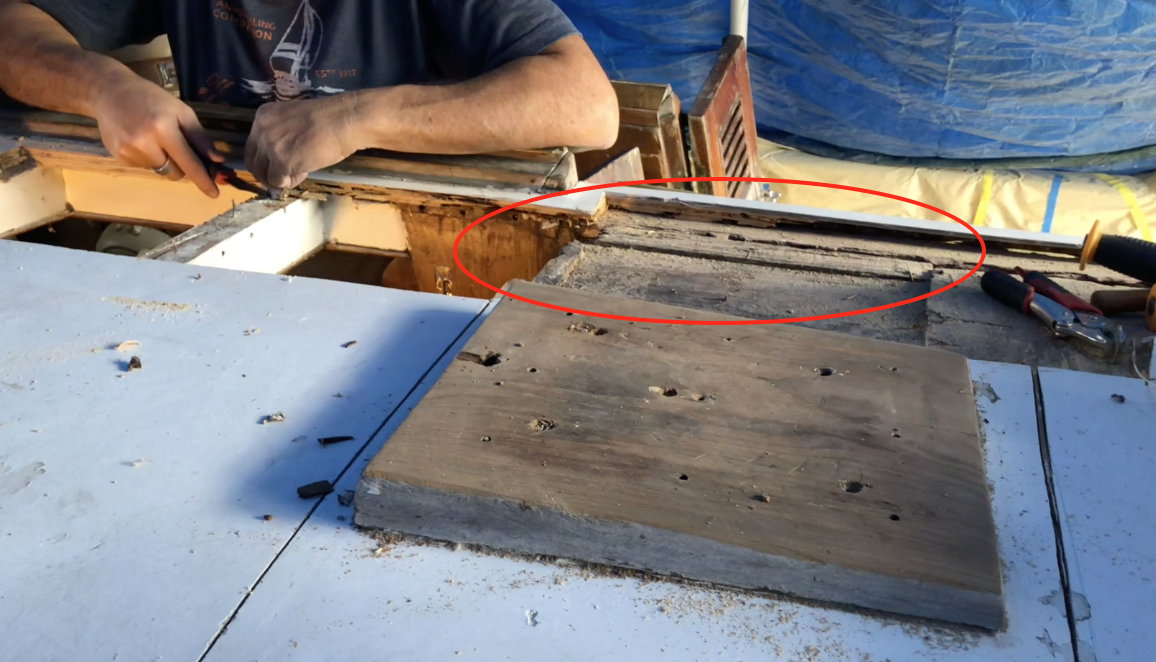 The area circled is something the astute may have noticed an additional issue. If you look closely at the circled area, you will see a void right there. That is where the coach house wall was/is. I suspect what happened here is a leak that was not repaired until it caused extensive damage. My gut tells me that there was a leak near the edge of the companionway into the coach house roof. From there the wet core expanded like a sponge forward into the roof, down into the bulkhead and aft into the plywood core of the coach house wall.
Several repairs will have to be done in this area. The first is going to be to scarf in and repair the bulkhead wall and see just how far down the damage goes. I believe it goes further than that previous ‘repair’ indicates. We are also going to have to replace the core in the roof. But what about that coach house wall? I am leaning toward filling it with epoxy and creating a stable epoxy wall. This will be as strong as putting the new core in it and can all be done from above.
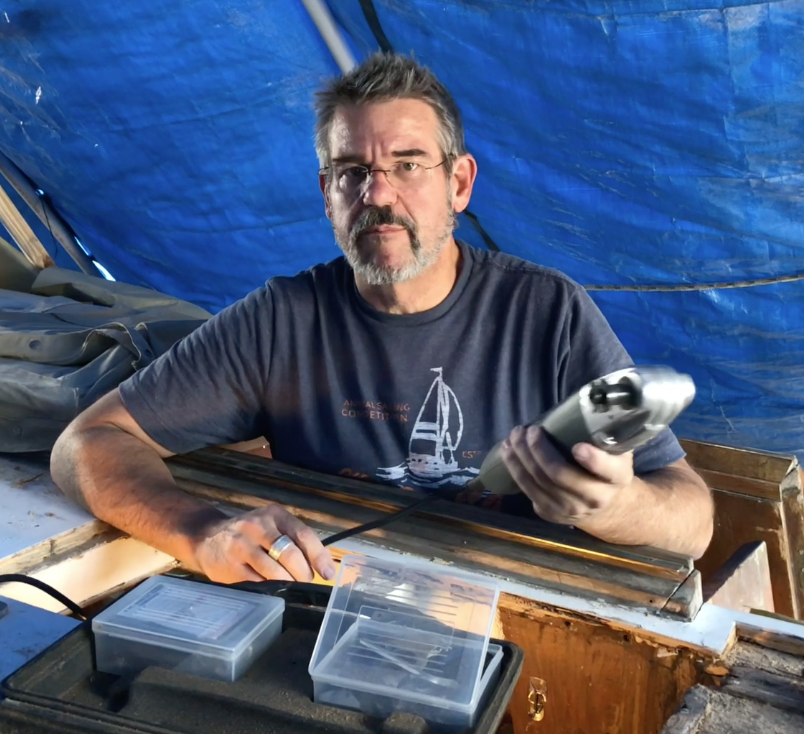 The next steps are to cut the edges of the core smooth as well as get rid of any of the adhesive stuck on the beams. I have tried a bunch of different methods to do this. So far the one that seems to work the best is using an oscillating tool. Yep, the same machine for both tasks. For cutting the core smooth, I use a plunge blade to cut the surface smooth. I use a rounded wood blade to etch a straight line then work it into the groove to cut it flat.
For scraping the glue, I put on a scraper blade and hold it flat to the surface pushing forward to get under the “gunk” to be removed. Yes, that is a technical term used for any glue, fiberglass or adhesive crap I want to get off. I don’t get the expensive brands for these uses, as I have found that the inexpensive ones in the links above are more than adequate for these jobs.
 With this much work going on with the boat, sometimes I need a reminder of how beautiful she is. I look at the boat from the back, and I feel a little bit like a smitten teenager. I can’t help but hum the song by Sir Mix-a-lot, “I like big butts, and I can not lie…” When I see the broad, curvy transom on the boat, I always smile 🙂