
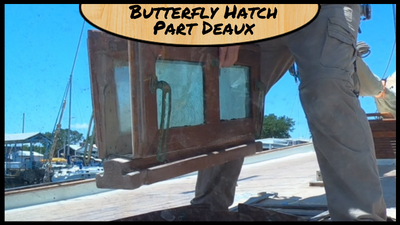
I have a love and hate relationship with the butterfly hatch on our boat. I had removed this once before and sanded it all down to bare wood and refinished it. This was about two years ago, and I LOVED the way it looked. You can read the post and see the video here.
When I did the work on it a couple of years ago, I didn’t rebed the glass in the opening section. I was disappointed the first time it rained, and I saw drips coming through. I was so frustrated, and it wasn’t that bad, that I just bailed on the repair at the time.
But now that the boat has got work done on it, it has overspray and other “stuff” that needs to be cleaned up. And, let us be honest, I need to finish the job I started. The first step was to remove this sucker from the boat.
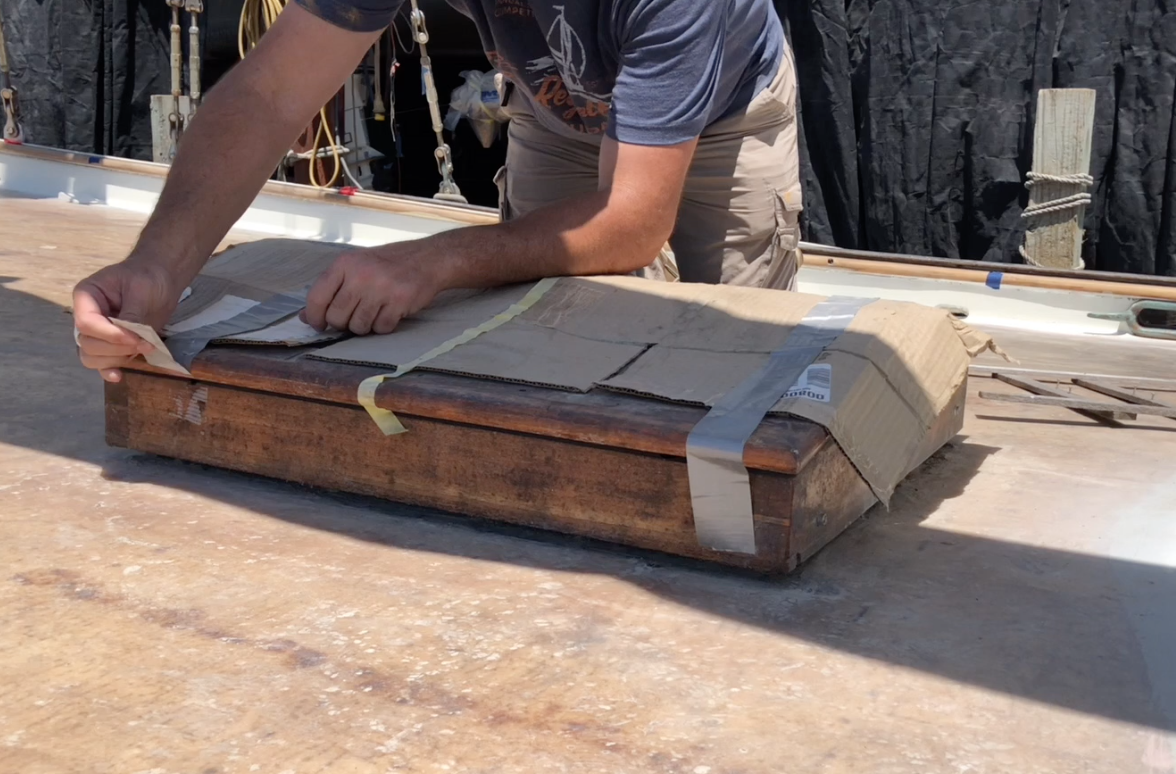
I started by removing the tape and cardboard that was taped down over it to keep things from hitting and marring the wood. From there it was a matter of taking the hardware off. On our hatch, if I remove the two locking wingnut latches that keep the flaps shut from below I can open them up. Once opened, it was a matter of unscrewing the locking nuts that hold the hatch open.
The beautiful thing is that they are adjustable to whatever position I desire. To remove the brackets from inside, however, the locking knobs have to come all the way out.
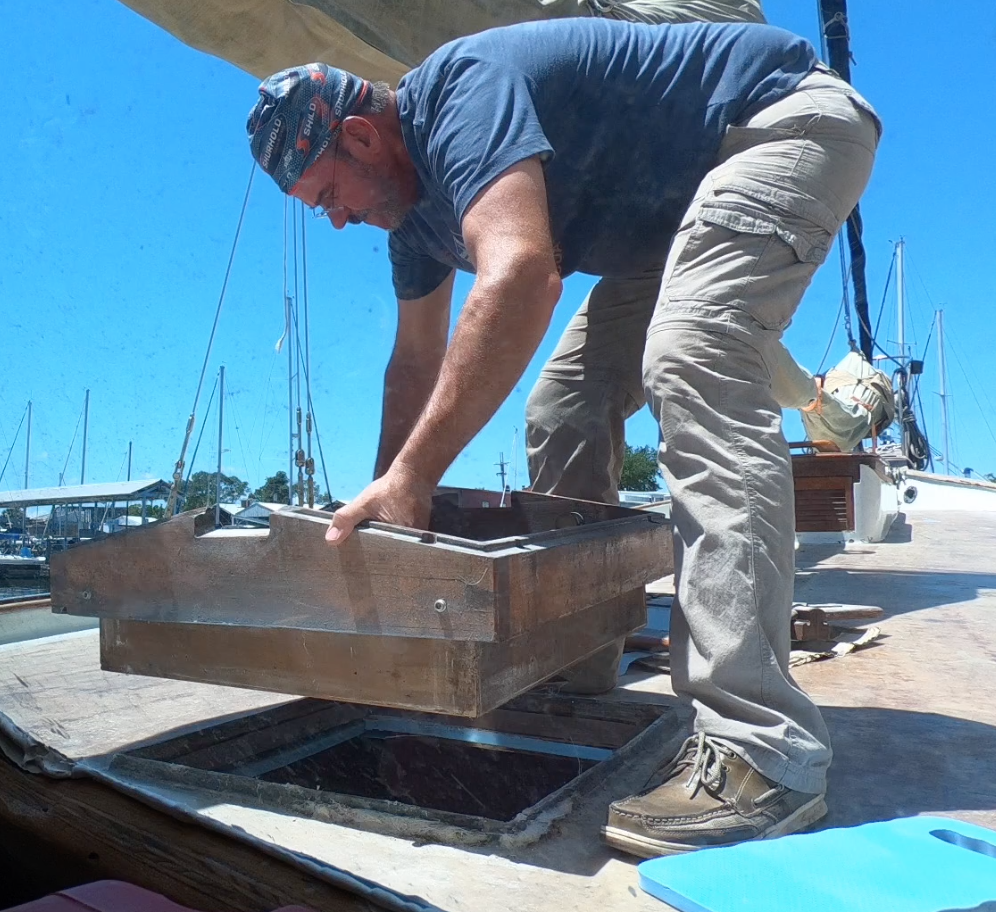
With all of those out, it was just a matter of lifting the hatch frame up and out of the deck. To my shock and surprise the first time I did this work, the hatch was not screwed or glued down to the deck. I knew we weren’t going offshore so left it like that knowing we would be doing something with the deck in the future. The good news is it comes out easy, and the bad news is I have to fix that moving forward.
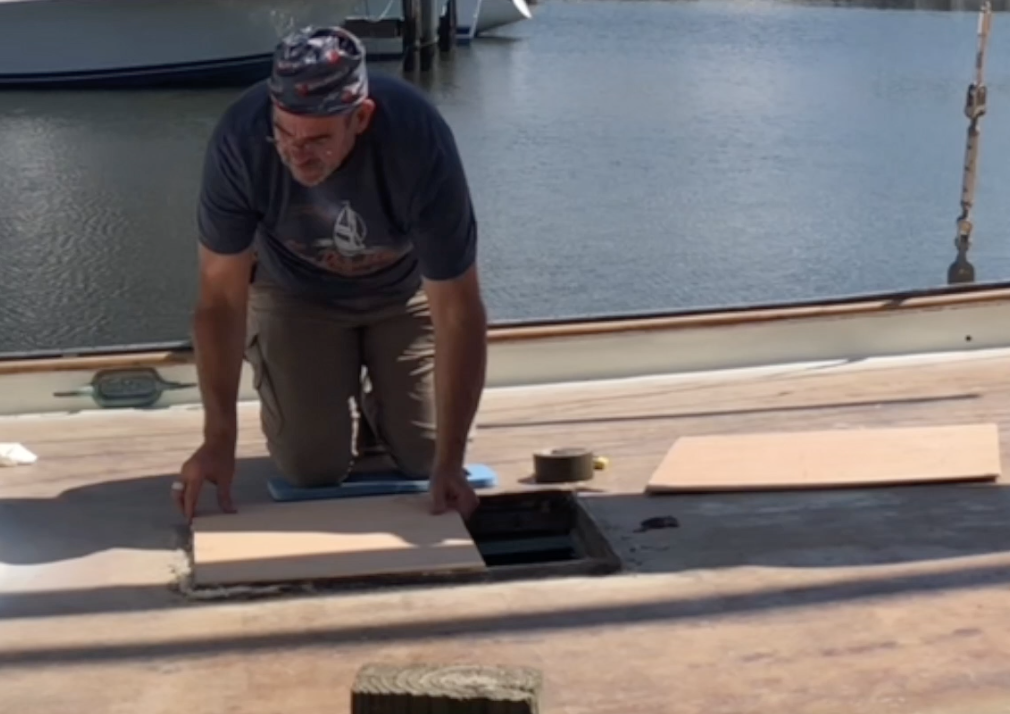
With the hatch frame removed and out of the way, I now needed to make a temporary cover or some sorts. This is a relatively low priority item to fix, so I want to allow this opening to sit this way for some time if needed. (And for the record it has been). I cut two pieces of quarter-inch plywood and duct taped it to the mounting lip. This is not secure to step on. To be sure nobody did, I wrote in sizeable red marker “NO STEP” on each side of it and put a 4×4 piece of wood over it.
 With that, it is time to put it in my Tahoe and likely drive around with it back there for two months before I finish the work 🙂