
I wanted to maintain the original mast step on our boat when we replaced the wooden mast with an aluminum one. to do that we would need to refinish it prepare it for the day the new mast gets stepped.
Refinish the Mast Step
With the progress the yard is making on the roof, it won’t be long before I get to install the hardware back on the boat. So, that meant to get moving on those tasks. Being a Project Manager in a previous job has helped me in planning my activities. The yard may think my questions are annoying, but It helps me prepare my work. Knowing when they intend to do certain parts of the work allows me to coordinate our efforts.
Organizing the tasks
The boatyard does a great job of managing their projects and planning the correct order or steps and operations.
What they are not considering (and it is not their role) is what projects I want to also work on. Now I see why a general contractor is so important with any significant house or even boat work.
I have had to fight the urge to break out a Microsoft Project Plan on more than one occasion, but that is an ongoing battle with my inner nerd. If you are interested in a simple planning tool for small projects, I created one here in Excel or Google Sheets.
Free Awlwood Guide
This is designed for applying and planning varnish coats, but I have 2 different ones here, a planner and a project budget planner and variance to the actual calculator. Go here to download your copy.
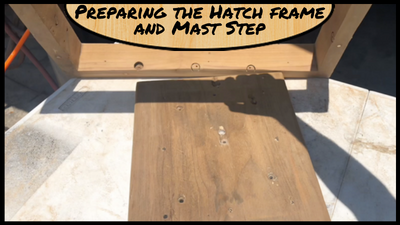
Preparing the Surface
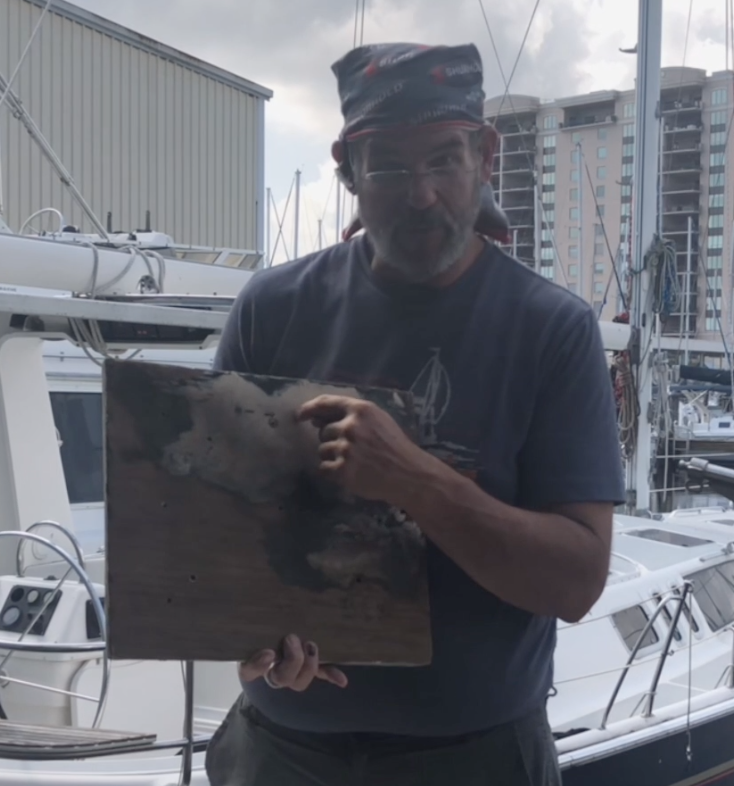
The mizzen mast step still had a lot of adhesive on the bottom side of it from the way it was installed before. I again took advantage of the high power sander option with the air compressor at the boatyard. Armed with 60 grit paper, I began making little rubber balls of dust. It was like being an archeologist and getting through the layers of history. The bottom had fiberglass on it. Above that was a layer of paint. Once I was through the color, it was into this heavy black adhesive. It almost looks like the stuff that is between teak deck seams. It was a bitch to remove. There is just no other way to describe it. It wasn’t hard but took a while. My hand was vibrating like crazy after using the sander that long.
Preparing the Wooden Hatch
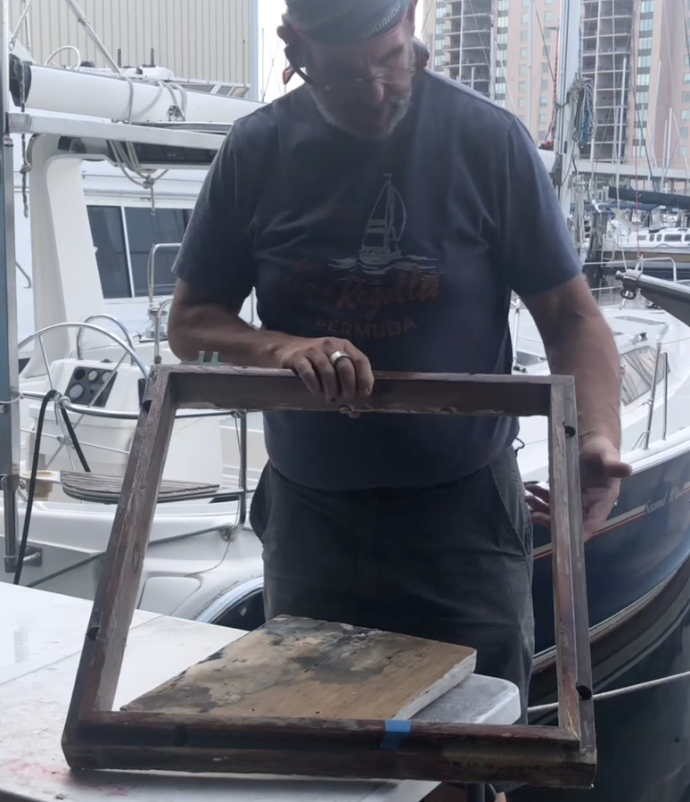
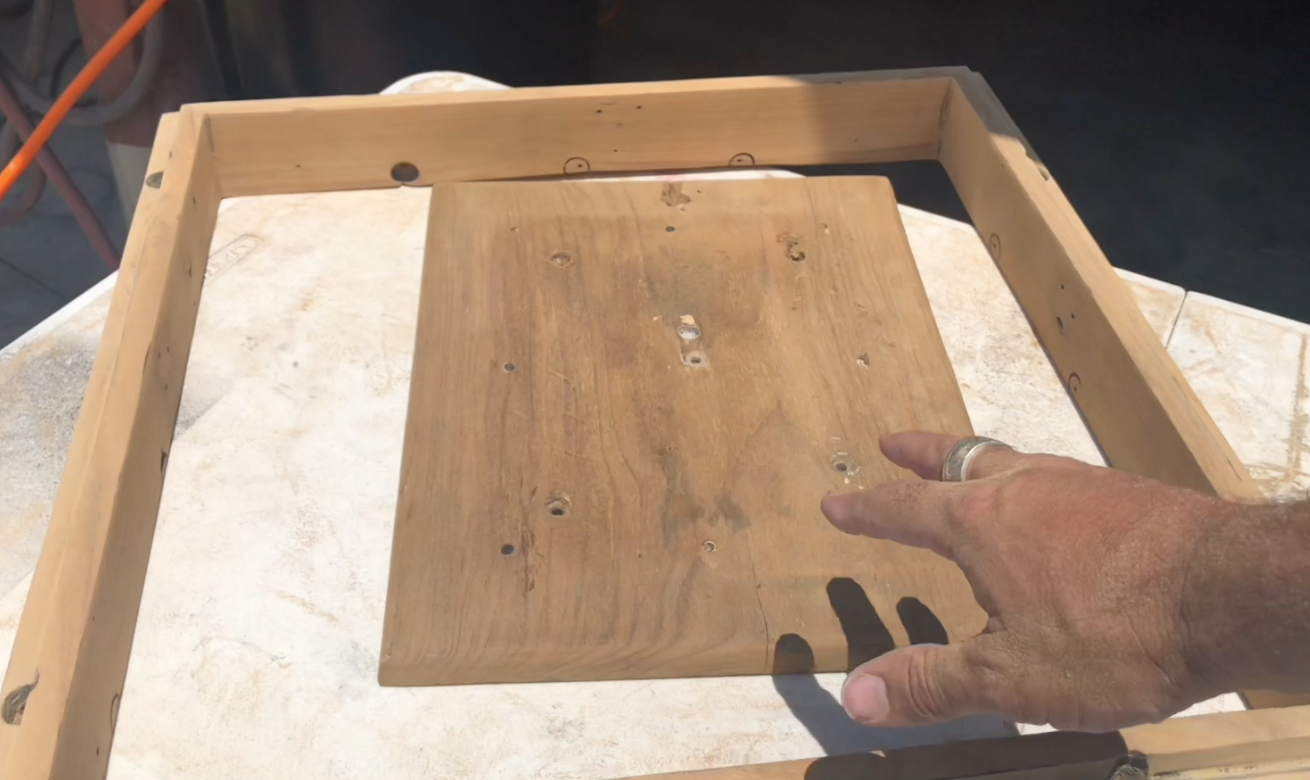
Once I made progress on the mizzen step and got it down to bare wood, it was time to do the same thing to the hatch frame. This hatch frame is solid teak. Sadly where the wooden hatch lid screwed onto the hinge, it was broke. At some point in the past, the hatch was open and not supported, and ‘fell’ open. The weight of the hatch split a small section off of the hatch. I sanded around this section getting the whole frame down to bare wood.
How to stay motivated to continue
With all small projects, there comes that time. You know that time. It is when you see some progress. For me, it is like my inner fuel. If I didn’t see little victories, I fear I would lose the motivation to keep going on a significant project of this sort. I always break up my work into small chunks that allow me to see little wins in short increments in time. When I get bogged down into some kind of massive project that looks like it is going nowhere, I find something else to do. I need that fuel. 🙂
How to repair a hatch
The wooden frame of our hatch had broken where the hinge connected the opening portion to the hinge. See how we fixed that with Epoxy and maintained the classic wooden look of the boat. Read More on Fixing a Wooden Hatch