
When we visited Florida to look at marinas we also decided to go for a little fishing trip. We went on Flying Fish charters out of Sarasota. We had blast. …
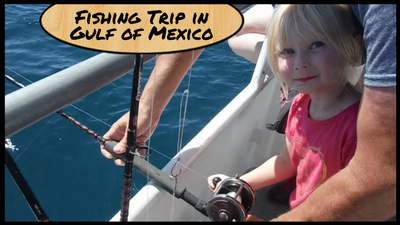
When we visited Florida to look at marinas we also decided to go for a little fishing trip. We went on Flying Fish charters out of Sarasota. We had blast. …
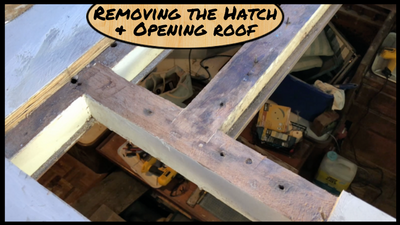
Welcome aboard. In this weeks episode, we remove the wooden boom from the boat and start preparing it for refinishing. We also cut larger holes into the roof to see how …
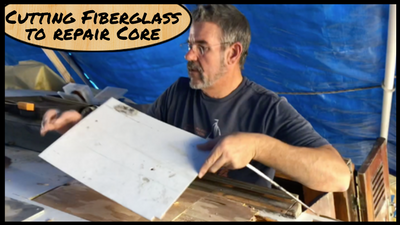
Have you been reading our blog or watching our Youtube Videos for a while? If so, you know that we have been replacing a lot of core on our coach …
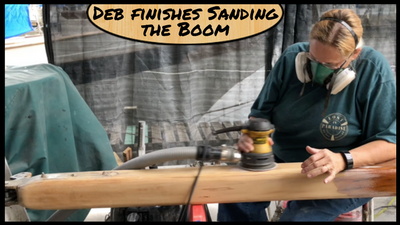
Deb has been working hard on some sanding projects. She started with the salon and then we stopped due to all the dust that was getting everywhere. We need to …
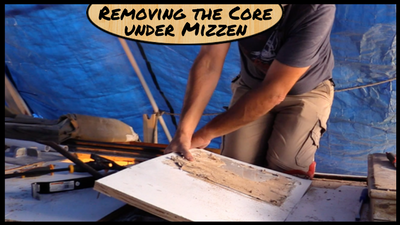
I was shocked at how hard it was to remove the Mizzen Step. After removing the mizzen step, it was time to remove the core from under the mizzen step. …
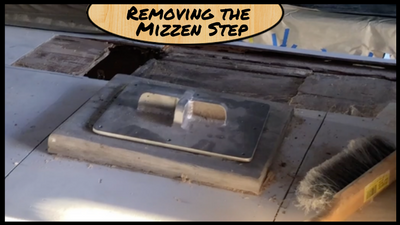
As we explored the coach house roof on the boat, we noticed that one of the spots that appeared soft was next to the mizzen step. We cut the skin …
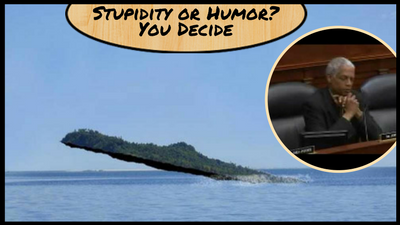
I am forever amazed at the stupid comments that are made by people Depending on the scenario, I have come to expect some people to just not sound all that …
A few weeks ago, we found some rot and a sub-par repair to one of the bulkheads. We inexplicably found this. When I removed the core to the side of …

This was really cool for us. We had a chance to be interviewed by Boat Radio for their “Life Aquatic” segment where they highlight cruisers and liveaboards bloggers. The interview …
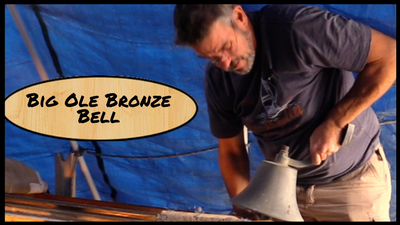
Our Mizzenmast was wooden and on the back side of the mizzen just about shoulder level was a big ole’ bell. We didn’t sail DreamChaser much since buying her …